Verify a credential
The Hovi Connect API's Verifications endpoints let you check credentials from your own product. You send a verification request (called a proof request in the API) based on one of your verification templates, the holder shares the credential from their wallet, and you can confirm it's genuine without seeing more of their data than you asked for. The same template can be reused for many requests.
Before you start
Make sure you have:
- An API key for your ecosystem, and the ID of the organization that verifies (sent in the
x-organization-idheader). - A verification template that says what you want to check.
- For cheqd and Indicio only: a connection with the holder. EU Digital Identity, Microsoft Entra and Polygon don't need one to verify.
The steps below use the interactive API Reference, where you can try each request in your browser.
Steps
Choose your ecosystem. Hovi remembers your choice on other pages.
 EU Digital Identity
 Microsoft Entra
 cheqd
 Indicio
 Polygon
EU Digital Identity- Open the API Reference and select the EU Digital Identity Ecosystem API under Hovi Connect API.
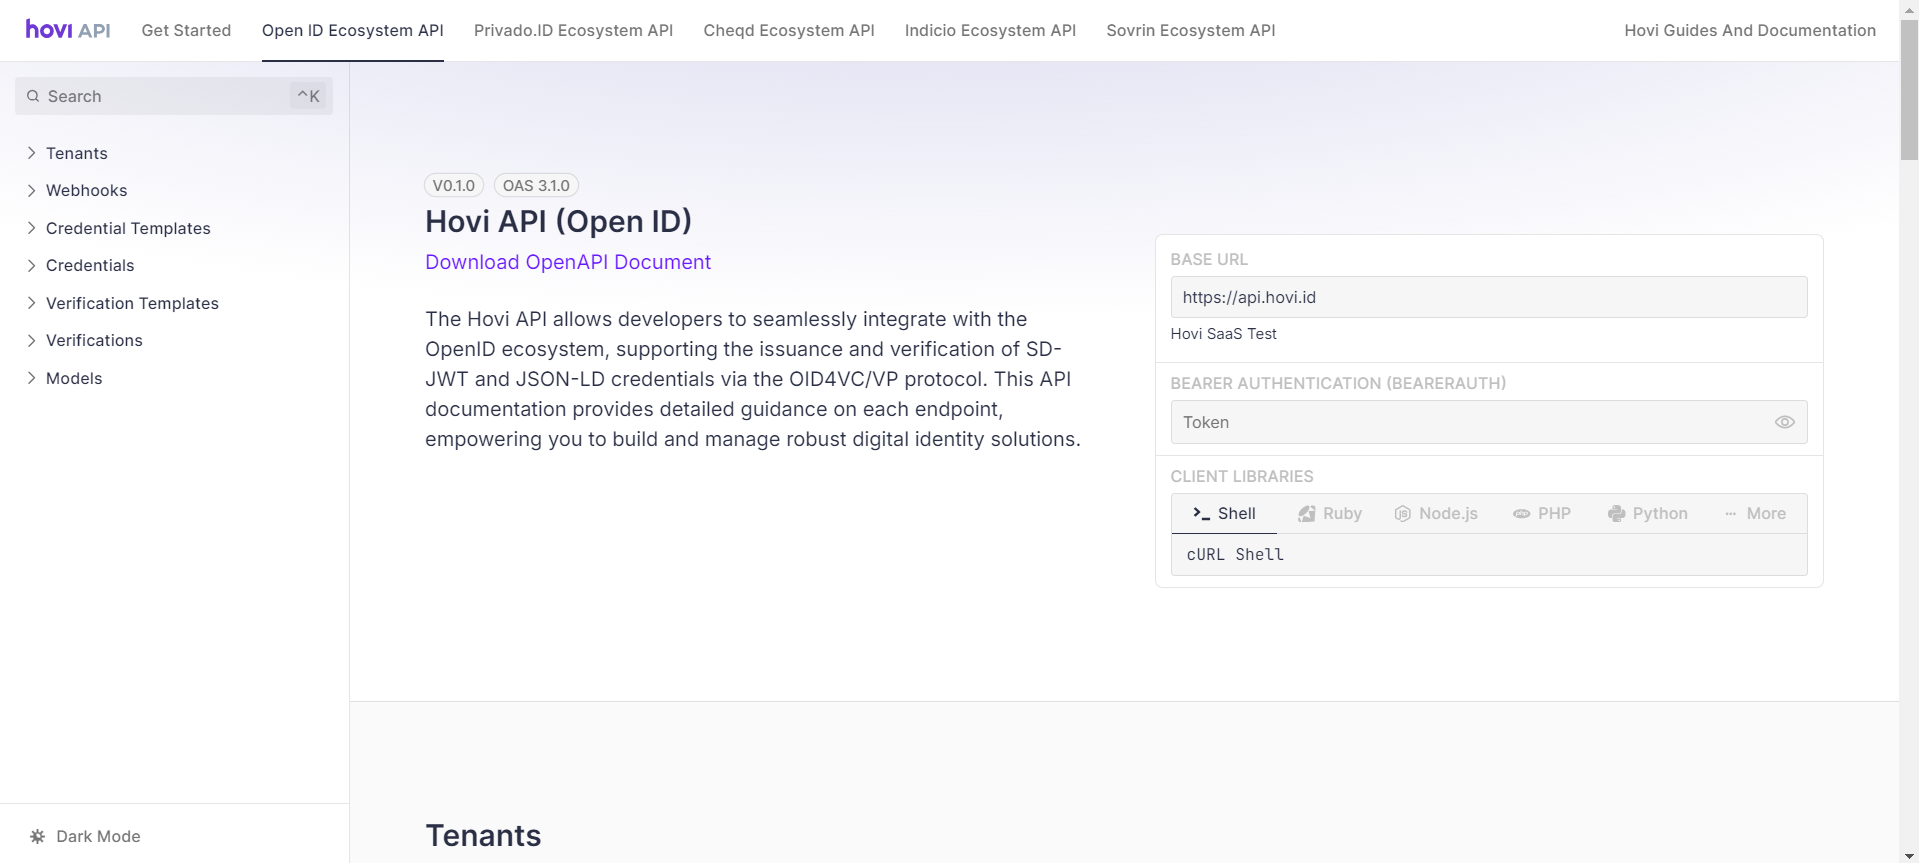
- Go to the Verifications section.

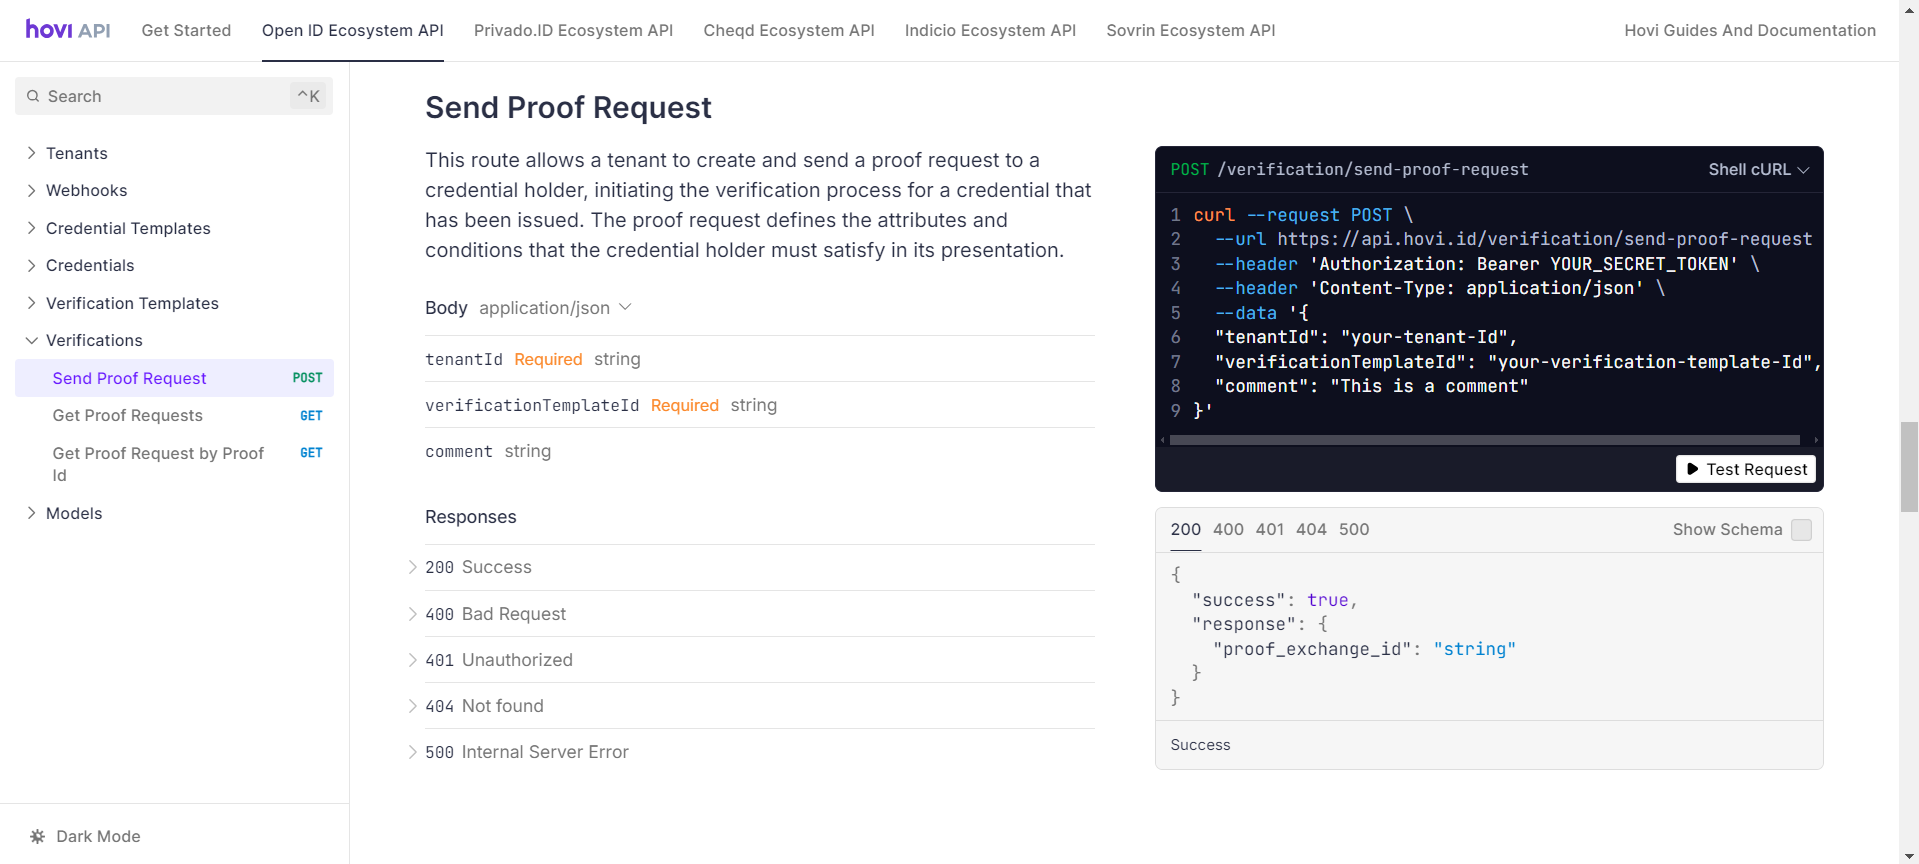
- Open POST - Send Proof Request and click Test Request.
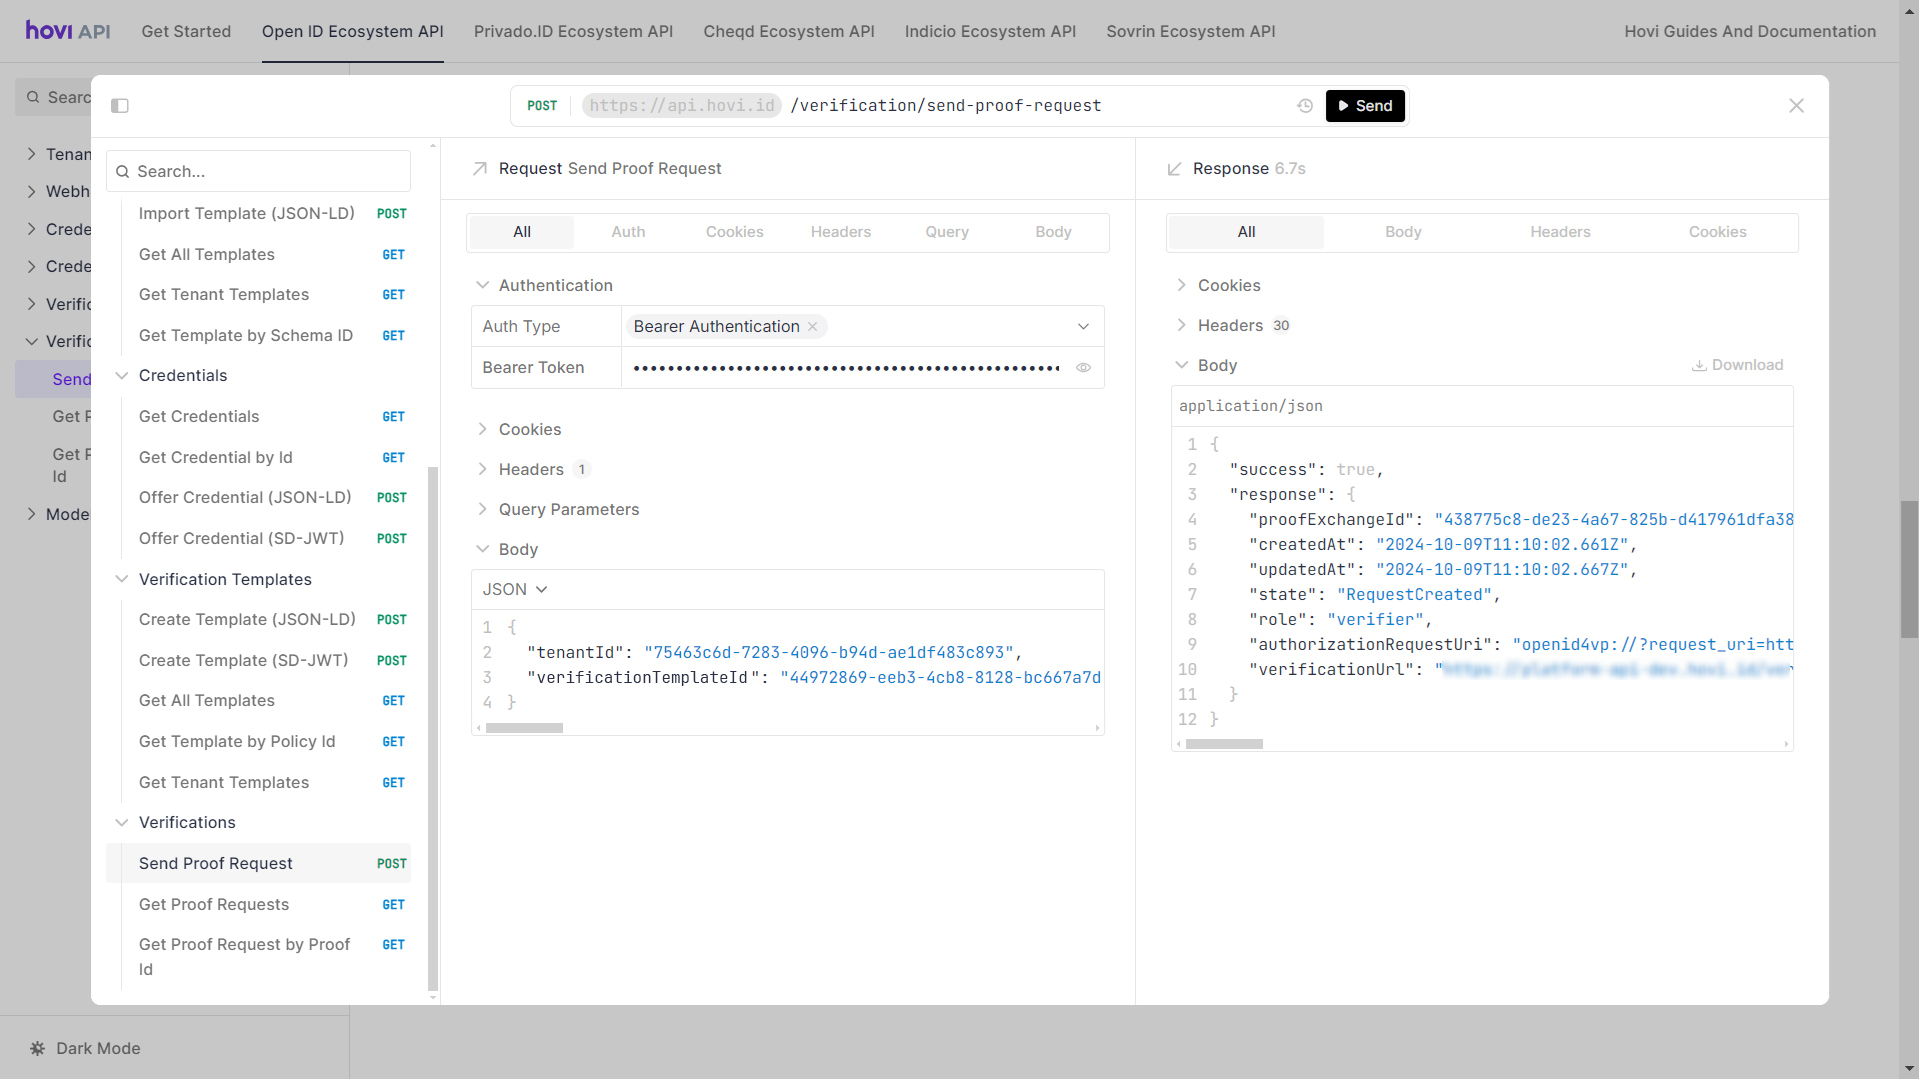
- Enter your API key as a Bearer Token, fill in the body parameters and click Send.
- The response includes
verificationUrl, a link to a QR code that the holder scans with their wallet, andverificationUri, the same request for a wallet to open directly. Keep theproofExchangeIdto check the result.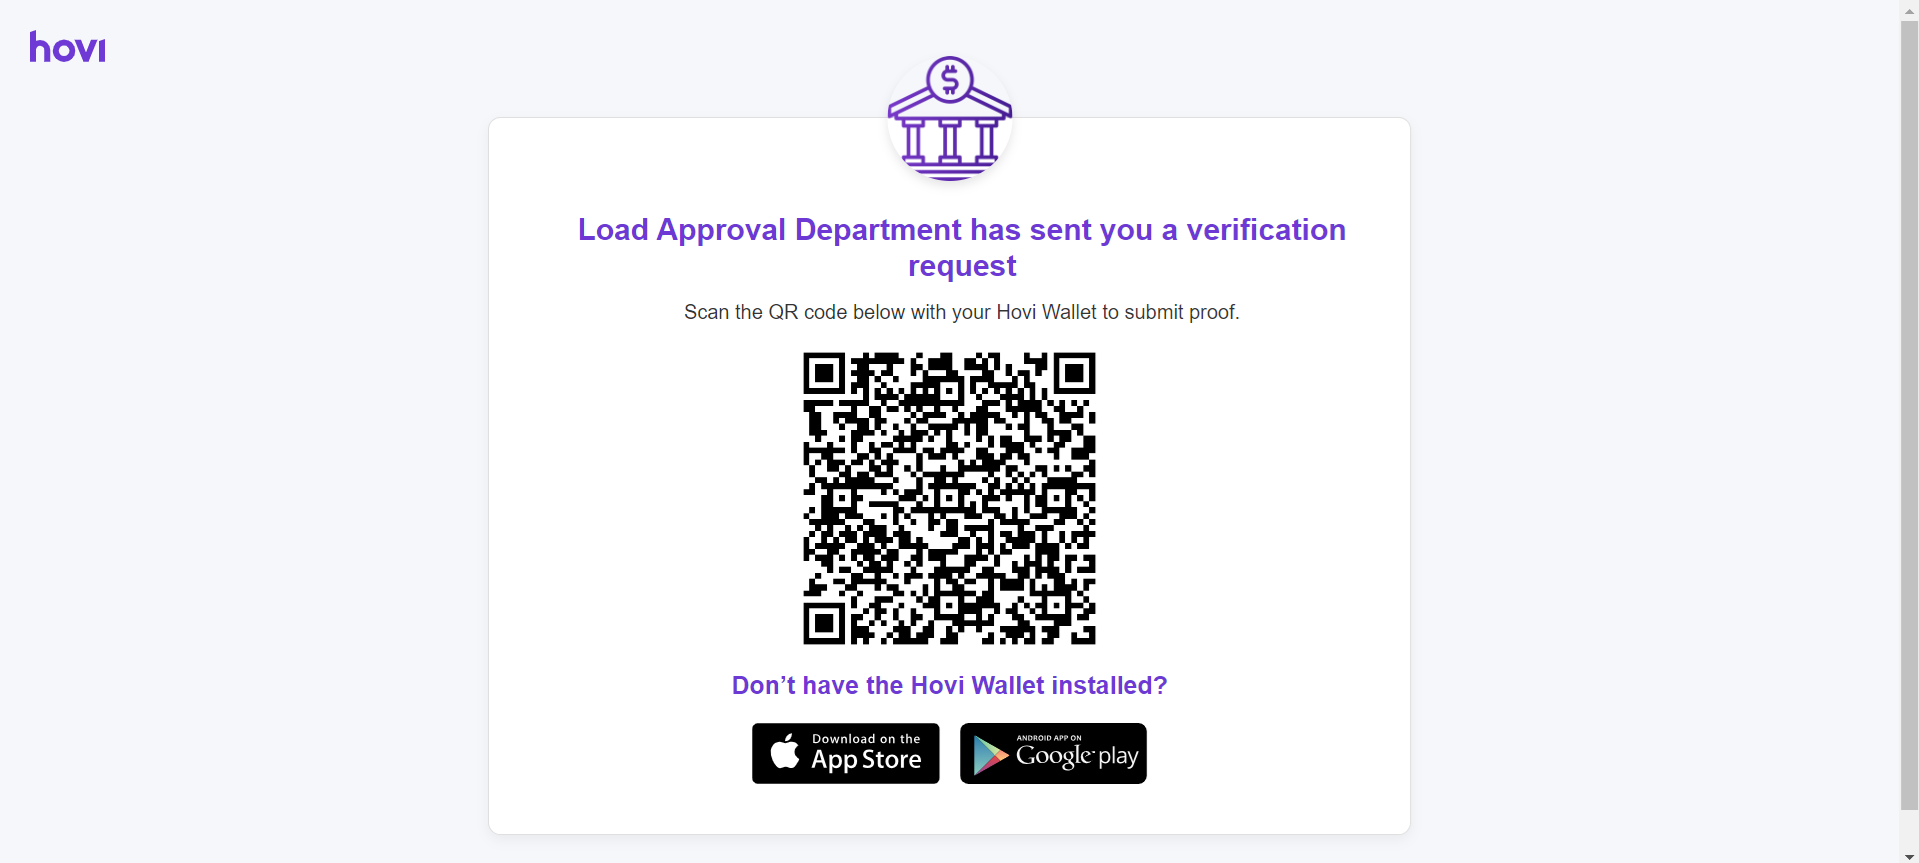
You can also list proof requests for your organization or find one by its proof exchange ID; see the Verifications endpoints.
Going further with EU Digital Identity:
- Compound proof requests: ask for several credentials in one request.
- Transaction data: have the holder confirm details such as a payment as part of the request.
Verify in the browser with the Digital Credentials API
If people verify on your website, the browser can ask their wallet for the credential directly, on the same device and without a QR code. This uses the browser's Digital Credentials API.
-
Send the proof request as above, and add:
dcApiEnabled:truedcApiExpectedOrigins: the HTTPS addresses of the pages that will receive the wallet's answer, for example["https://shop.example.com"].
The
verificationUriin the response now holds the whole signed request, ready for the browser. Without these two fields you get the normal QR code link, which doesn't work in the browser. -
On your page, turn the
verificationUriinto an object and pass it to the browser. The holder picks a credential in their wallet and the browser returns the wallet's answer.// 1. Can this browser use the Digital Credentials API? If not, show the QR code instead.
const supported = window.isSecureContext && 'DigitalCredential' in window;
// 2. Everything after "?" in verificationUri, as an object (JSON values parsed).
const data = {};
new URLSearchParams(verificationUri.split('?')[1]).forEach((value, key) => {
try { data[key] = JSON.parse(value); } catch { data[key] = value; }
});
// 3. Ask the browser. It shows the holder's wallets; this must run after a click.
const credential = await navigator.credentials.get({
mediation: 'required',
digital: { requests: [{ protocol: 'openid4vp-v1-signed', data }] },
});
// 4. Wallets return the answer in different shapes: plain text, a JSON string,
// { response: "…" } or { response: { response: "…" } }. Turn it into { response: "…" }.
let answer = credential.data;
if (typeof answer === 'string') {
answer = answer.trim().startsWith('{') ? JSON.parse(answer) : { response: answer.trim() };
}
if (typeof answer.response === 'object') answer = answer.response;
// 5. Send `answer` to your server, which calls Hovi (step 3). Never put your API key in the page.This works in Chrome on Android with Hovi Wallet. If
supportedis false, or the holder closes the wallet picker (the call throwsNotAllowedErrororAbortError), show the QR code fromverificationUrlinstead. -
From your server, call POST - Verify DC API Verification Response with:
proofExchangeId: from step 1origin: your page's address, for examplehttps://shop.example.com. It must be one of thedcApiExpectedOrigins.verificationResponse: theanswerfrom step 2, which looks like{ "response": "<the encrypted text>" }
Hovi checks the presentation and returns the shared details in
parsedPresentationstraight away, so you don't need to wait for anything else.
Microsoft Entra- Open the API Reference and select the Microsoft Entra Ecosystem API under Hovi Connect API.

- Go to the Verifications section.

- Open POST - Send Proof Request and click Test Request.

- Enter your API key as a Bearer Token, fill in the body parameters and click Send.

- The response includes
verificationUrl, a link to a QR code that the holder scans with Microsoft Authenticator, andverificationUri, the same request for a wallet to open directly. The request stops working atrequestExpiresAt. Keep theproofExchangeIdto check the result.
You can also list proof requests for your organization, find one by its proof exchange ID, and find proof responses; see the Verifications endpoints.
cheqd- Open the API Reference and select the cheqd Ecosystem API under Hovi Connect API.

- Go to the Verifications section.

- Open POST - Send Proof Request and click Test Request.

- Enter your API key as a Bearer Token, fill in the body parameters (including the
connectionIdof your connection with the holder) and click Send.
- The request goes to the holder's wallet over your connection, so the response has no verification URL. Keep the
proofExchangeIdto check the result.
You can also list proof requests for your organization or find one by its proof exchange ID; see the Verifications endpoints.
Indicio- Open the API Reference and select the Indicio Ecosystem API under Hovi Connect API.

- Go to the Verifications section.

- Open POST - Send Proof Request and click Test Request.

- Enter your API key as a Bearer Token, fill in the body parameters (including the
connectionIdof your connection with the holder) and click Send.
- The request goes to the holder's wallet over your connection, so the response has no verification URL. Keep the
proofExchangeIdto check the result.
You can also list proof requests for your organization or find one by its proof exchange ID; see the Verifications endpoints.
Polygon- Open the API Reference and select the Polygon Ecosystem API under Hovi Connect API.
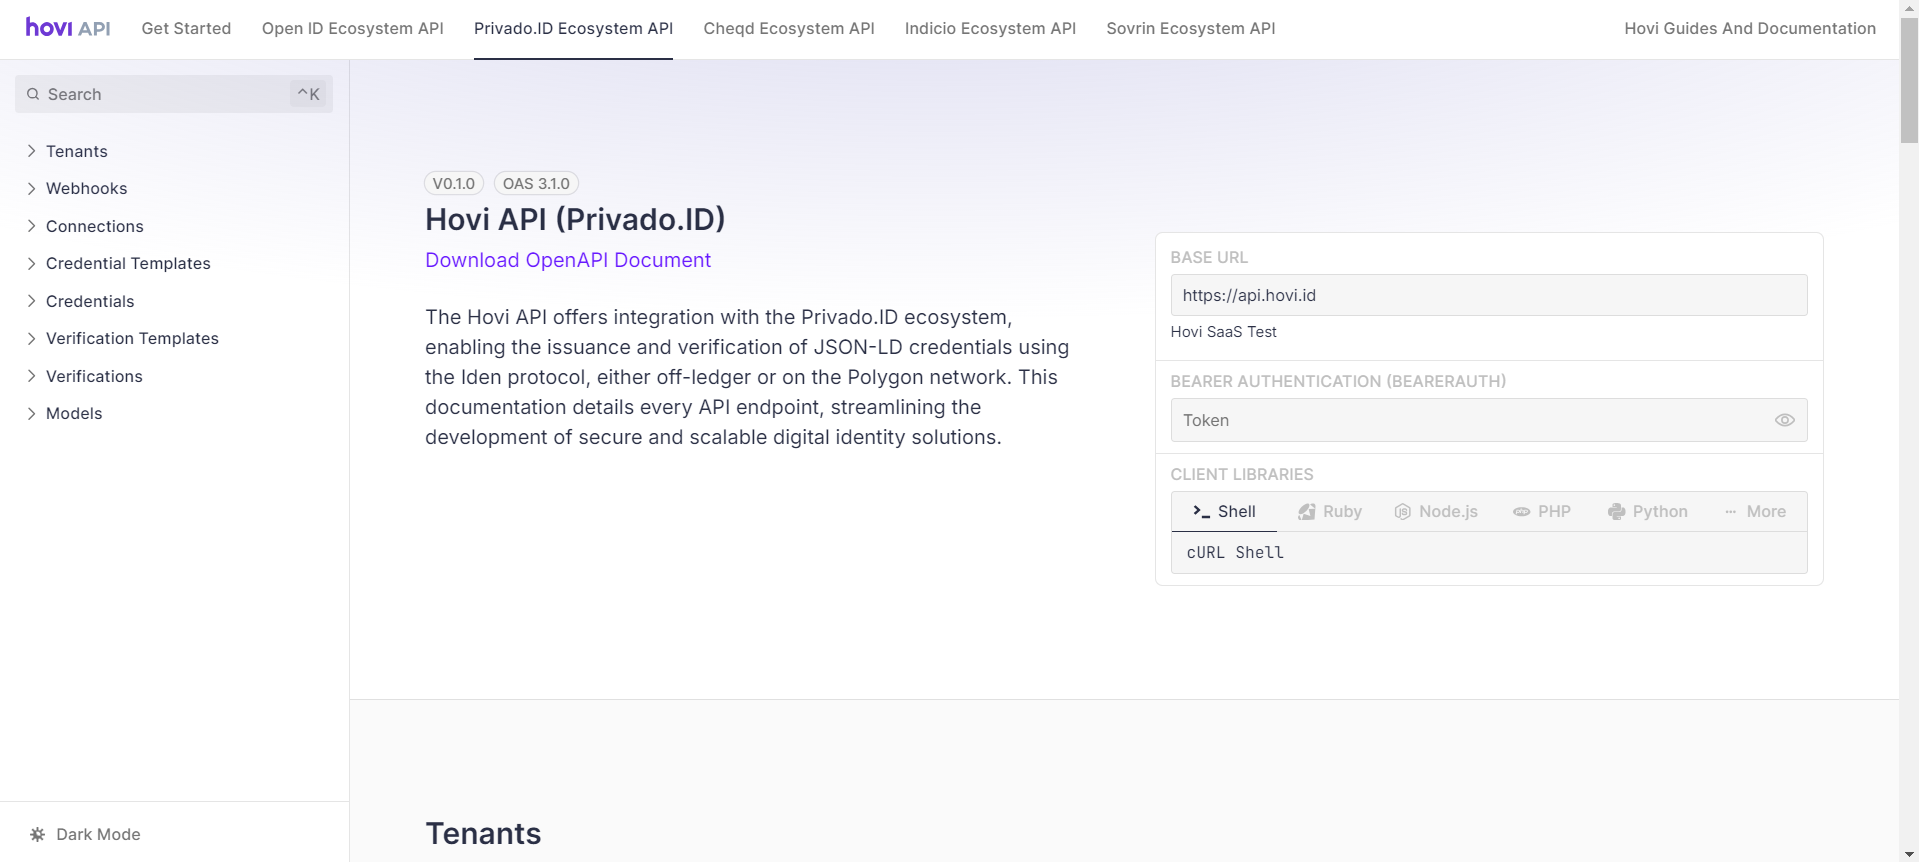
- Go to the Verifications section.

- Open POST - Send Proof Request and click Test Request.
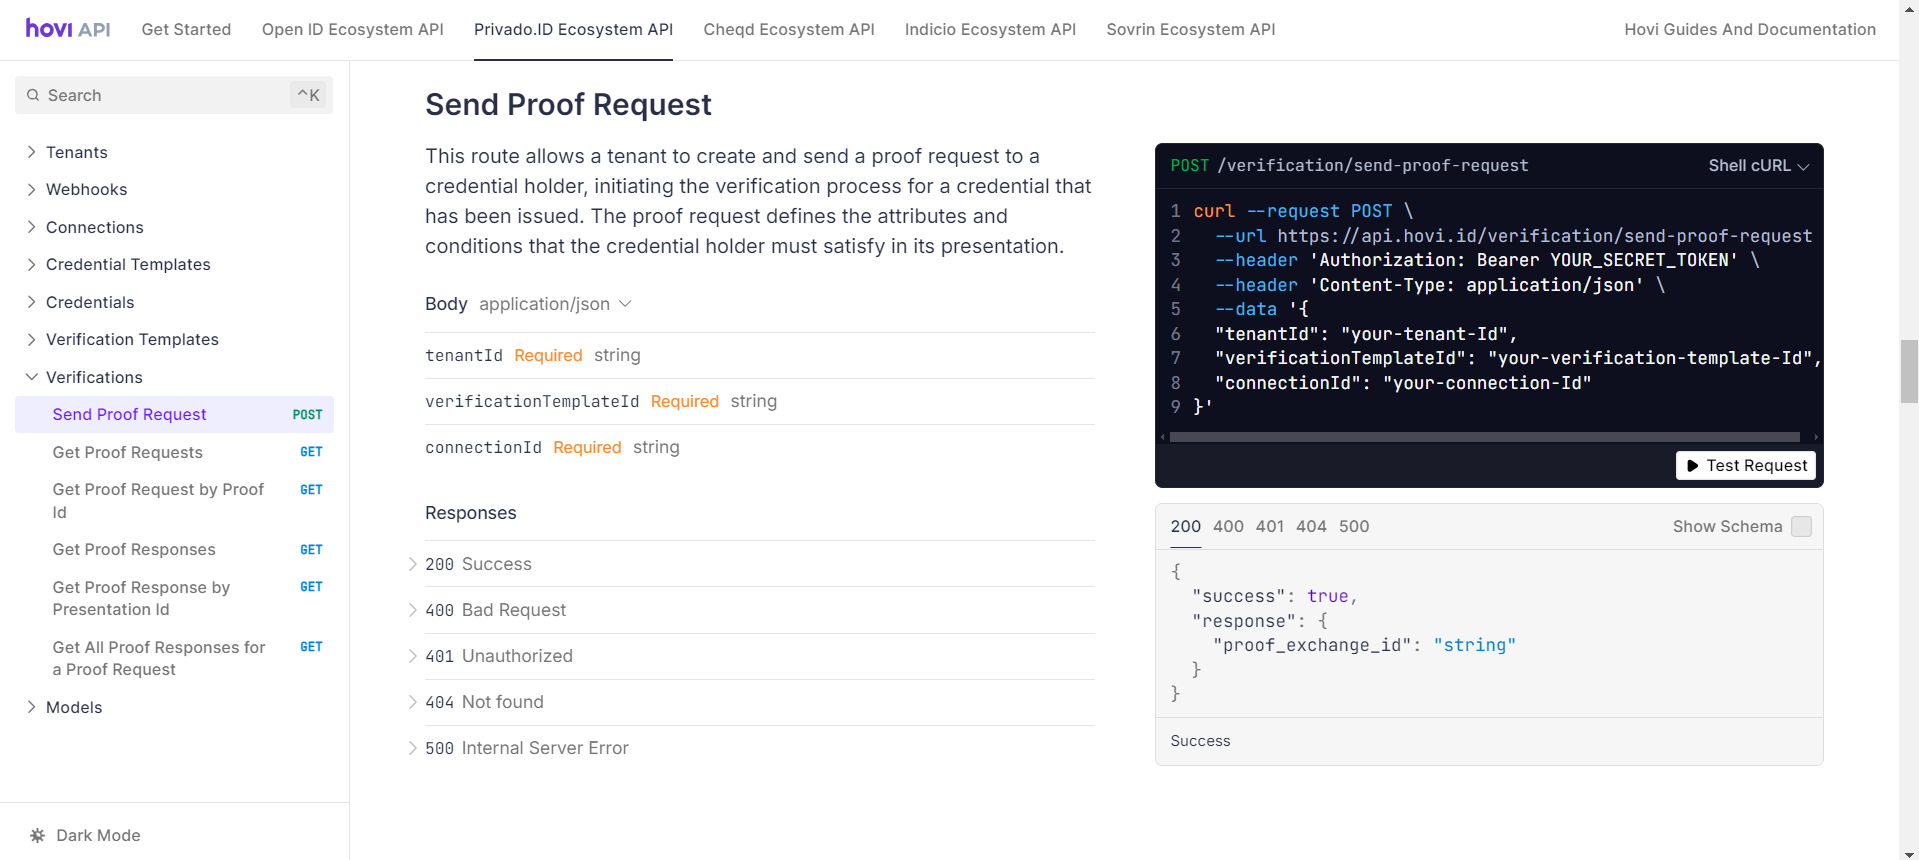
- Enter your API key as a Bearer Token, fill in the body parameters and click Send.
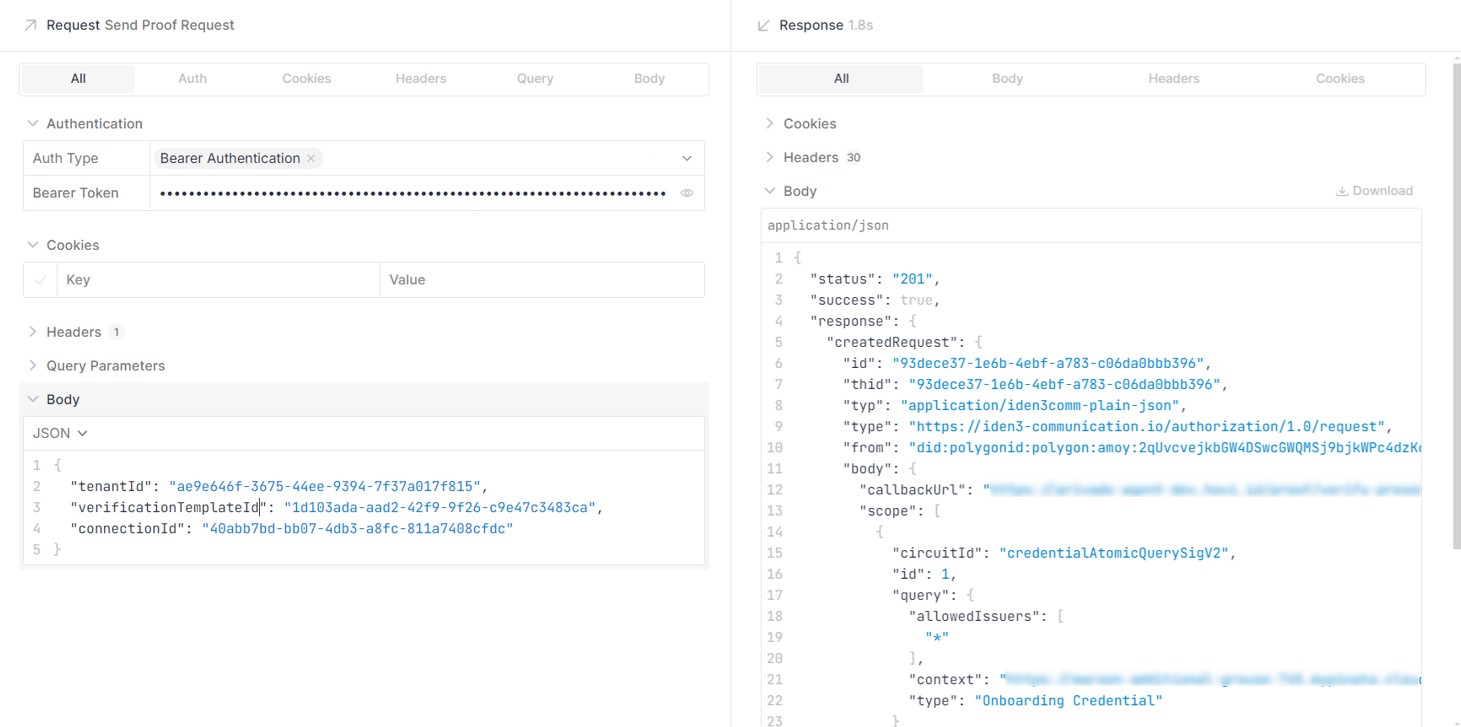
- The response includes
verificationUrl, a link to a QR code that the holder scans with their Privado ID wallet, andproofRequestUri, the same request for a wallet to open directly. Keep theproofExchangeIdto check the result.
You can also list proof requests for your organization, find one by its proof exchange ID, and list or find proof responses; see the Verifications endpoints.
Check the result
To see how a request is going, call GET - Find Proof Request by Proof Exchange Id (/verification/proof-request/find) with the proofExchangeId from the response, for example in the EU Digital Identity API. Its state is one of:
| State | Meaning |
|---|---|
pending | Waiting for the holder to respond. |
processing | cheqd and Indicio only. The holder has responded and the exchange is still in progress. |
done | The holder shared the credential and it was verified. |
abandoned | The request ended without a result, for example because the holder declined or the credential couldn't be verified. |
What happens next
Once the holder shares the credential, Hovi checks its digital seal and the result is available through the Verifications endpoints. To get notified automatically instead of checking, set up webhooks.