Set up an ecosystem
An ecosystem is the digital identity network your organization issues and checks credentials on. When you first sign in to Hovi Studio, Hovi walks you through creating your first one. Follow this page to add another.
Not sure which ecosystem you need? Read What is an ecosystem? and Compatibility.
Before you start
Make sure you have:
- A Hovi Studio account.
- For Microsoft Entra only: administrator access to a Microsoft Entra ID tenant, so you can grant Hovi the permissions it needs.
Steps
Choose your ecosystem. Hovi remembers your choice on other pages.
 EU Digital Identity
 Microsoft Entra
 cheqd
 Indicio
 Polygon
EU Digital Identity- Sign in to Hovi Studio.
- Open the ecosystem dropdown at the top of the dashboard.
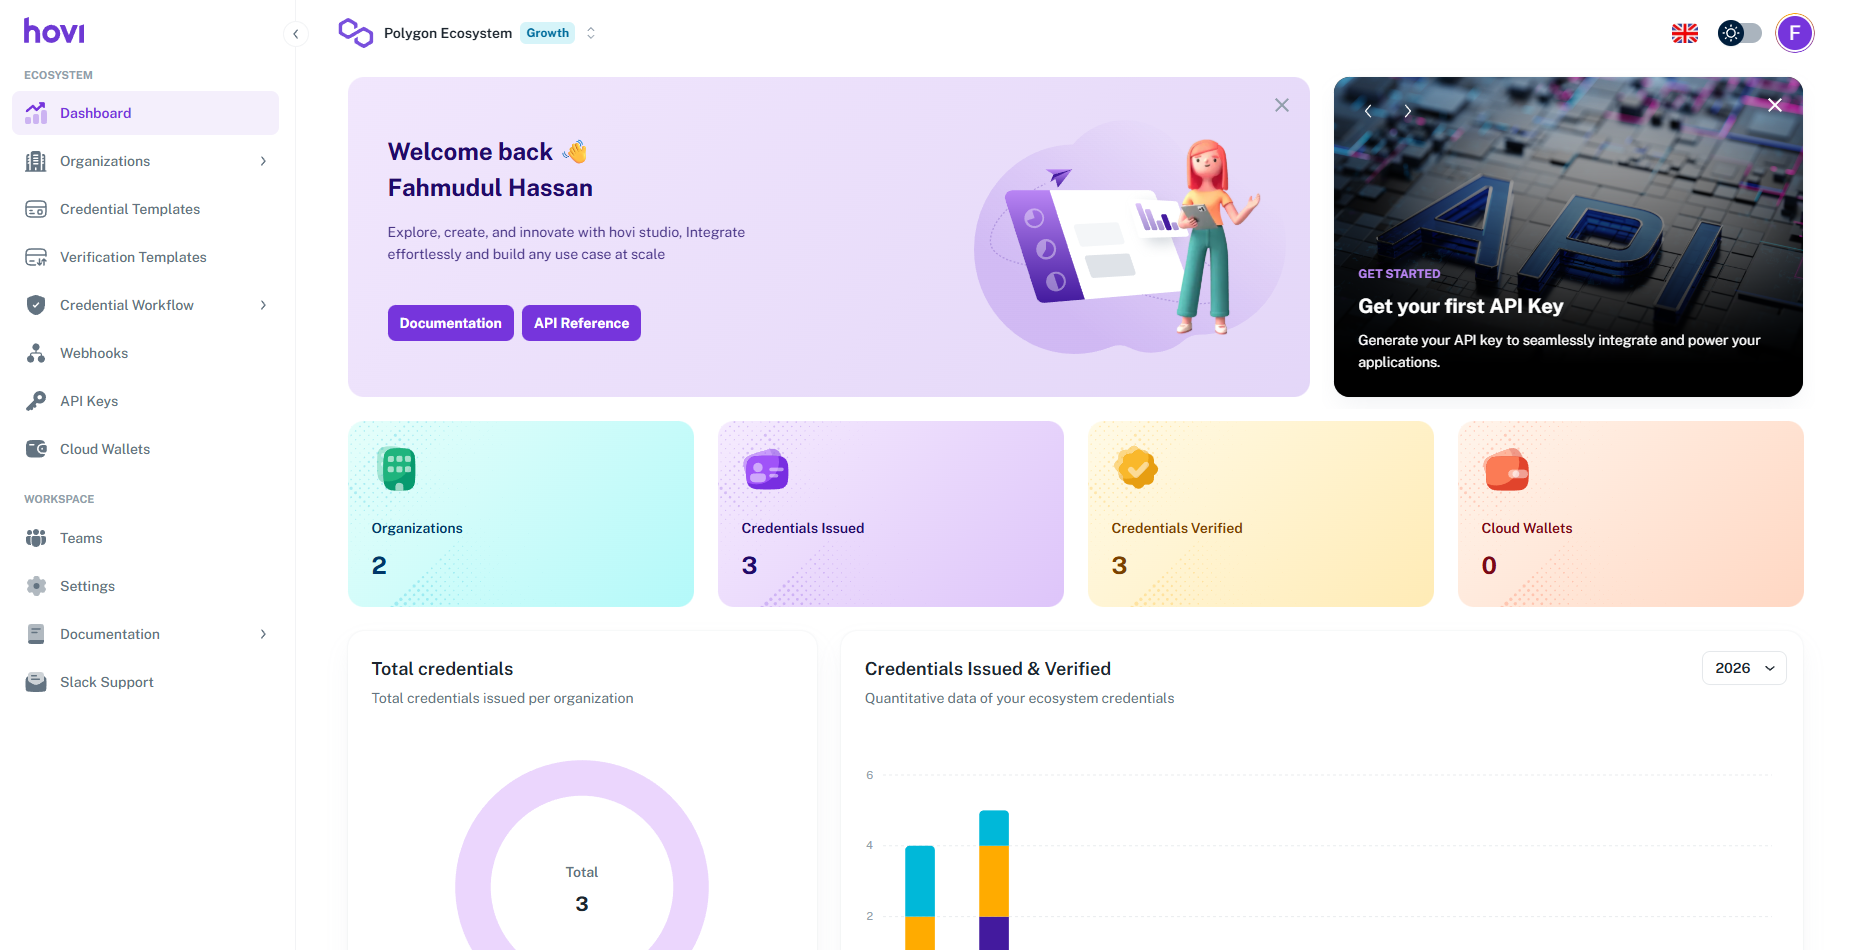
- Click Add Ecosystem.

- Under Name Your Ecosystem, enter a name. Under Choose Your Trust Infrastructure, choose EU Digital Identity, then click Continue.

- Hovi creates the ecosystem and opens its dashboard. For your first ecosystem, Studio then asks a few short Tell us more about you questions.
Microsoft EntraSetting up Microsoft Entra takes a few more steps, because Hovi needs your permission to set up Microsoft Entra Verified ID in your Microsoft tenant.
-
Sign in to Hovi Studio.
-
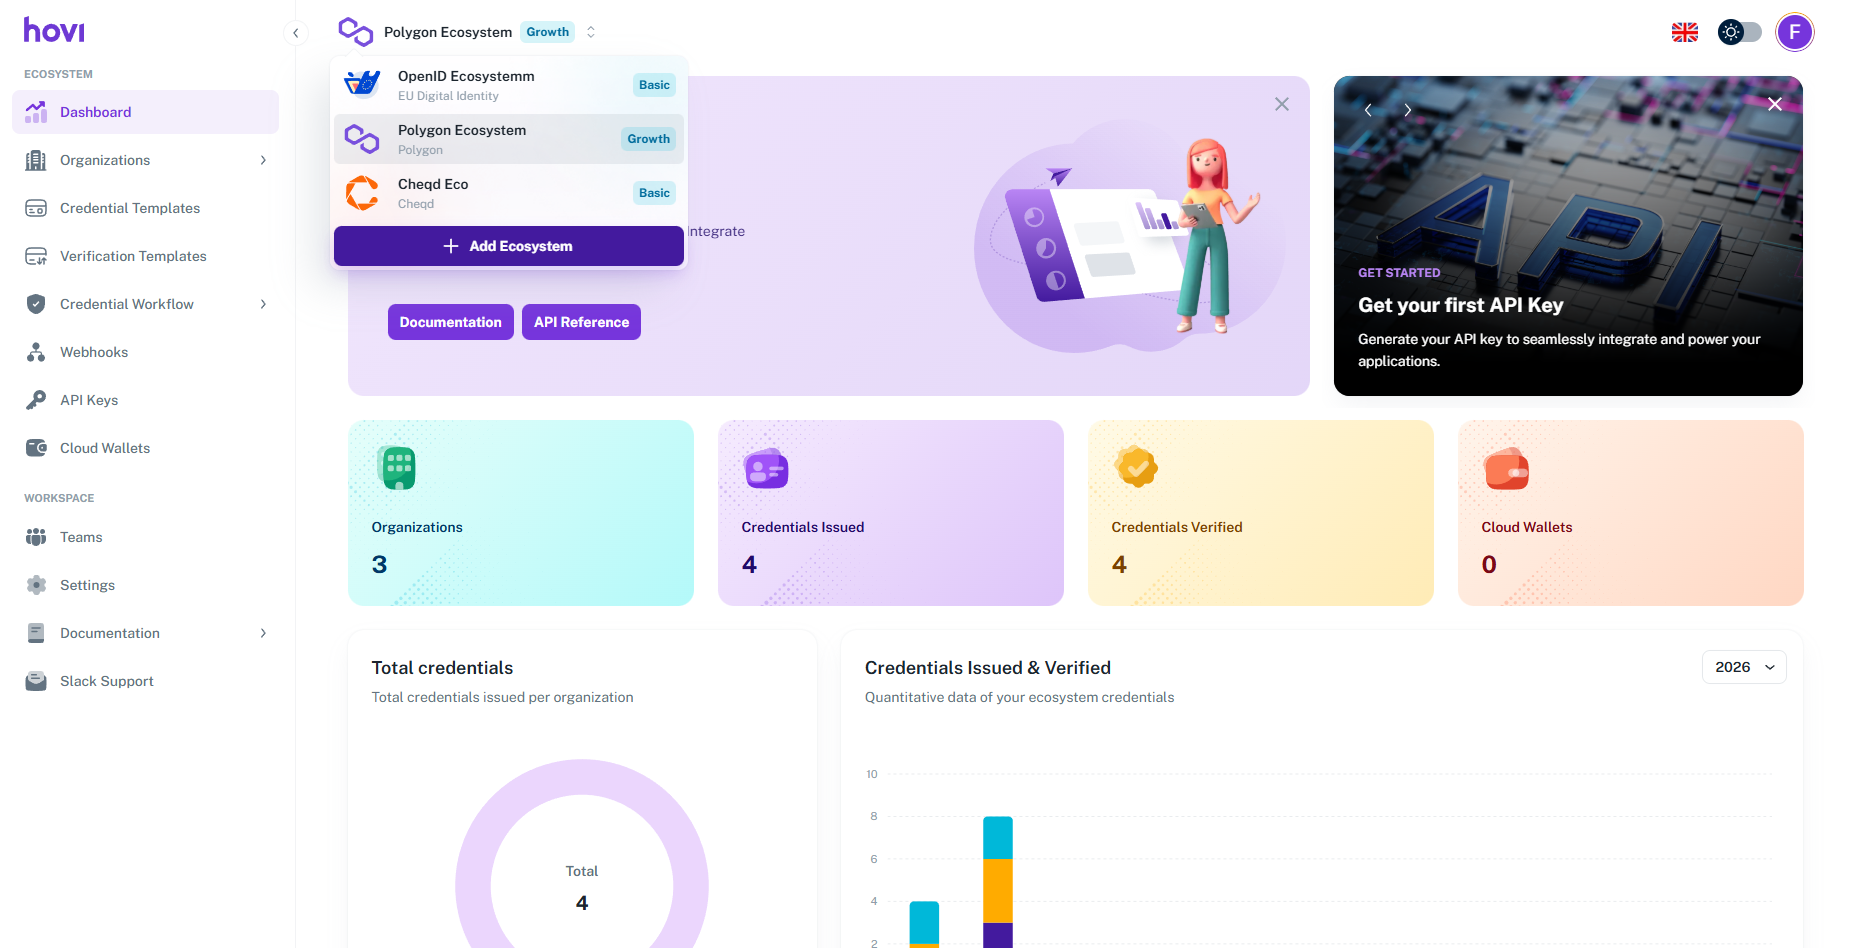
Open the ecosystem dropdown at the top of the dashboard.
-
Click Add Ecosystem.
-
Under Name Your Ecosystem, enter a name. Under Choose Your Trust Infrastructure, choose Microsoft Entra ID, then click Continue.
-
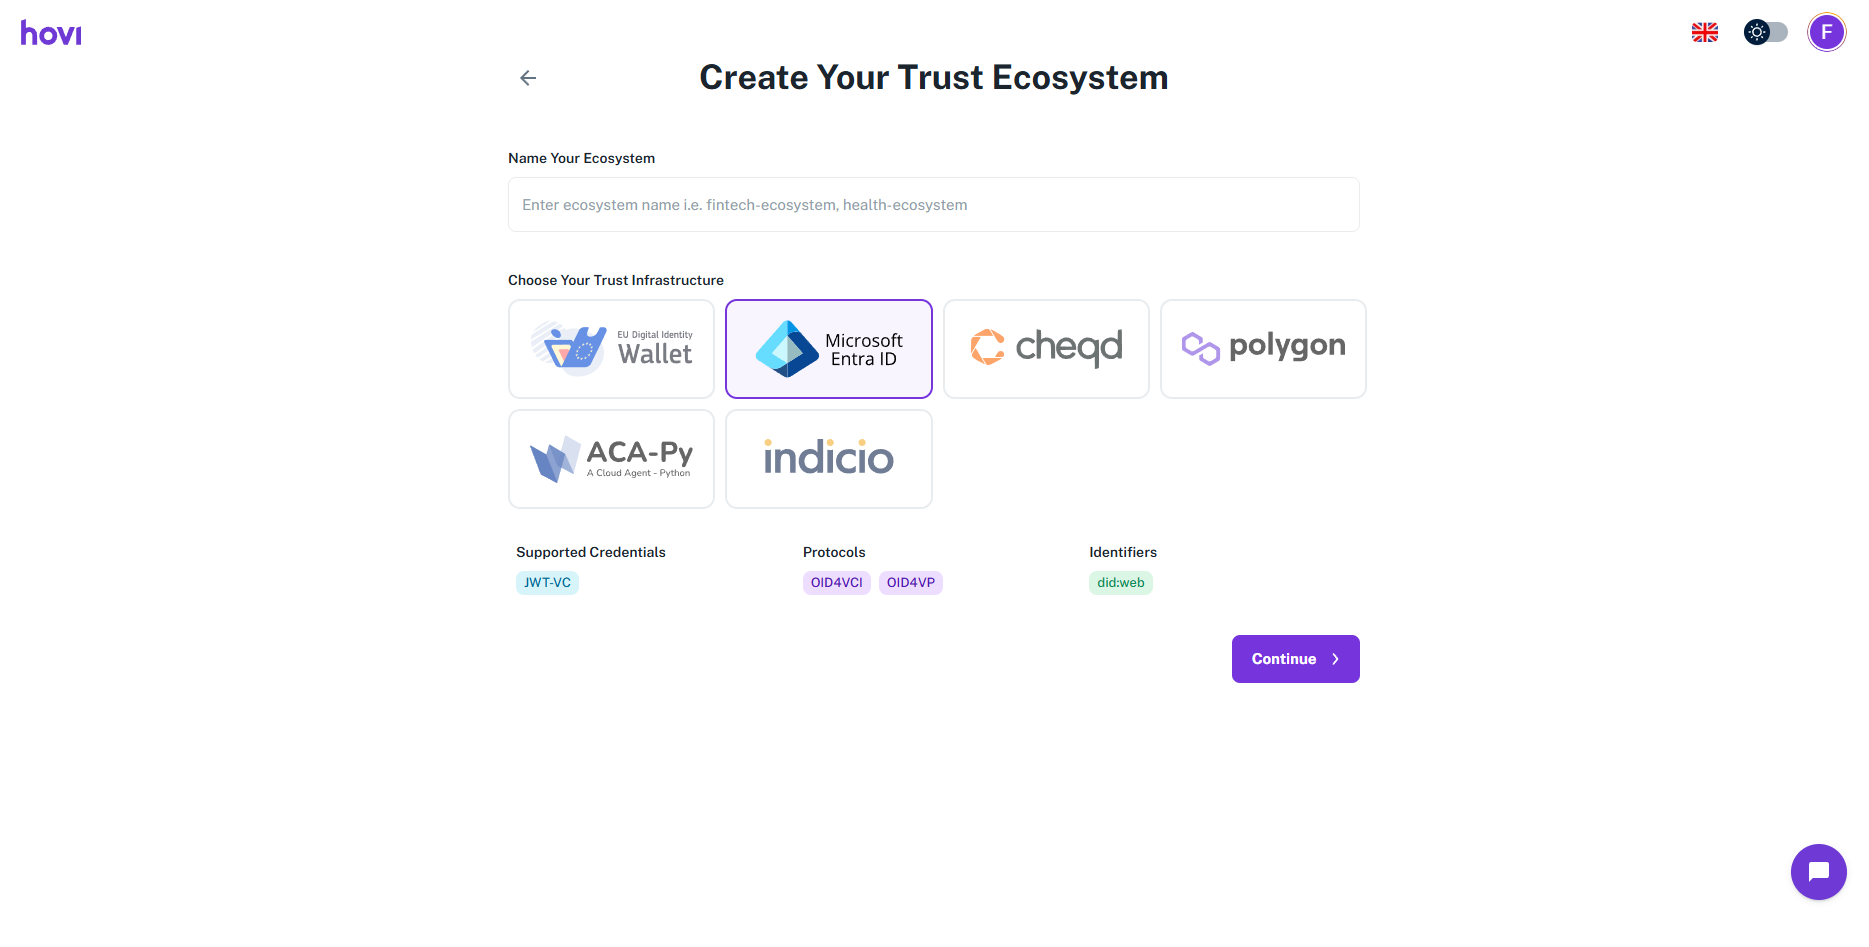
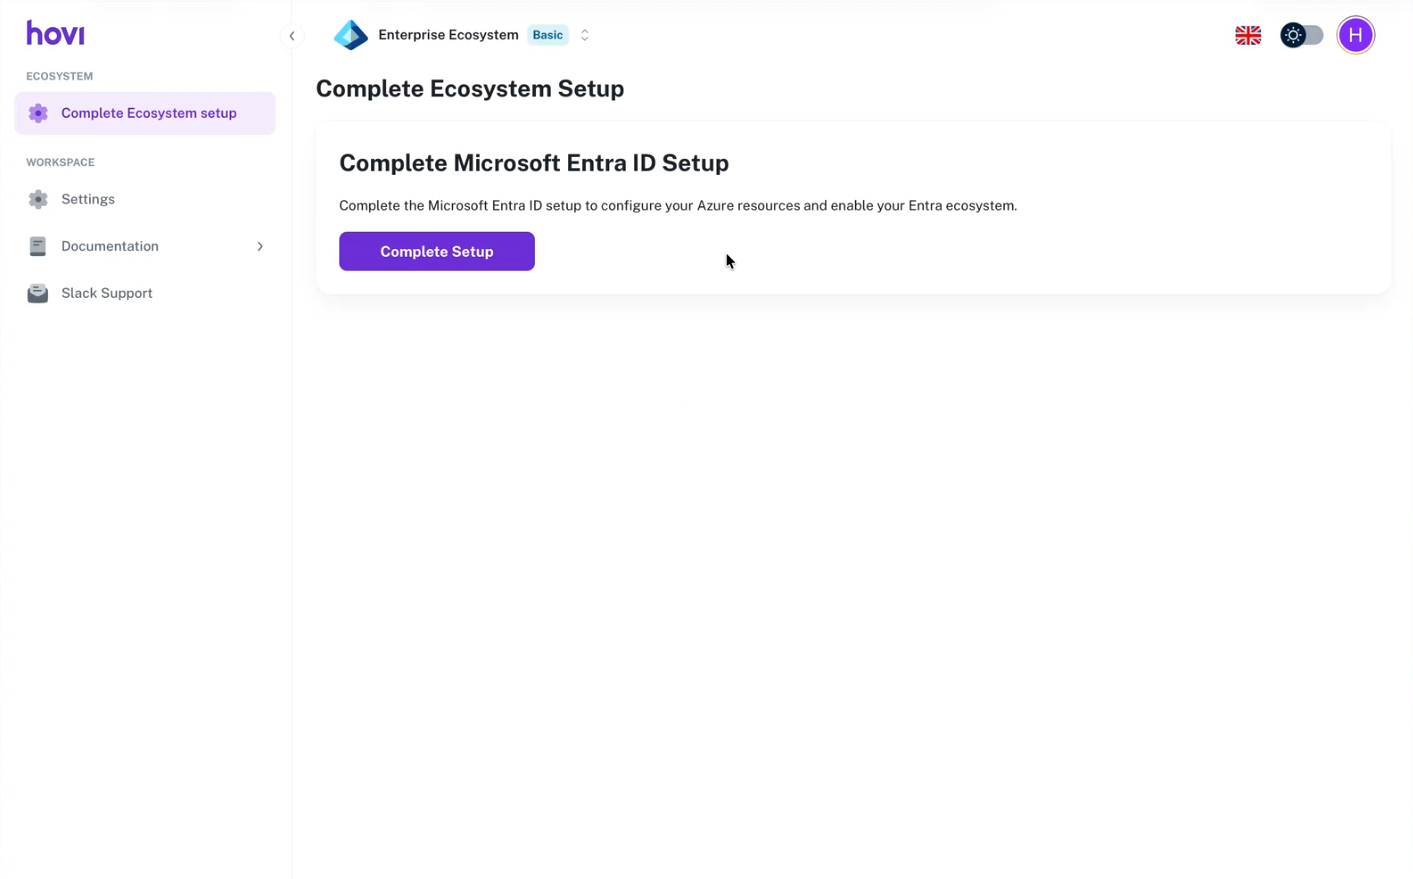
On the Complete Ecosystem Setup page, click Complete Setup.
-
A Microsoft sign-in window opens (from
login.microsoftonline.com). Choose your Microsoft Entra ID administrator account, or click Use another account.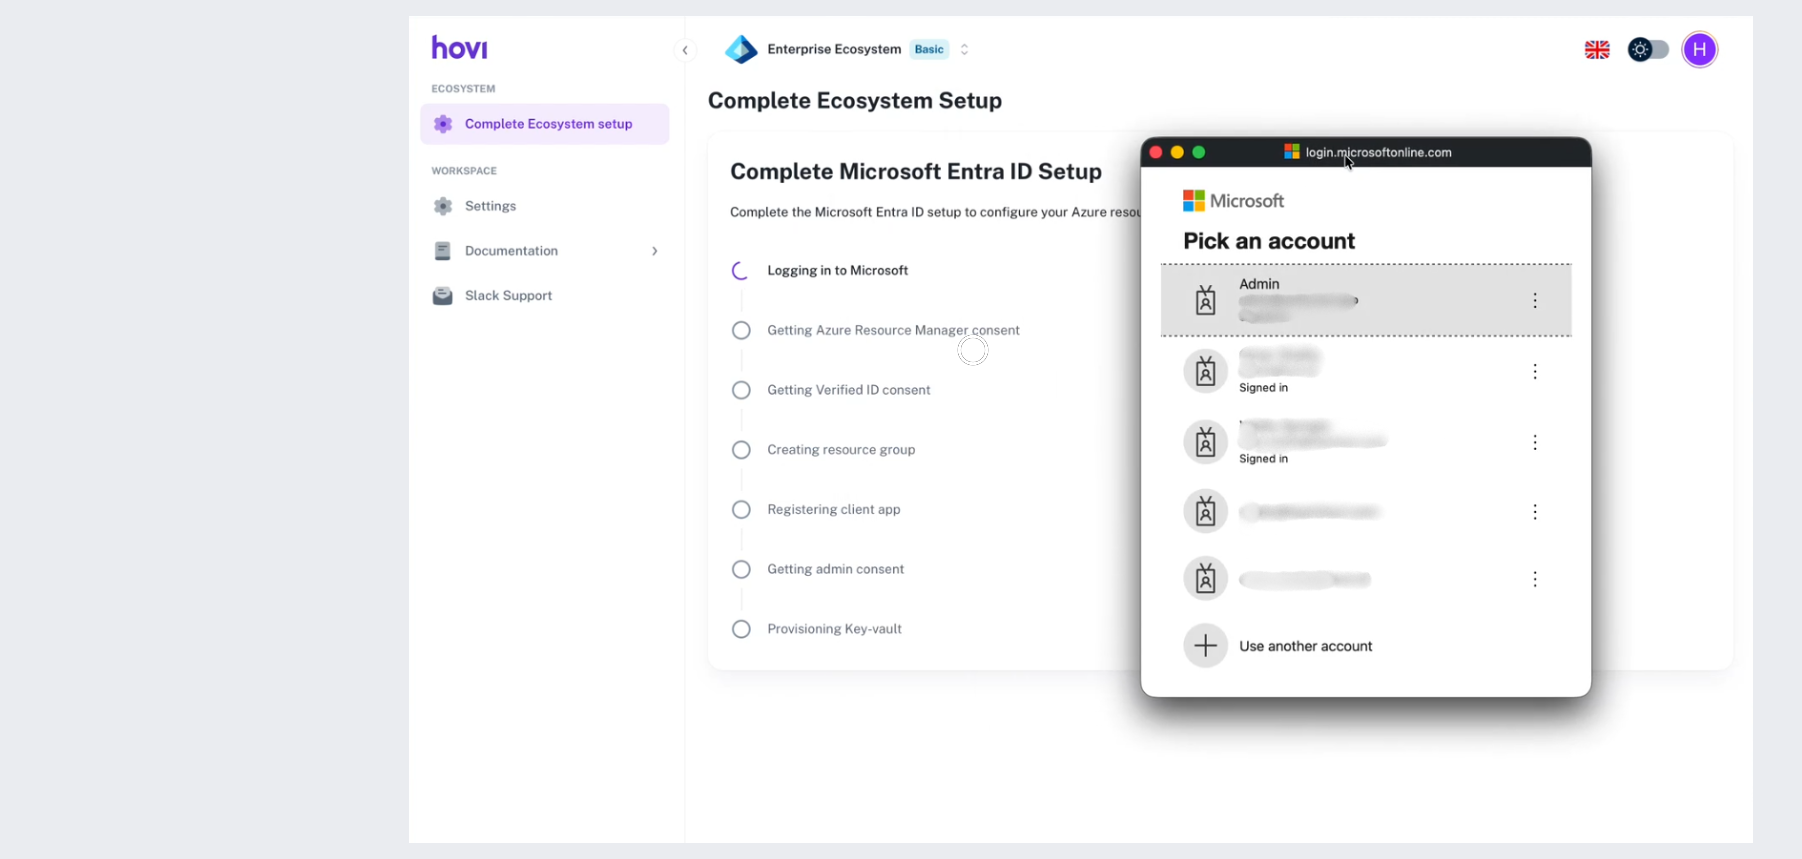
-
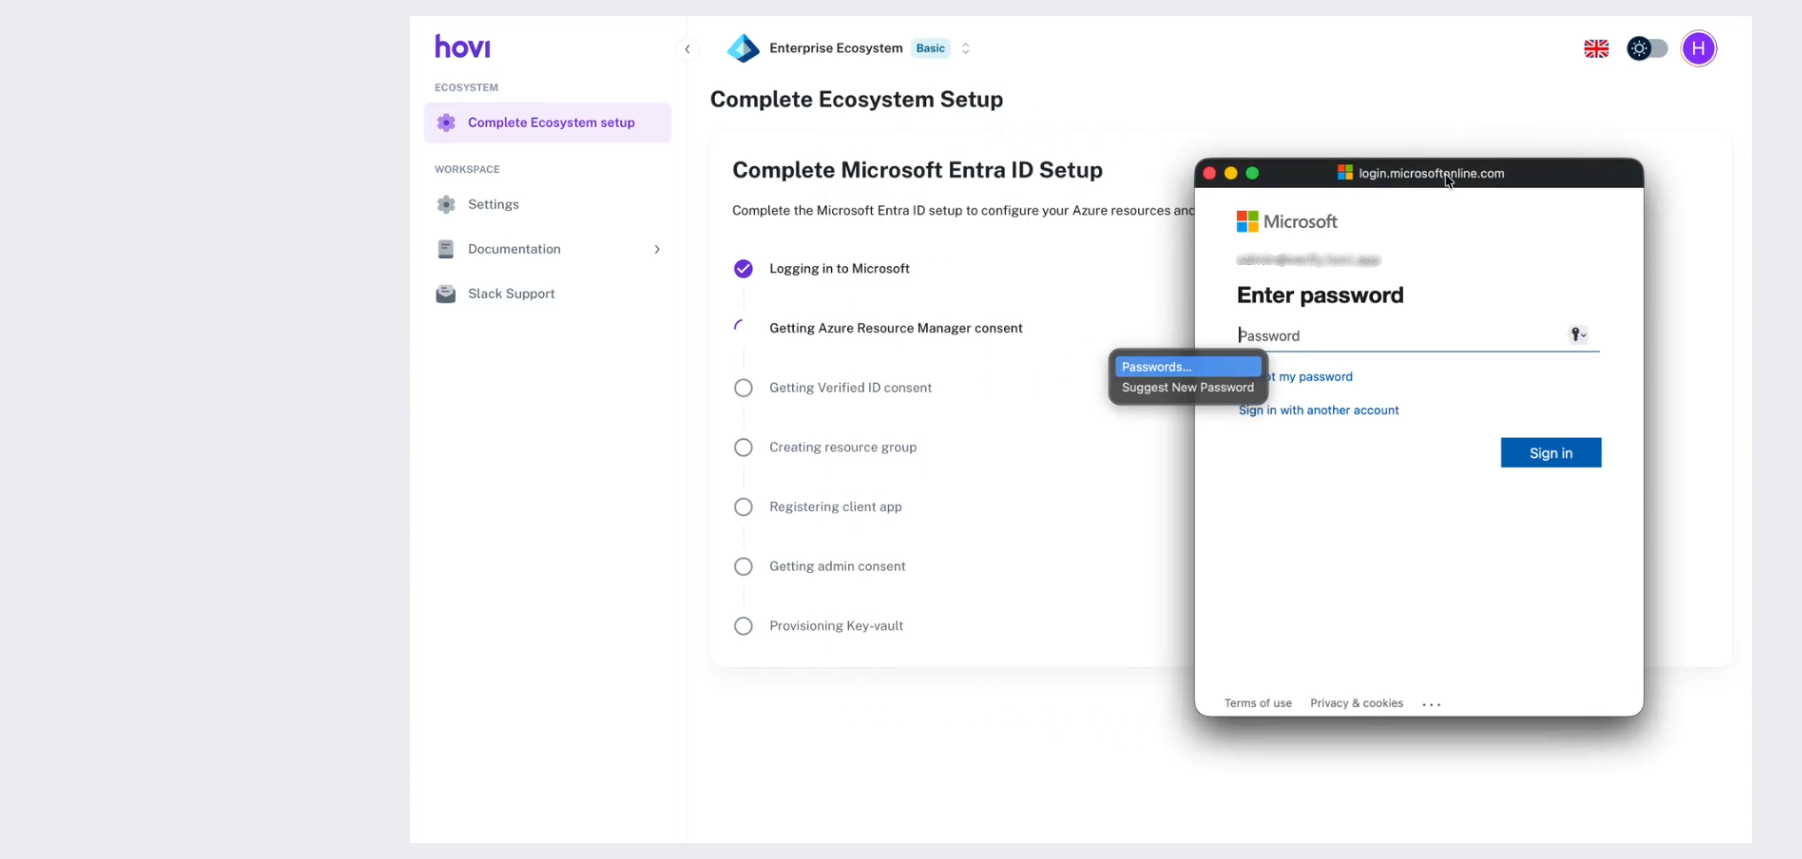
Enter the account's password and click Sign in. If your organization uses multi-factor authentication, complete that too.
-
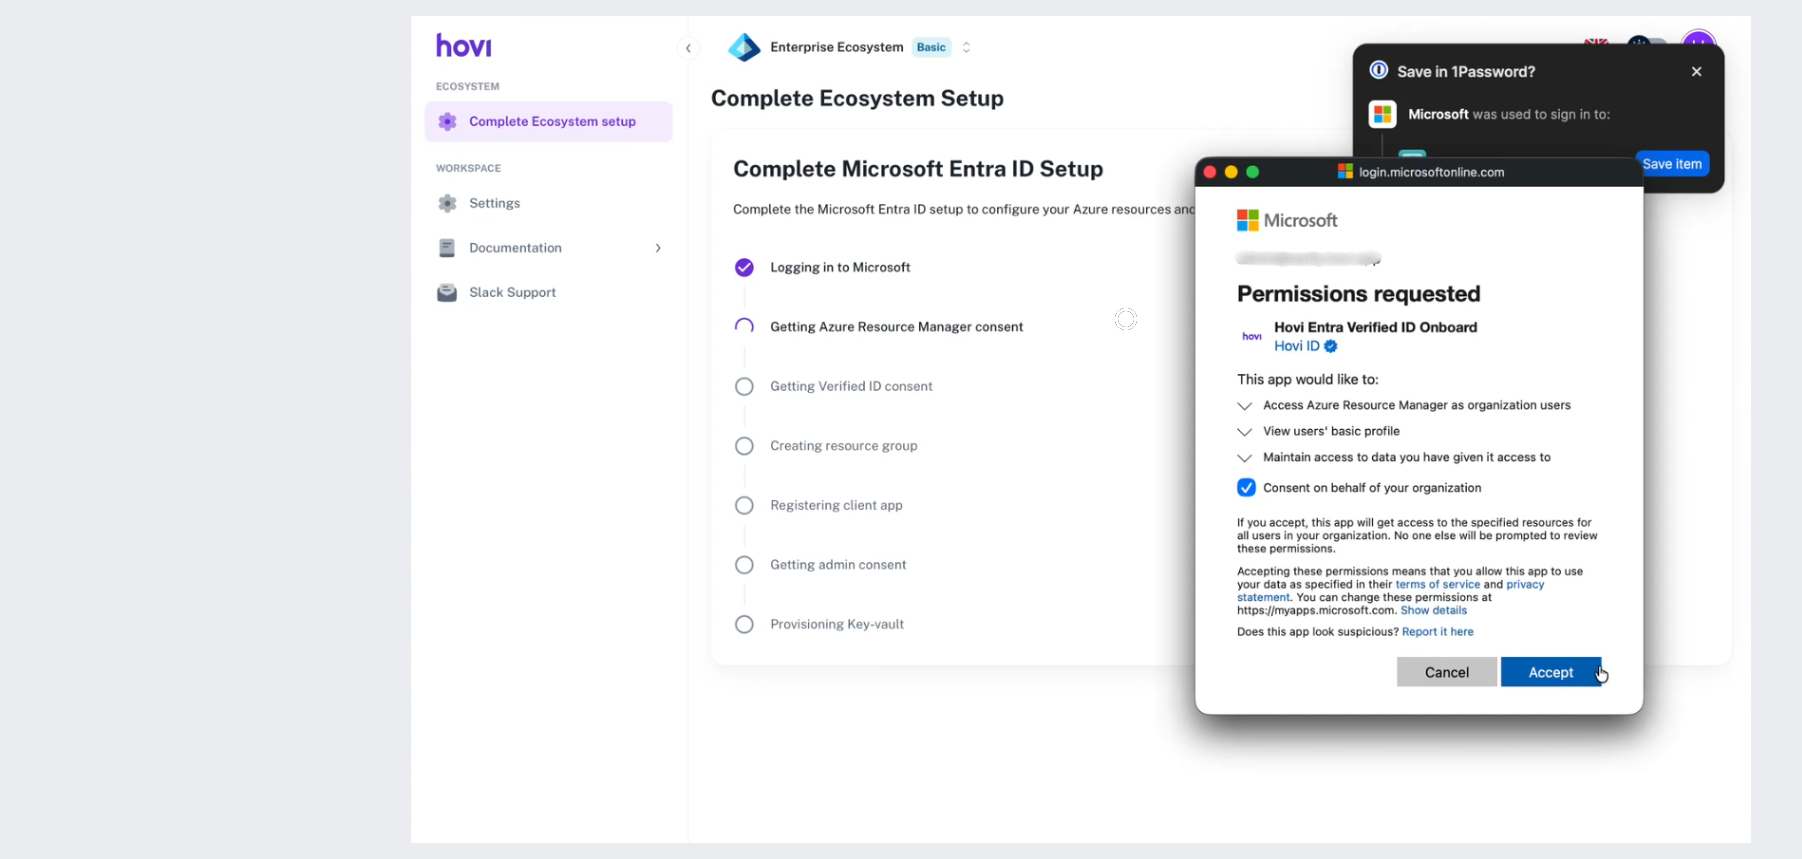
Microsoft asks you to approve Hovi Entra Verified ID Onboard (Azure Resource Manager access). Check that the correct tenant name is shown at the top. The screen asks for these permissions:
- Access Azure Resource Manager as organization users
- View users' basic profile
- Maintain access to data you have given it access to
- Consent on behalf of your organization
Click Accept. This lets Hovi create the Azure resources your ecosystem needs.
-
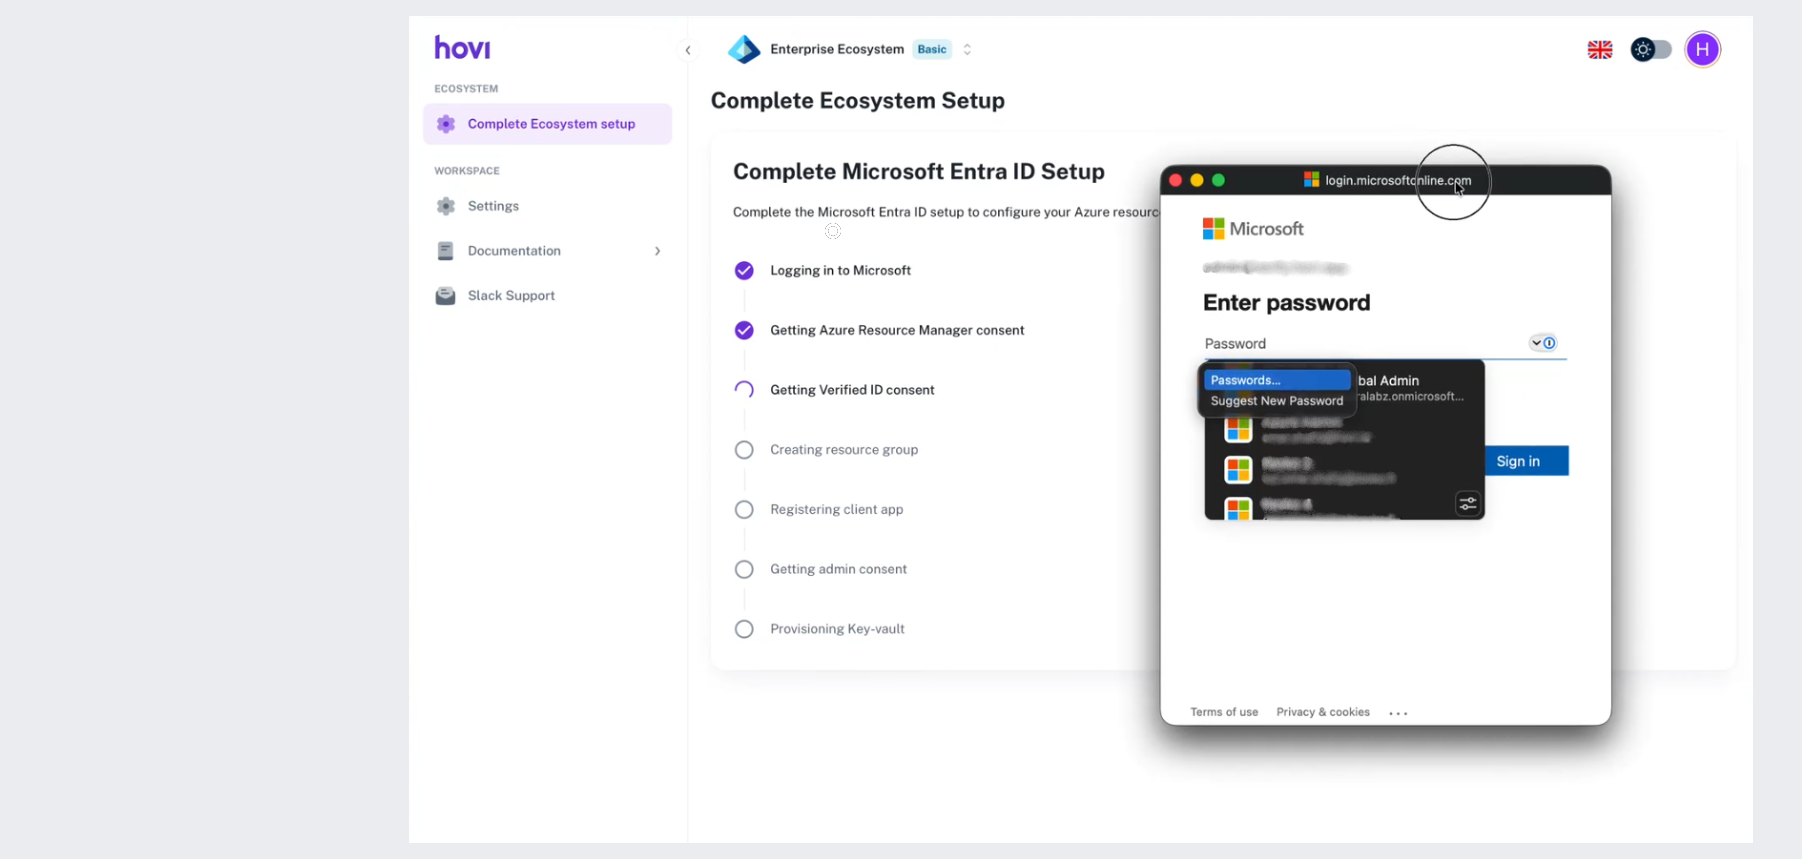
Hovi now sets everything up. The Complete Microsoft Entra ID Setup page ticks off each step in turn as it finishes:
- Logging in to Microsoft
- Getting Azure Resource Manager consent
- Getting Verified ID consent
- Creating resource group
- Registering client app
- Getting admin consent
- Provisioning Key-vault
-
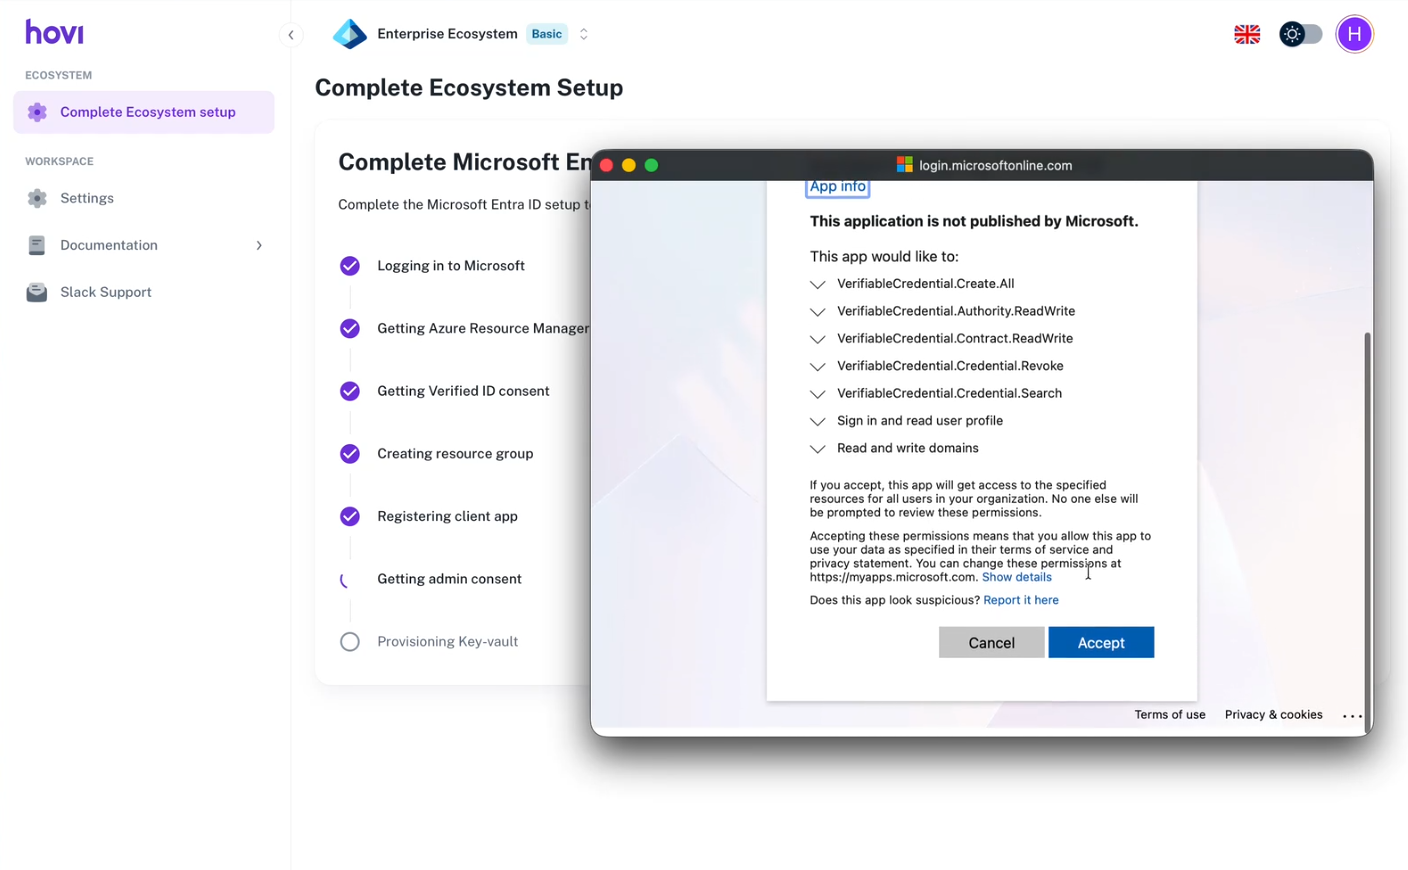
During setup, Microsoft asks for a second approval, for Verified ID. The screen says This application is not published by Microsoft; this is expected. It asks for these permissions:
- VerifiableCredential.Create.All
- VerifiableCredential.Authority.ReadWrite
- VerifiableCredential.Contract.ReadWrite
- VerifiableCredential.Credential.Revoke
- VerifiableCredential.Credential.Search
- Sign in and read user profile
- Read and write domains
Review the permissions and click Accept. This lets Hovi set up Microsoft Entra Verified ID for your tenant.
-
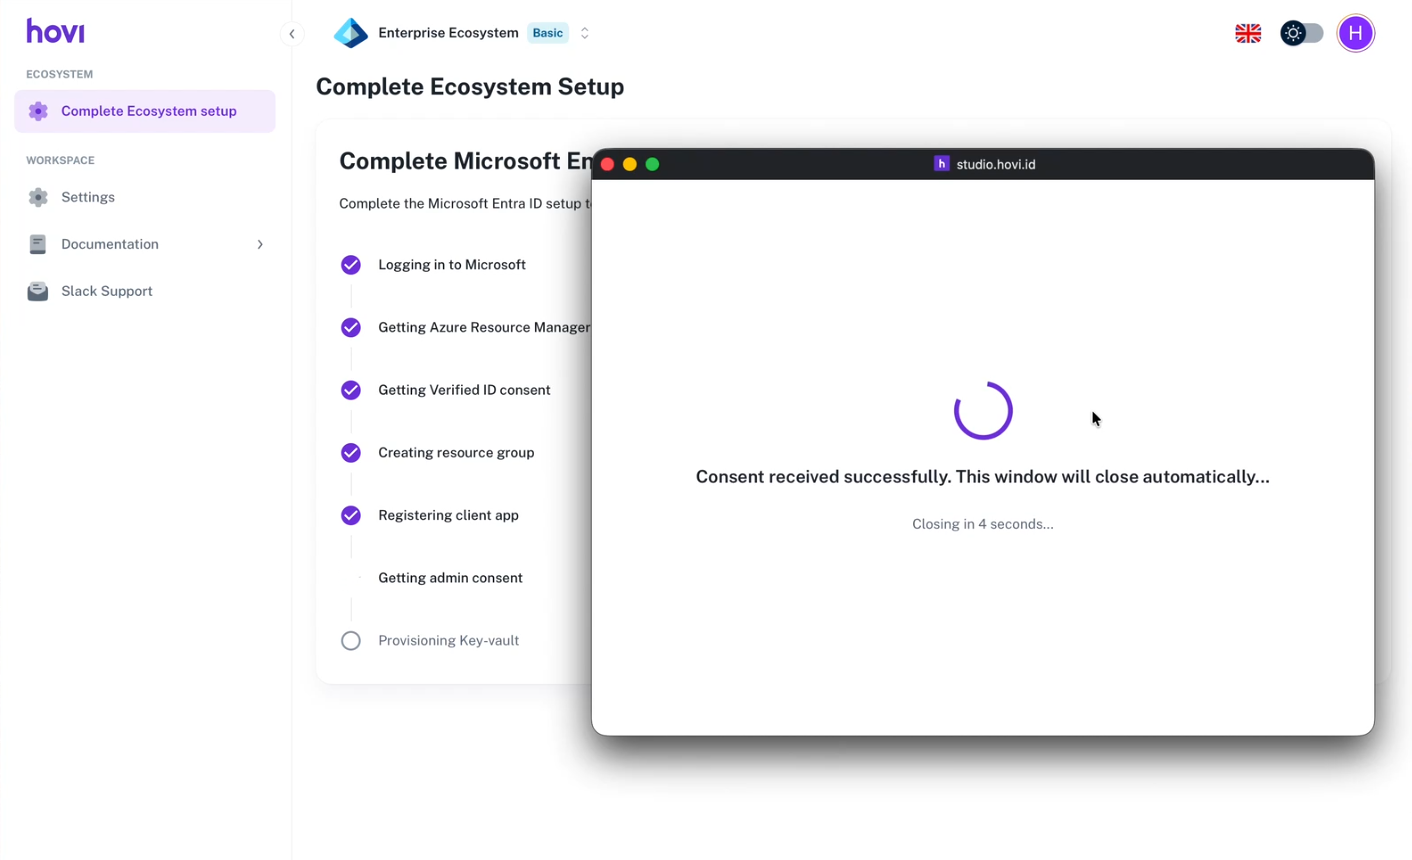
The window confirms that consent was received and closes by itself after a few seconds.
-
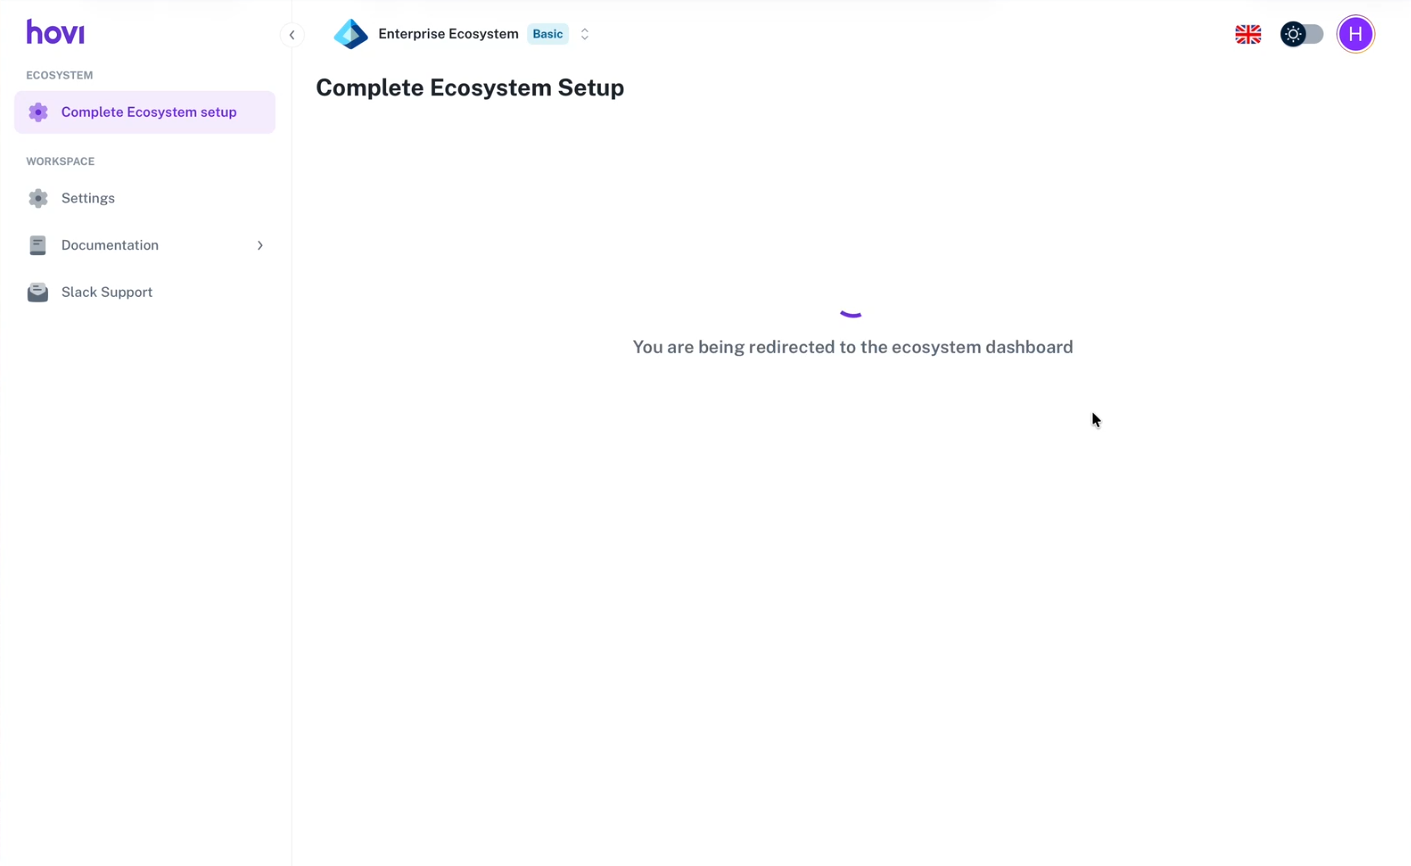
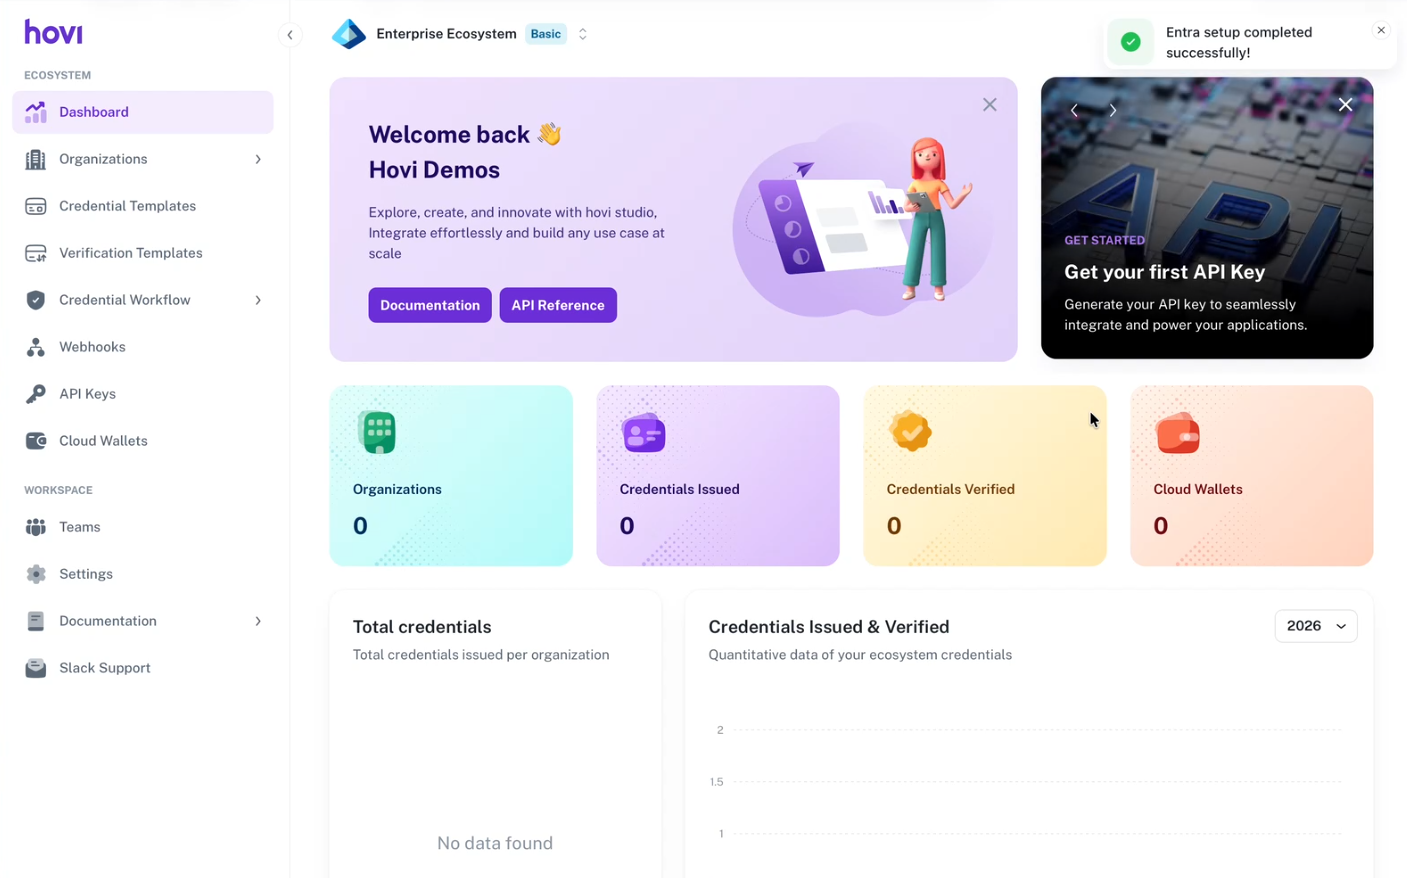
You're taken back to the ecosystem dashboard, where Entra setup completed successfully appears in the top-right corner.
cheqd- Sign in to Hovi Studio.
- Open the ecosystem dropdown at the top of the dashboard.
- Click Add Ecosystem.
- Under Name Your Ecosystem, enter a name. Under Choose Your Trust Infrastructure, choose cheqd, then click Continue.

- Hovi creates the ecosystem and opens its dashboard. For your first ecosystem, Studio then asks a few short Tell us more about you questions.
Indicio- Sign in to Hovi Studio.
- Open the ecosystem dropdown at the top of the dashboard.
- Click Add Ecosystem.
- Under Name Your Ecosystem, enter a name. Under Choose Your Trust Infrastructure, choose Indicio, then click Continue.

- Hovi creates the ecosystem and opens its dashboard. For your first ecosystem, Studio then asks a few short Tell us more about you questions.
Polygon- Sign in to Hovi Studio.
- Open the ecosystem dropdown at the top of the dashboard.
- Click Add Ecosystem.
- Under Name Your Ecosystem, enter a name. Under Choose Your Trust Infrastructure, choose Polygon, then click Continue.

- Hovi creates the ecosystem and opens its dashboard. For your first ecosystem, Studio then asks a few short Tell us more about you questions.
What happens next
Your new ecosystem opens in the Hovi Studio dashboard. You can now create organizations, design credentials, design verifications, and invite your team. If a developer will connect your systems to Hovi, they can create API keys.
New ecosystems start on the Basic plan, and your first one comes with a 30-day free trial (once per user, no credit card needed). To change plan, go to Settings → Plans. For what each plan includes, see Pricing & usage.