Verification Templates
Verification templates in Hovi Studio define the structure, rules, and conditions under which specific credentials will be verified. These templates act as blueprints for credential verification and are critical for ensuring consistency and accuracy in verifying credentials across your ecosystem. Once created, verification templates can be assigned to any tenant and reused within the ecosystem.
This guide will walk you through creating and managing verification templates in Hovi Studio.
Prerequisites
Before creating a verification template, ensure the following:
- You are registered with the Hovi Studio.
- You have completed the onboarding process, which includes creating an ecosystem.
- You have an active tenant within your ecosystem
Steps to Create a Verification Template
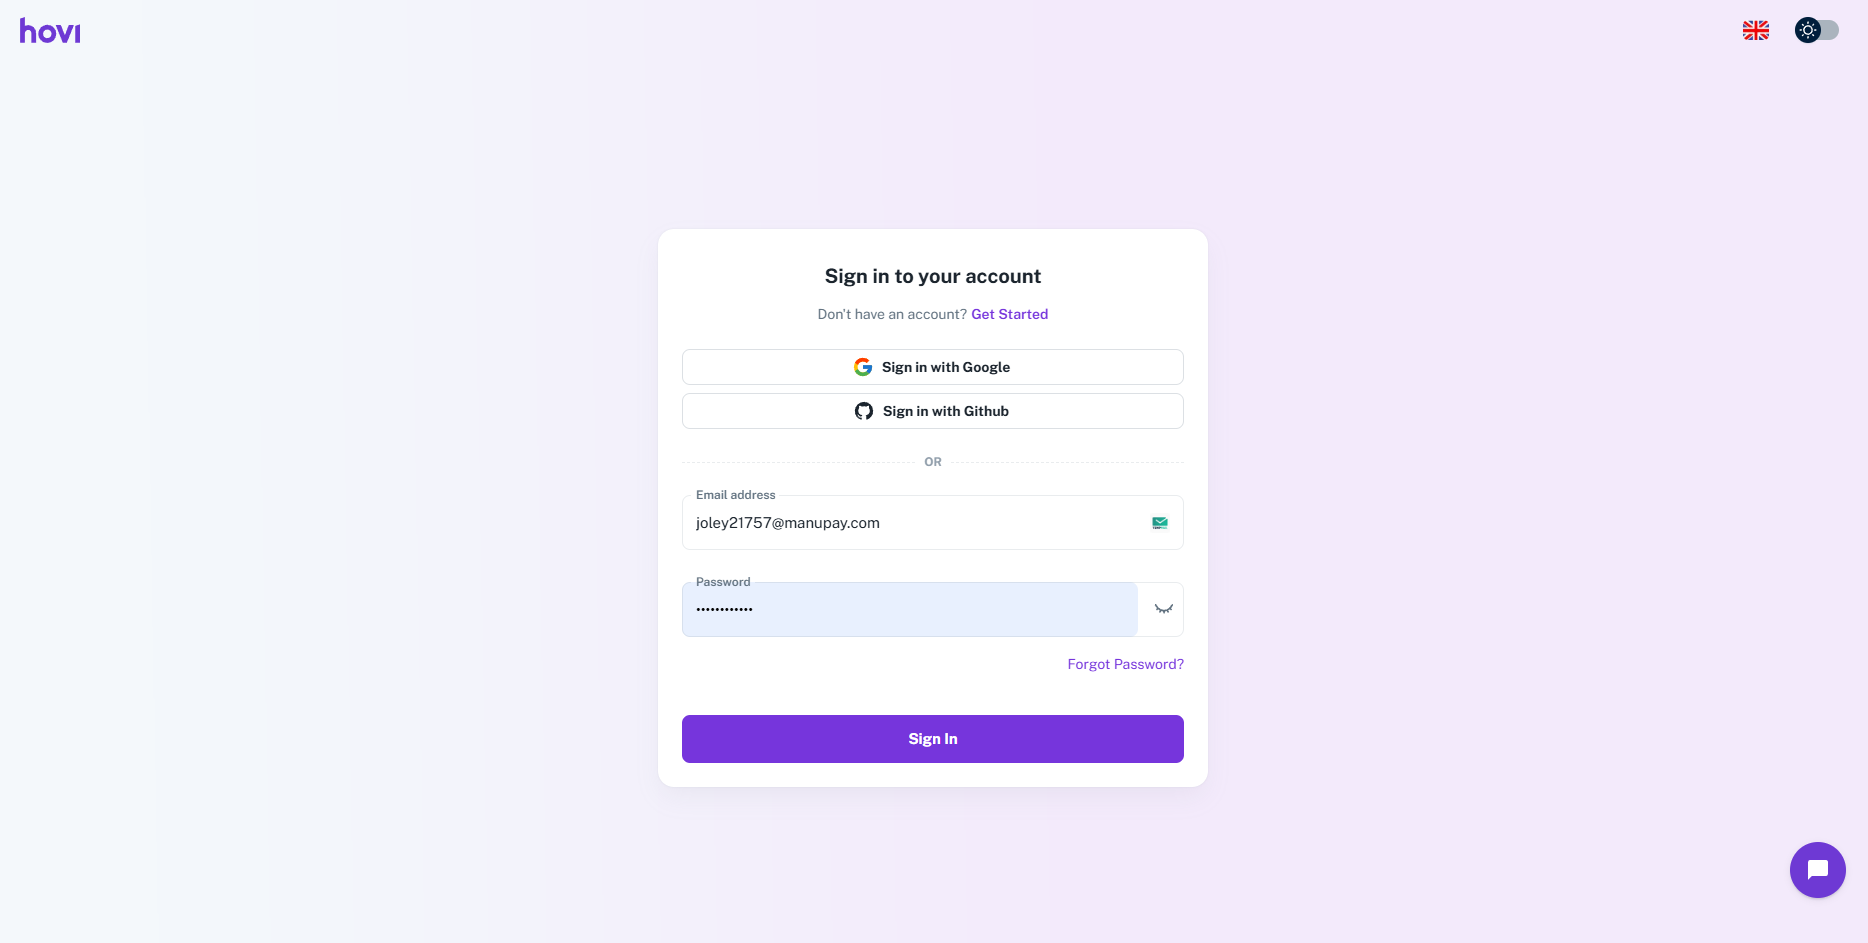
- Sign in to your Hovi Studio account using your credentials.
- From the Hovi Studio dashboard, navigate to the “Verification Templates” tab located in the left-hand navigation menu.
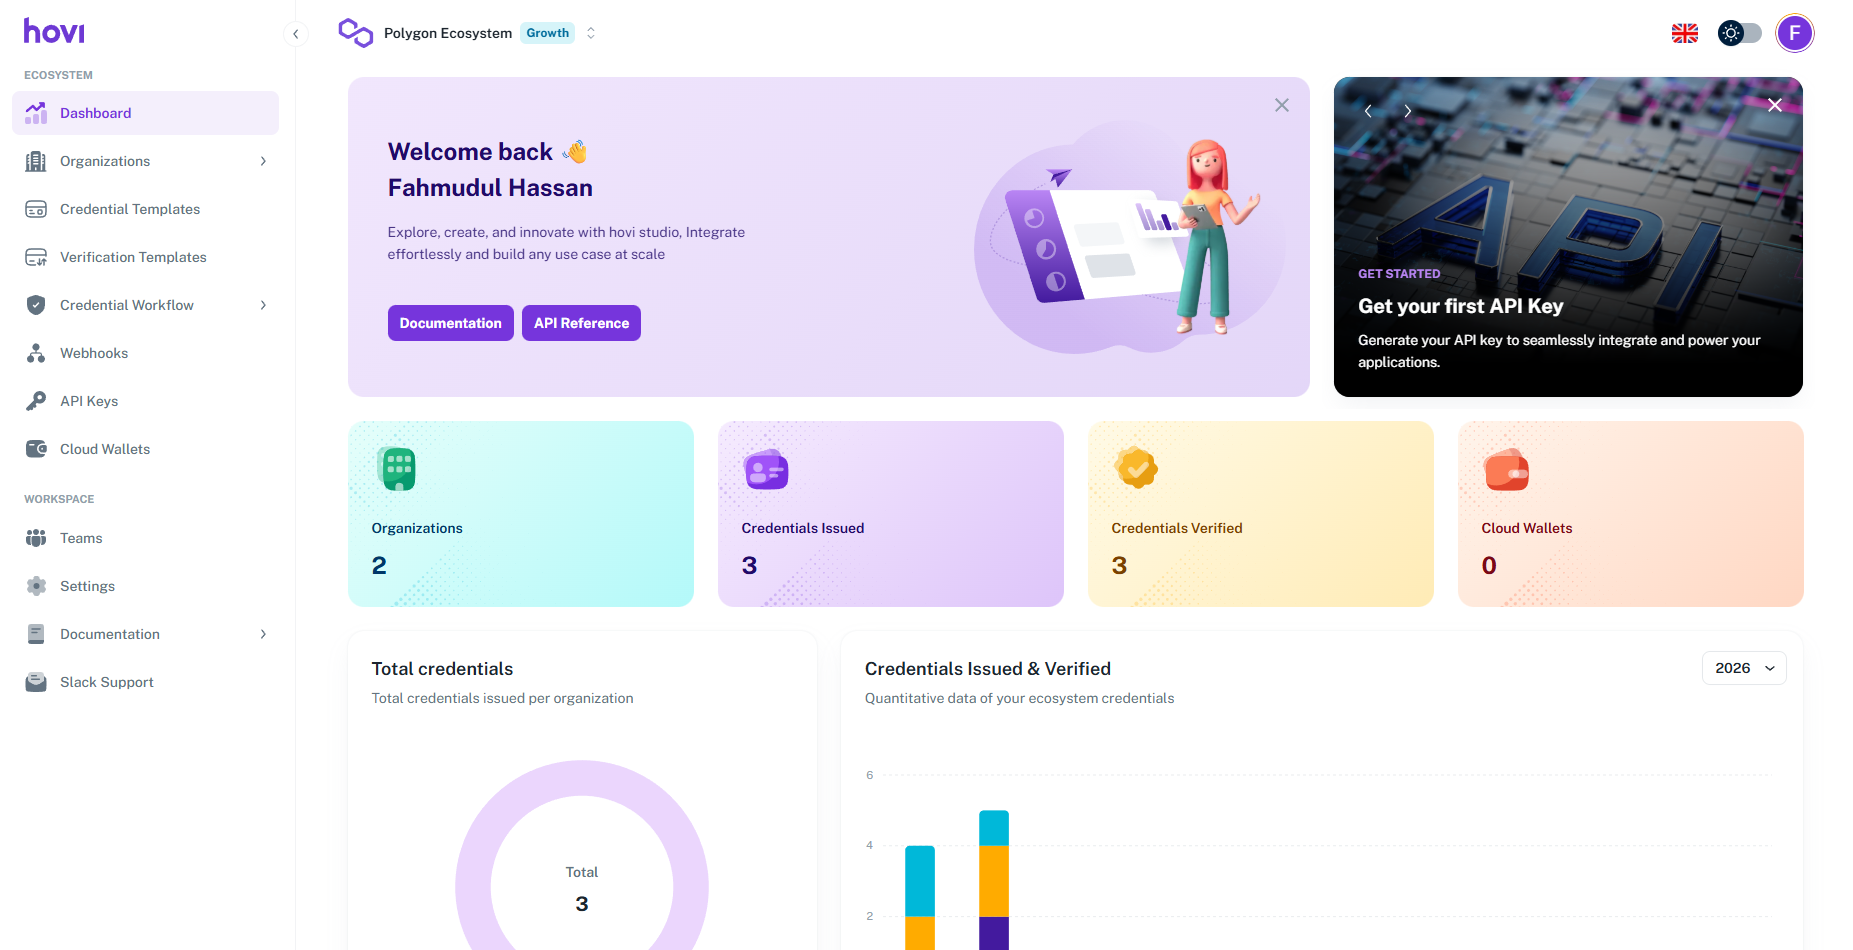
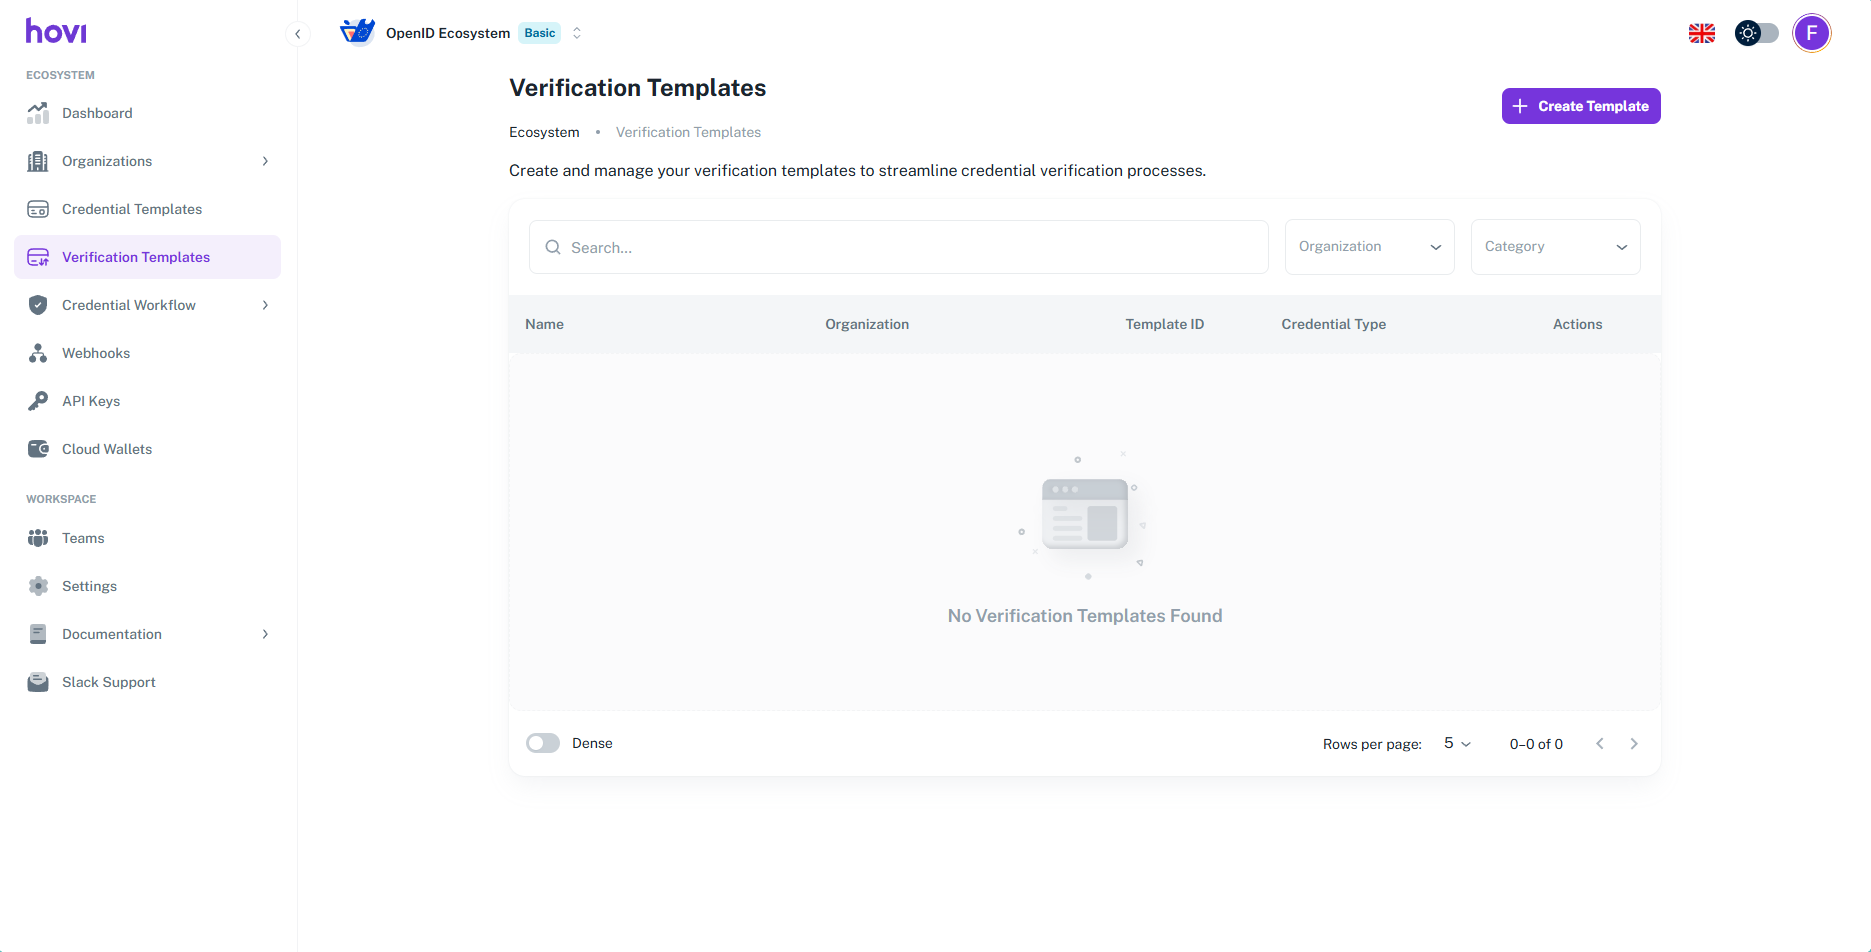
- Click the “Create Template” button at the top-right corner of the Verification Templates page.
- You will be prompted to fill out the following fields to define your verification template:
- Image (Optional): Upload an image for the verification template.
- Template Name: Provide a name for your verification template (e.g., Degree Verification, Employment Proof Verification).
- Version: Specify the version of the template.
- Credential Type: Define the type of credential, i.e., JSON-LD, Anoncred, etc.
- Organization: Select the tenant under which the template will be applied.
- Category: Select the template category, i.e., Healthcare, etc.
- Credential Template (Optional): A predefined credential template.
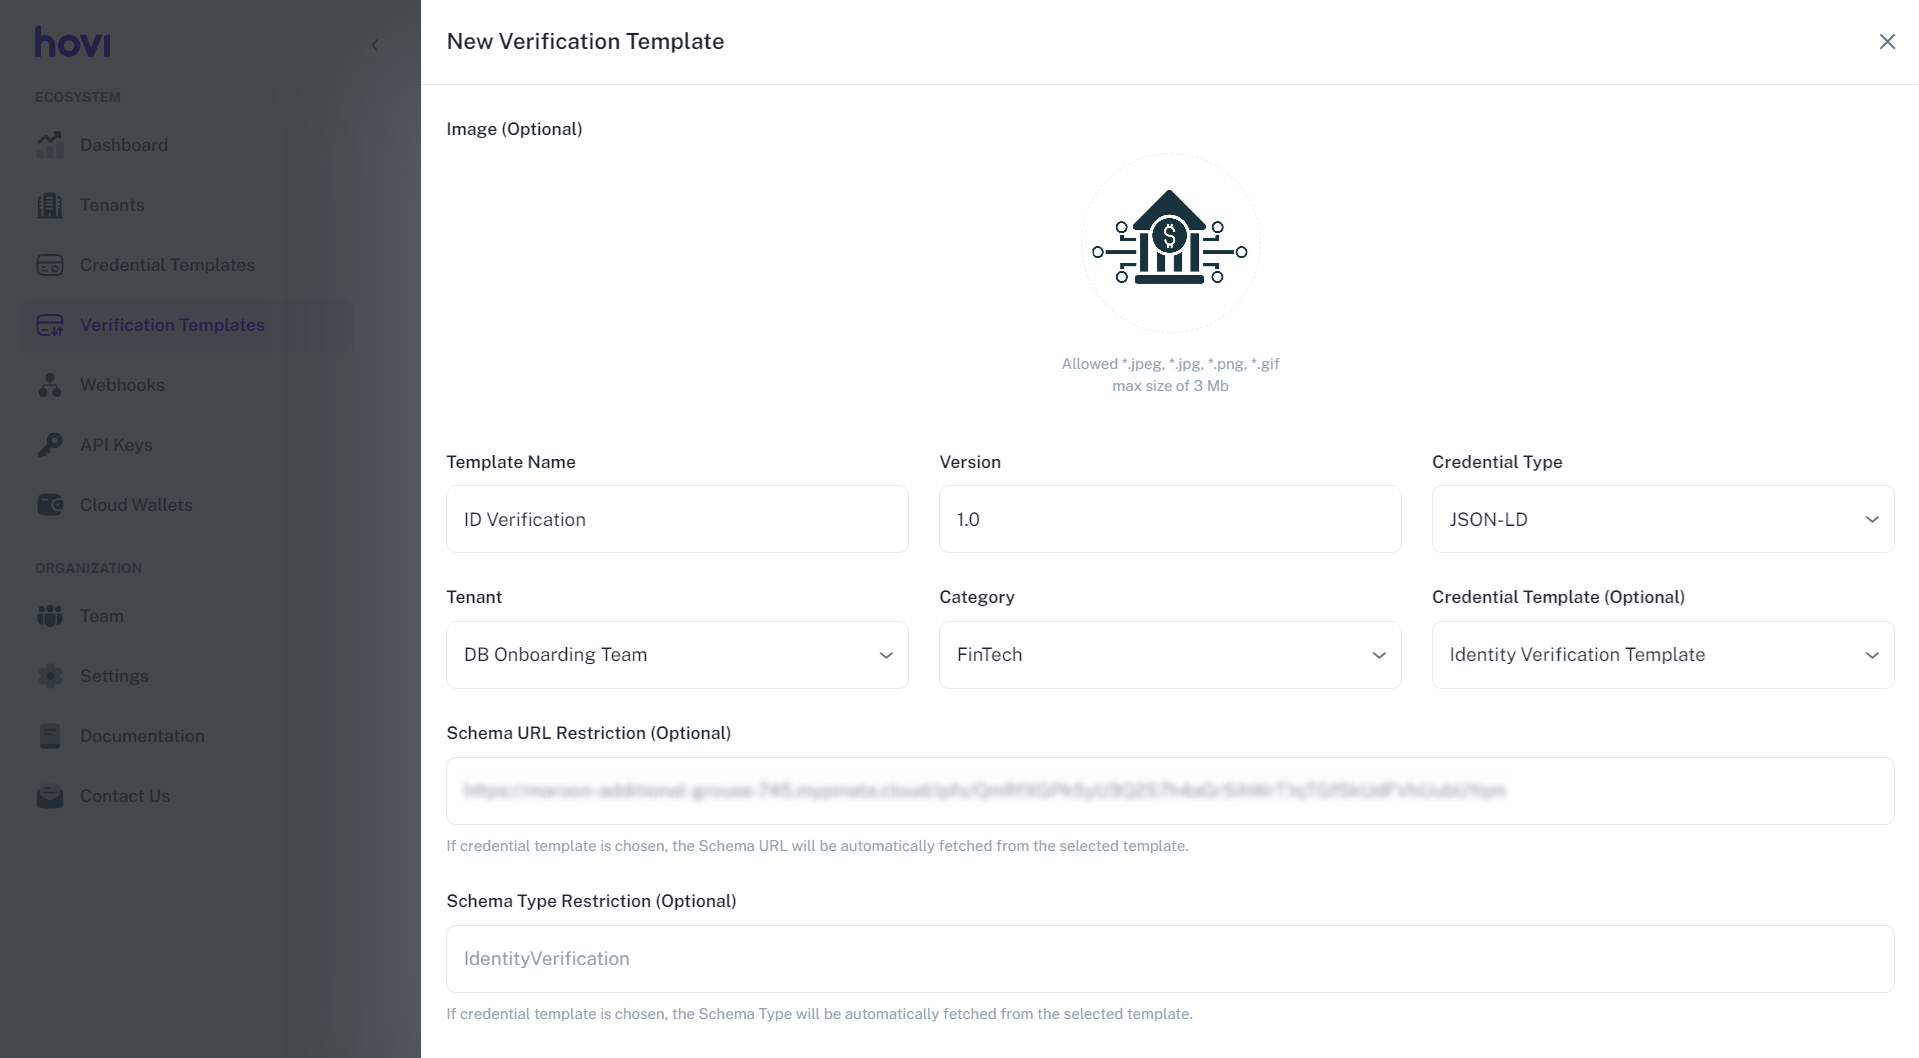 1. Schema URL Restriction (Optional): If a credential template is chosen, the Schema URL will be automatically fetched from the selected template. 2. Schema Type Restriction (Optional): If a credential template is chosen, the Schema Type will be automatically fetched from the selected template.
 - Description: Provide a brief description outlining the template's purpose or use case.
- Requested Attributes: Define the attributes that must be present.
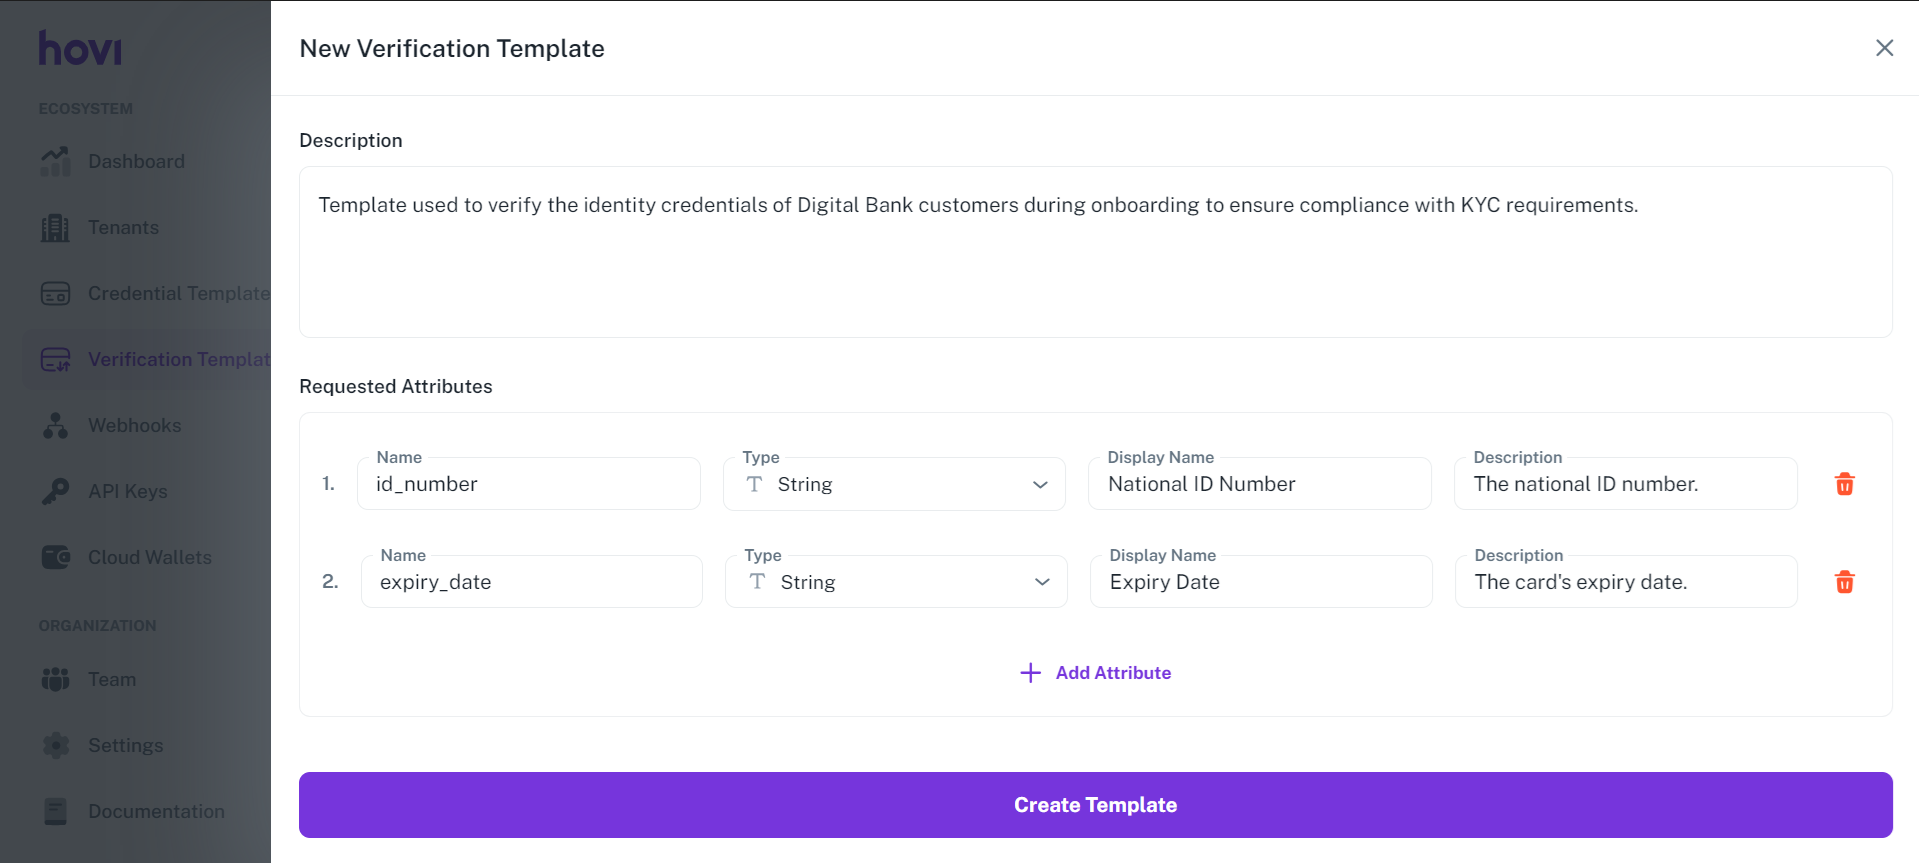
- After completing the required details, click “Create Template” to save the verification template.
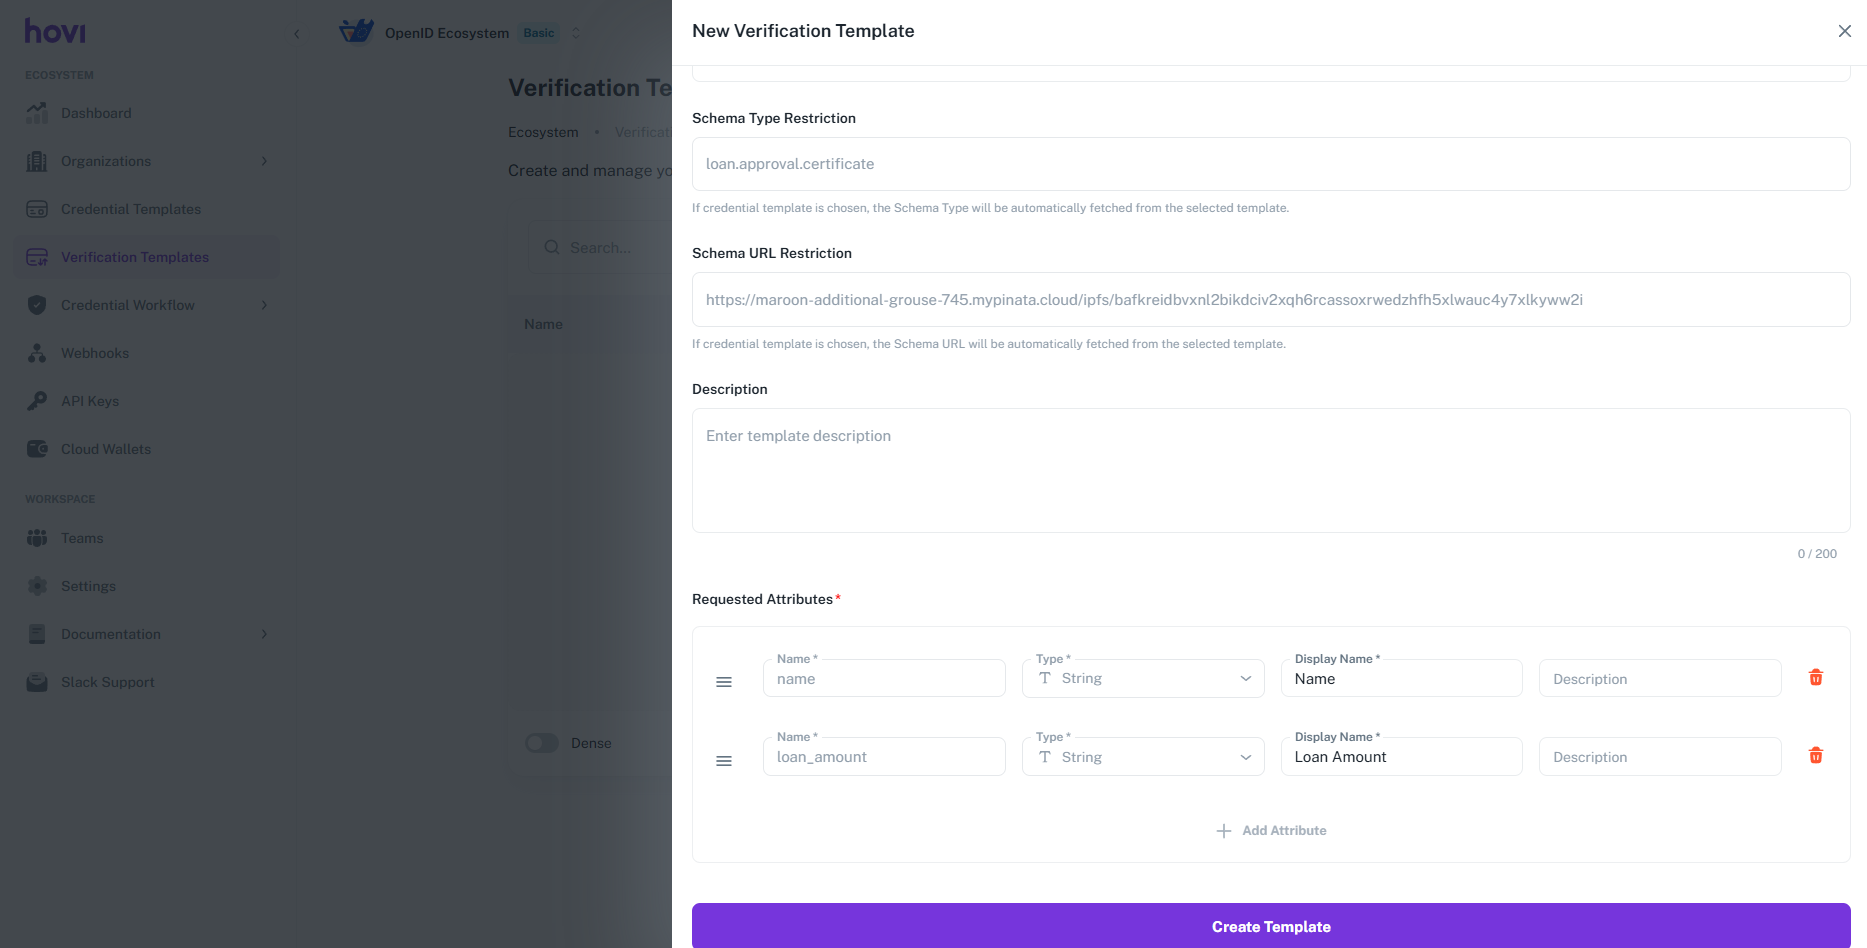
A new template will be created.
Manage Verification Templates
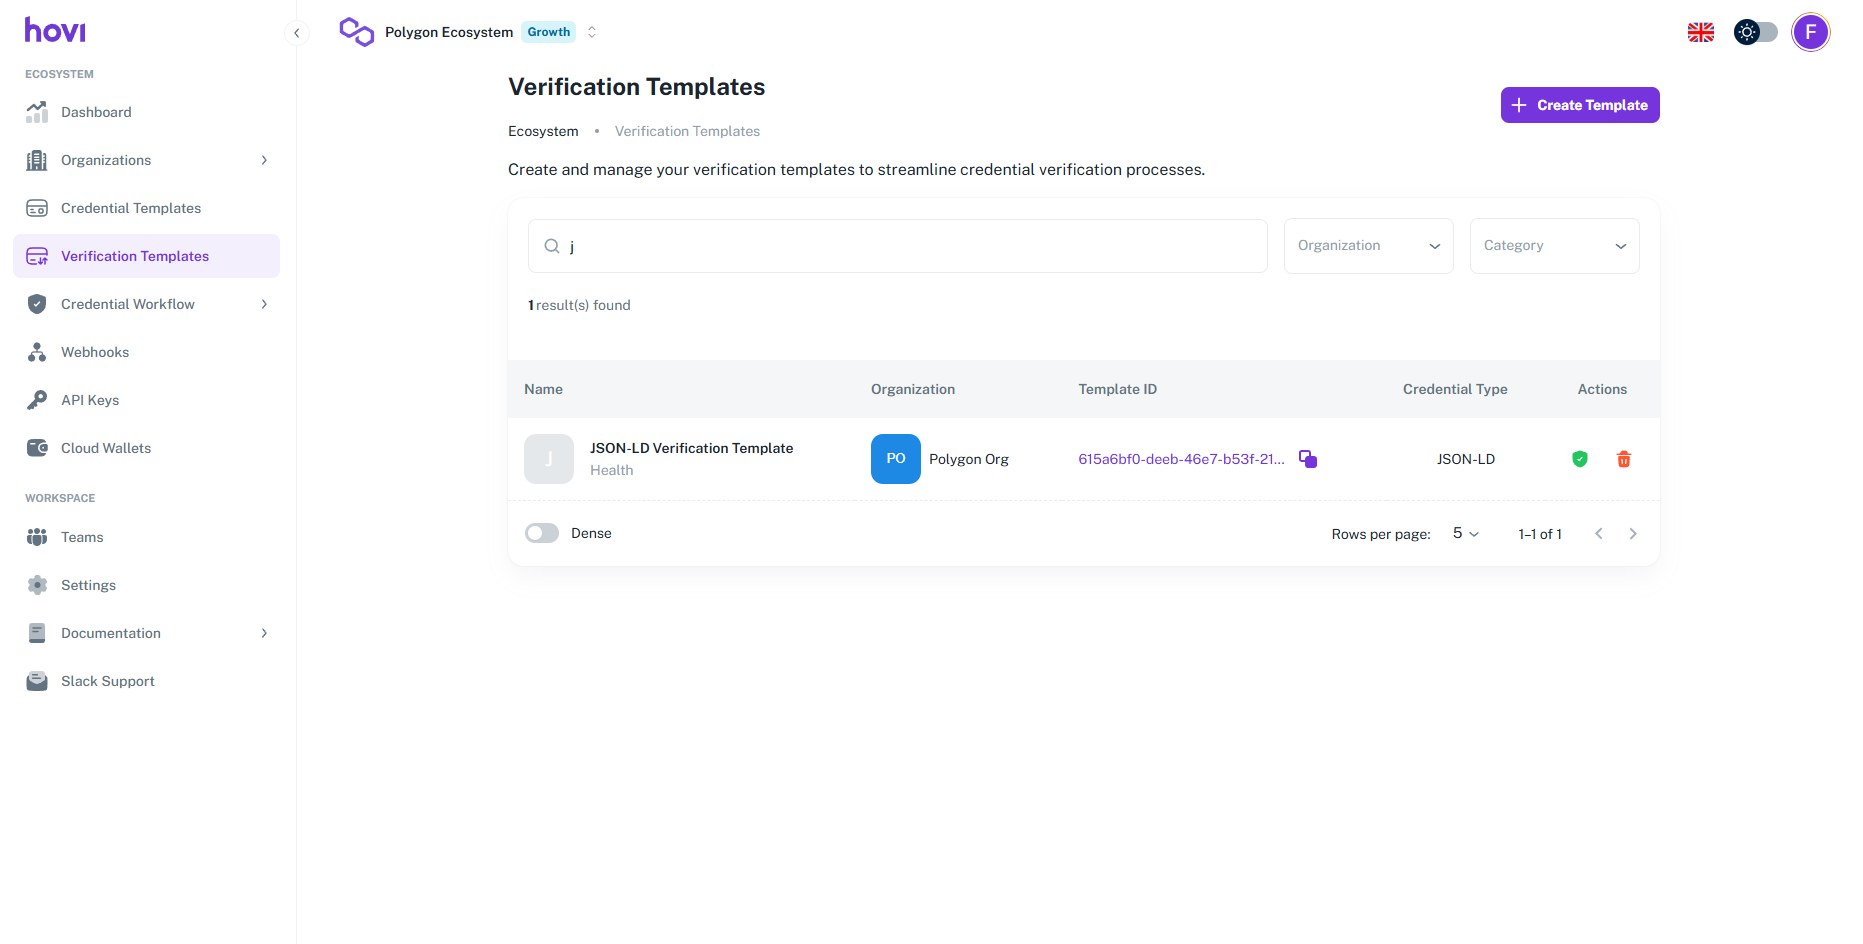
After creating a verification template, you can manage it from the Verification Templates tab. Here’s how:
-
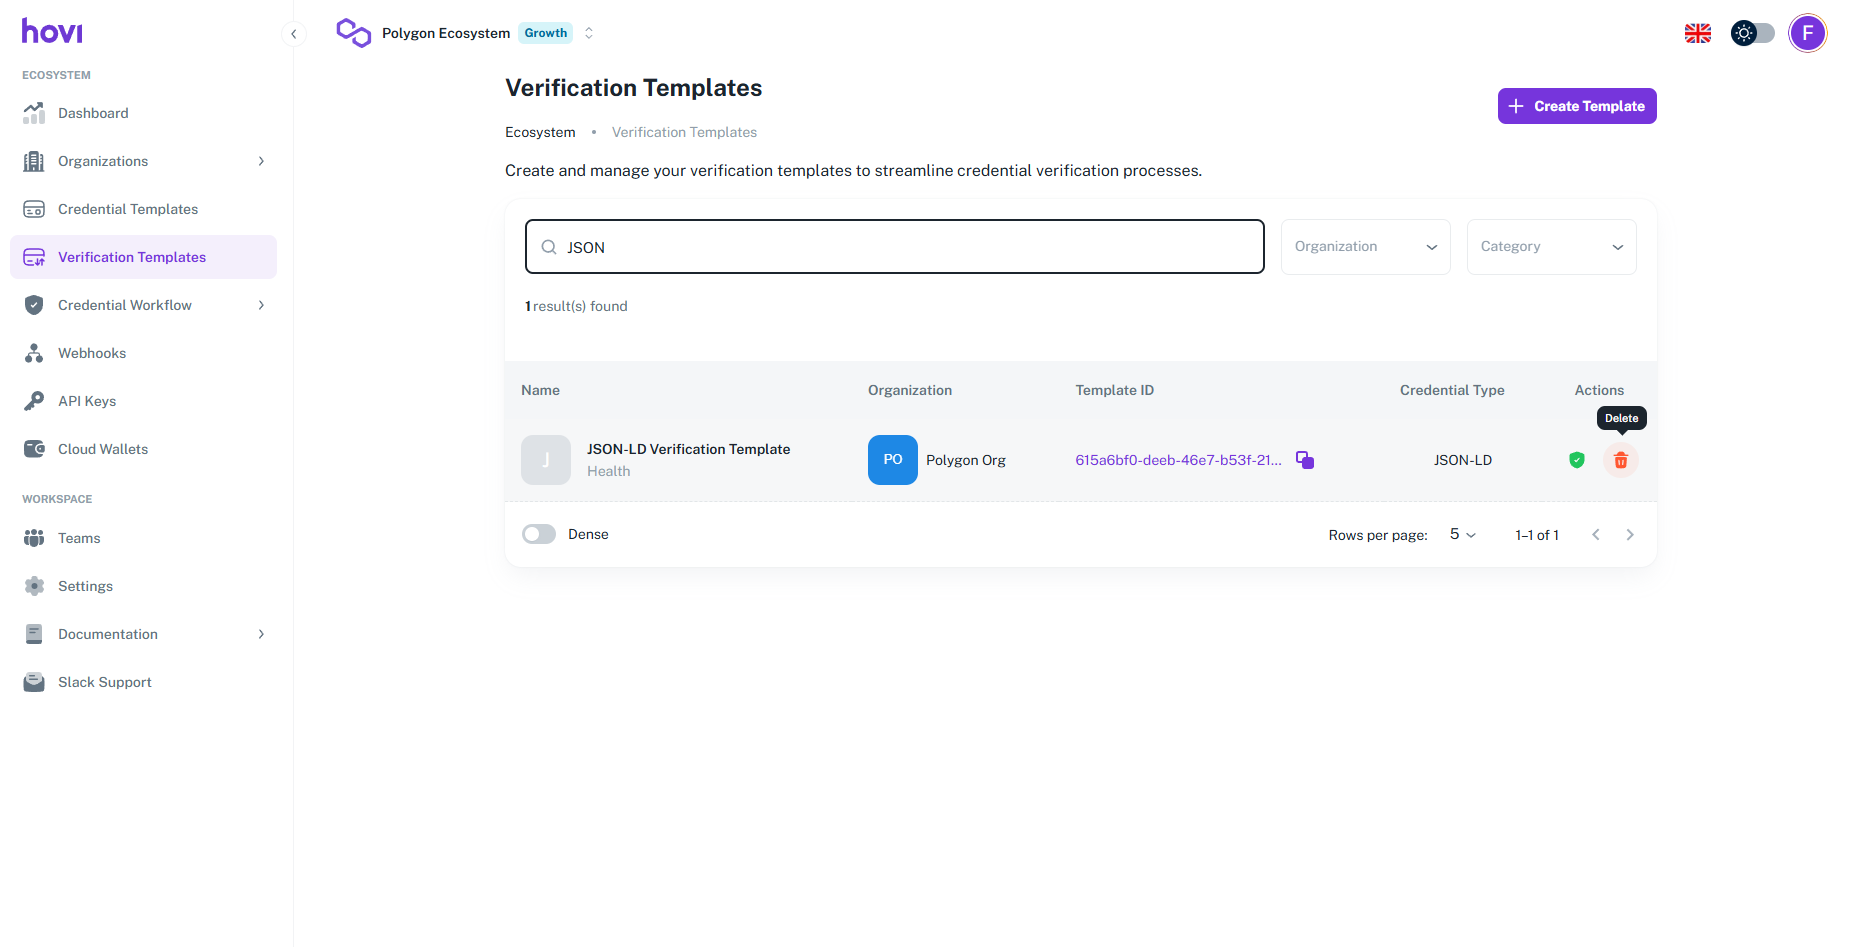
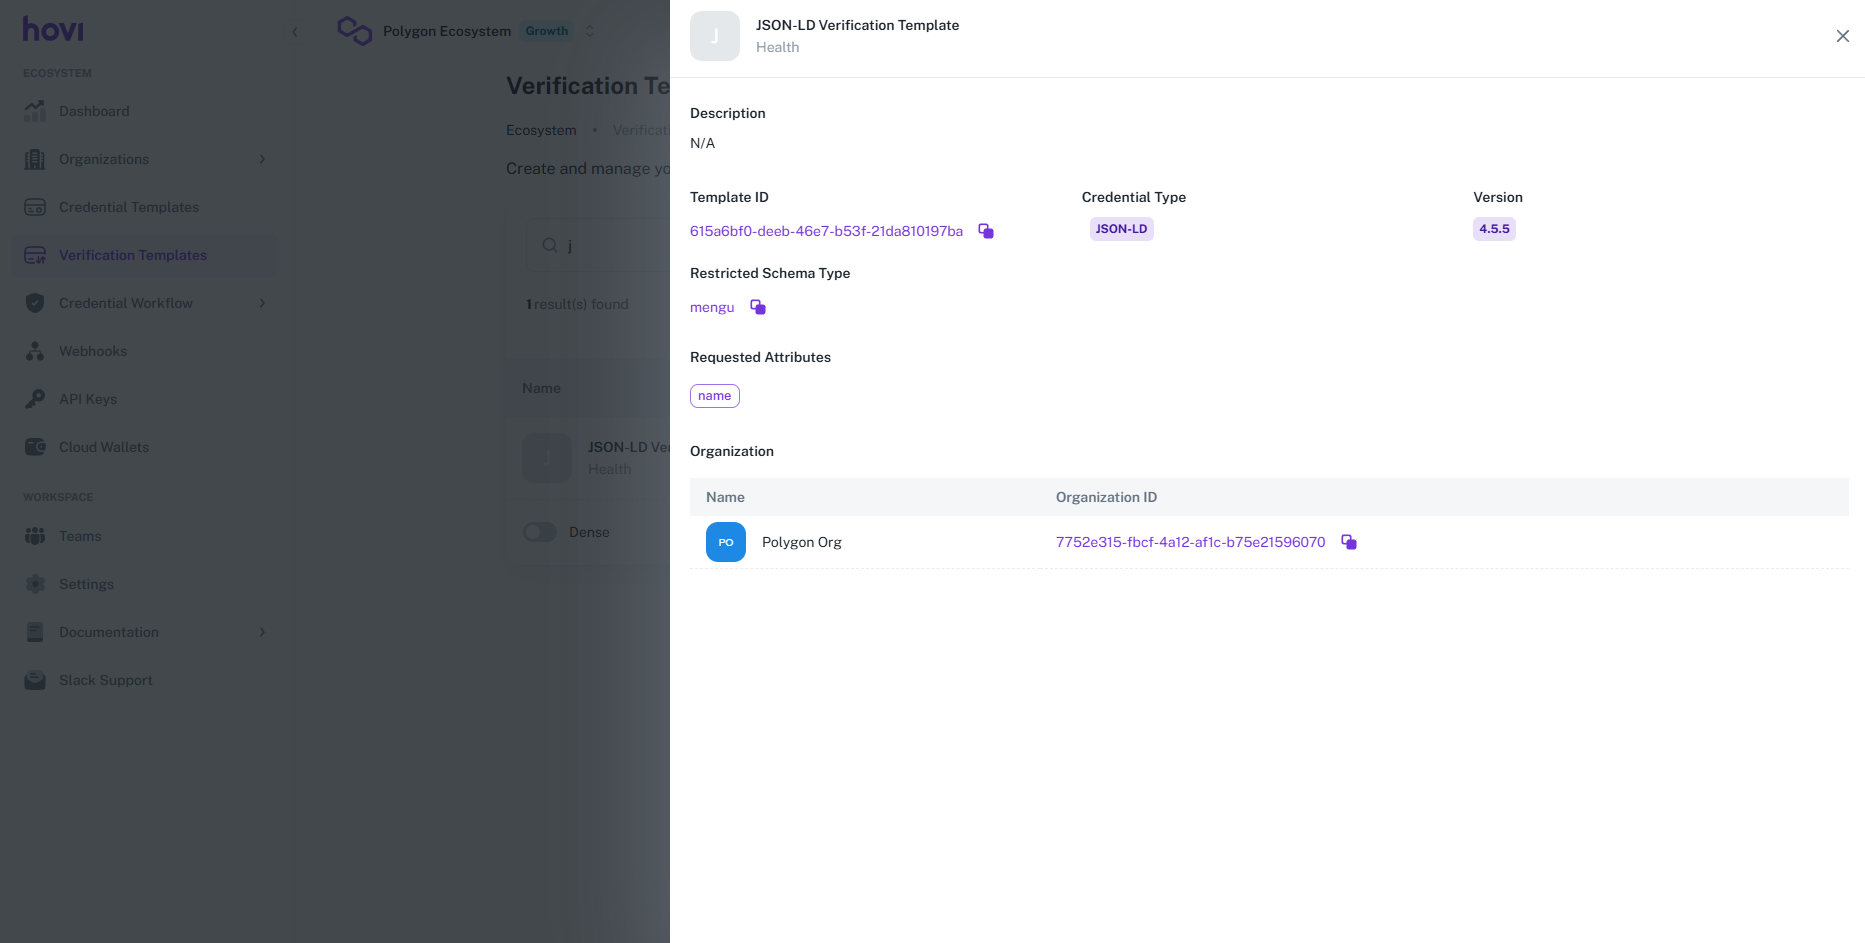
View Templates: All verification templates within your ecosystem are listed here. You can click on a template to view its details, including the associations and required attributes.
-
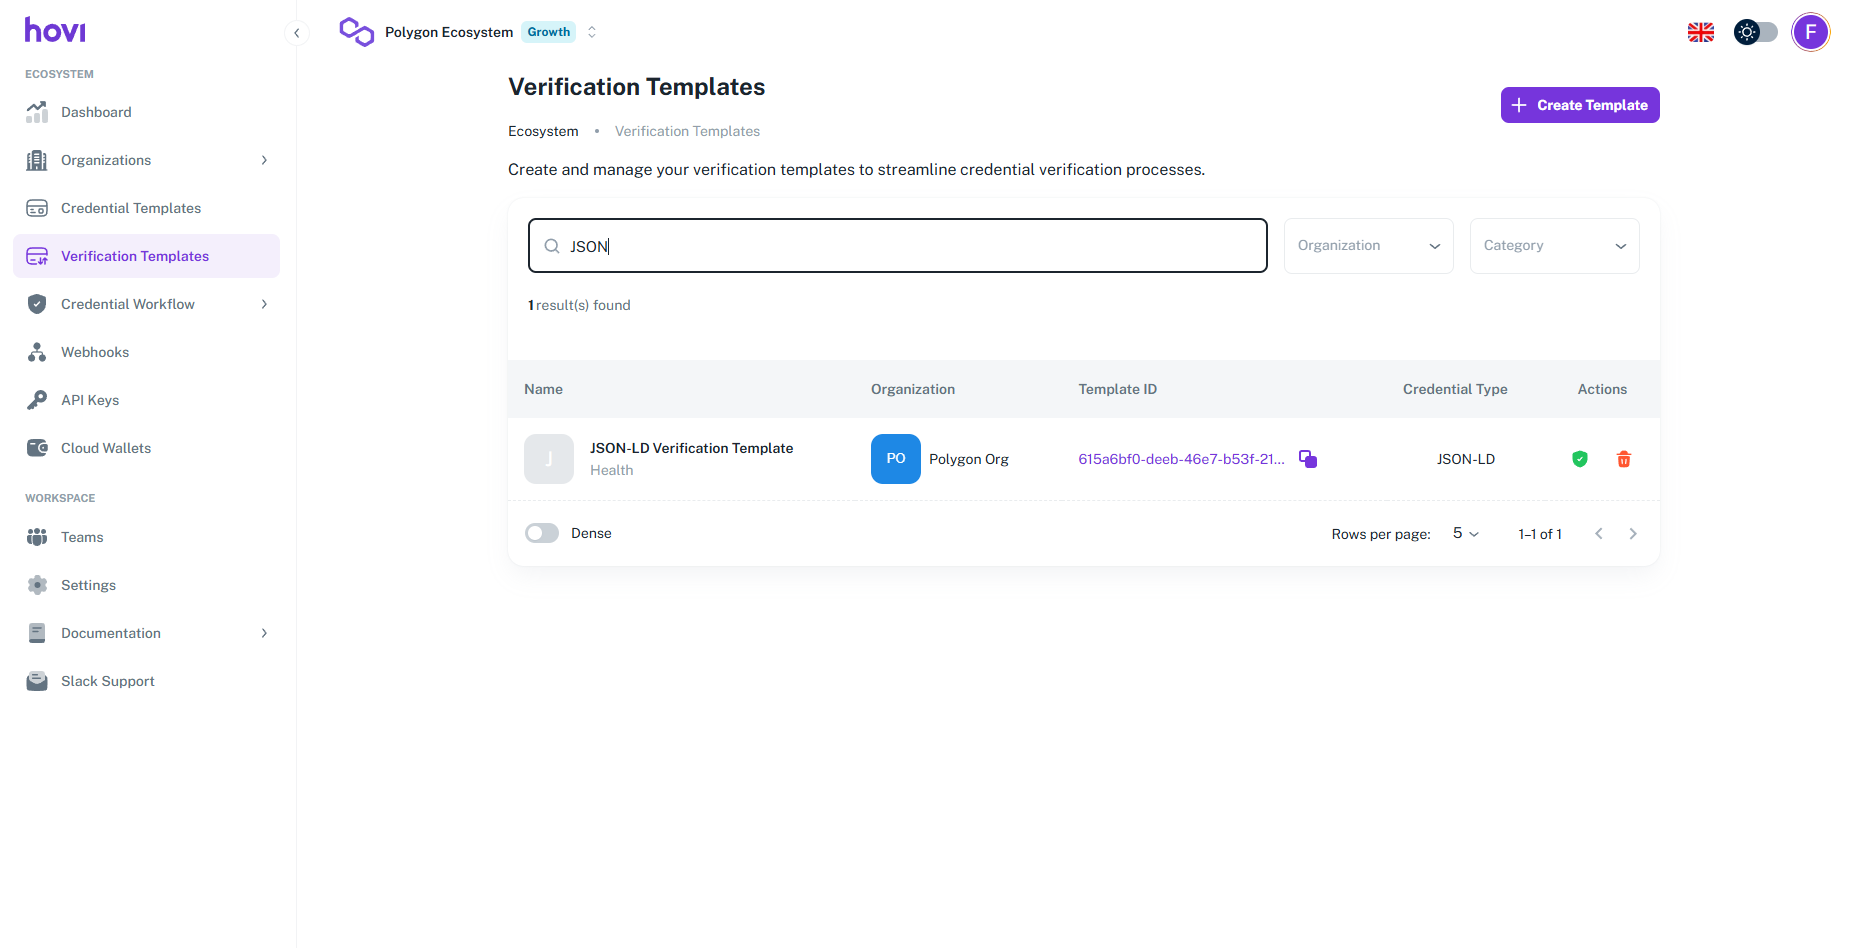
Search and Filter a Template: Easily find templates by entering a name or keyword in the search bar. You can also filter results by category.
-
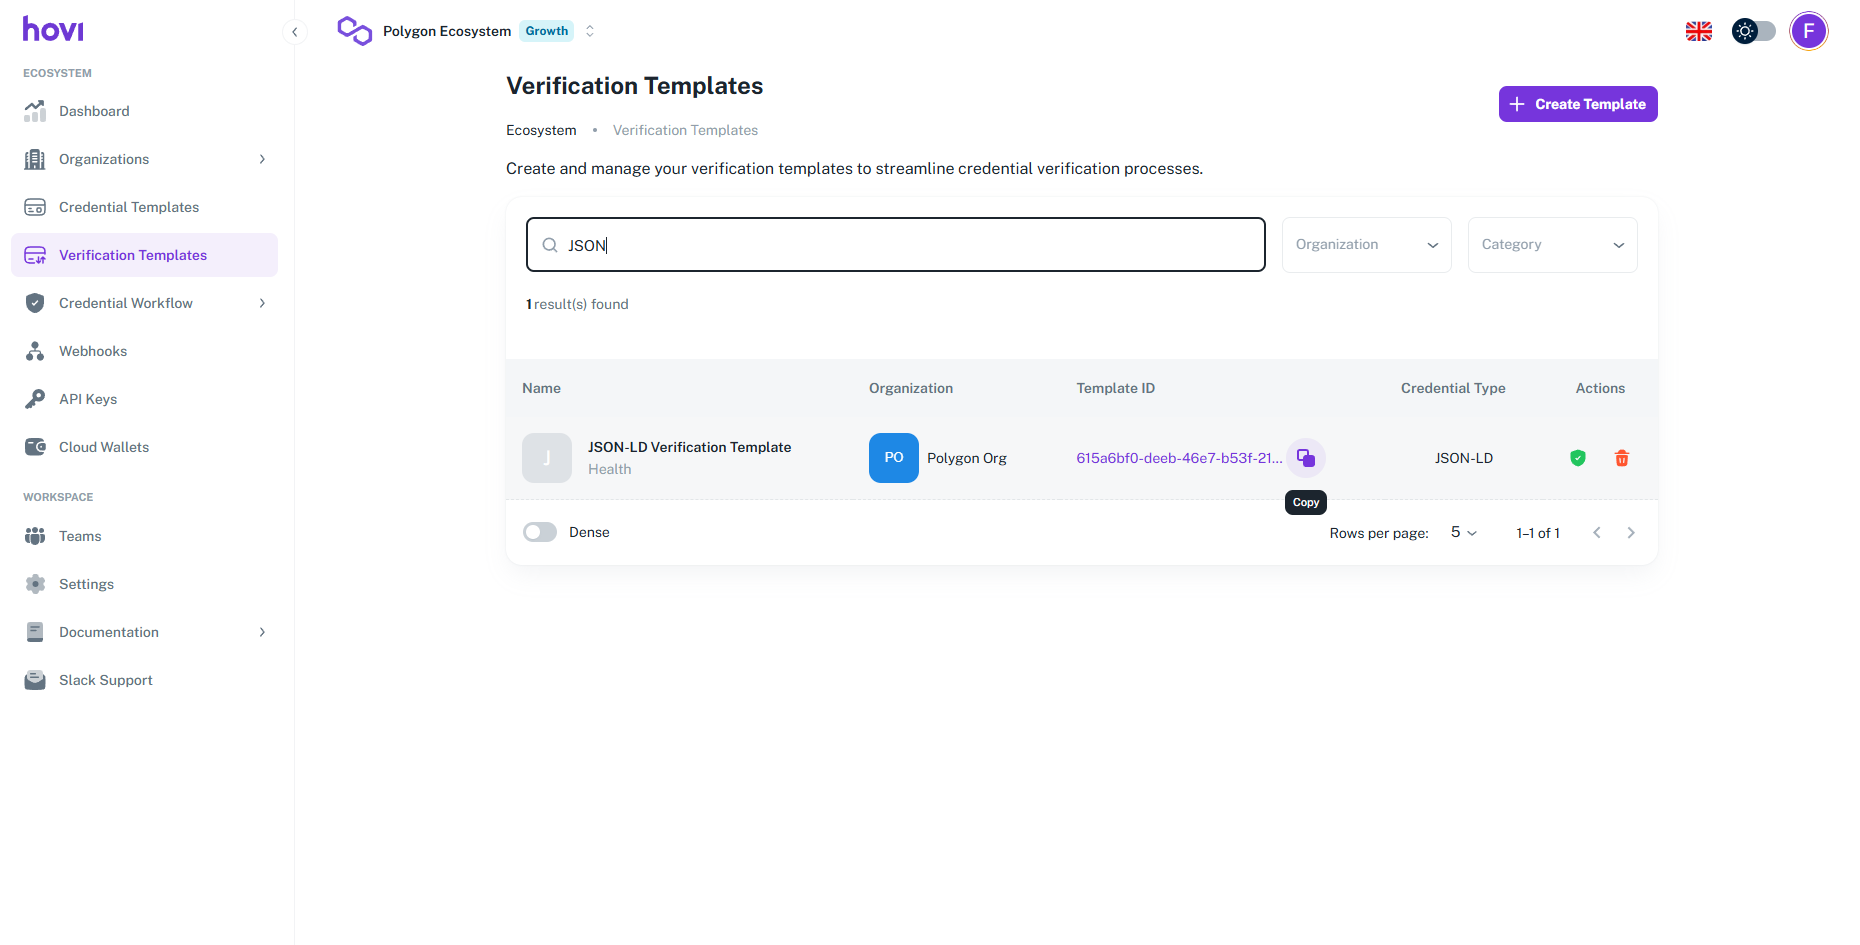
Copy Template ID: Each verification template has a unique ID. You can copy this ID by clicking the copy icon, which may be used in API calls.
-
Delete Templates: If a verification template is no longer needed, click the delete icon under the Actions column to remove it from your ecosystem.
