Microsoft Entra
An Ecosystem in Hovi Studio refers to a self sovereign identity network where various tenants (organizations or entities) can securely interact, issue, and verify digital credentials.
If you're signing in to Hovi Studio for the first time, you'll automatically be taken through an onboarding process, which involves creating your first ecosystem. This guide will walk you through the steps to create a new ecosystem via the Hovi dashboard.
Prerequisites
Before you begin, ensure the following:
- You have created an account on Hovi Studio.
- You have administrator access to a Microsoft Entra ID tenant to grant the necessary provisioning permissions.
Steps to Create a New Ecosystem
For existing users who have completed the onboarding process, follow these steps to create additional ecosystems using the dropdown in the studio dashboard.
-
Sign in to Hovi Studio using your credentials.

-
In the Hovi Studio dashboard, locate the ecosystem dropdown at the top of the screen.
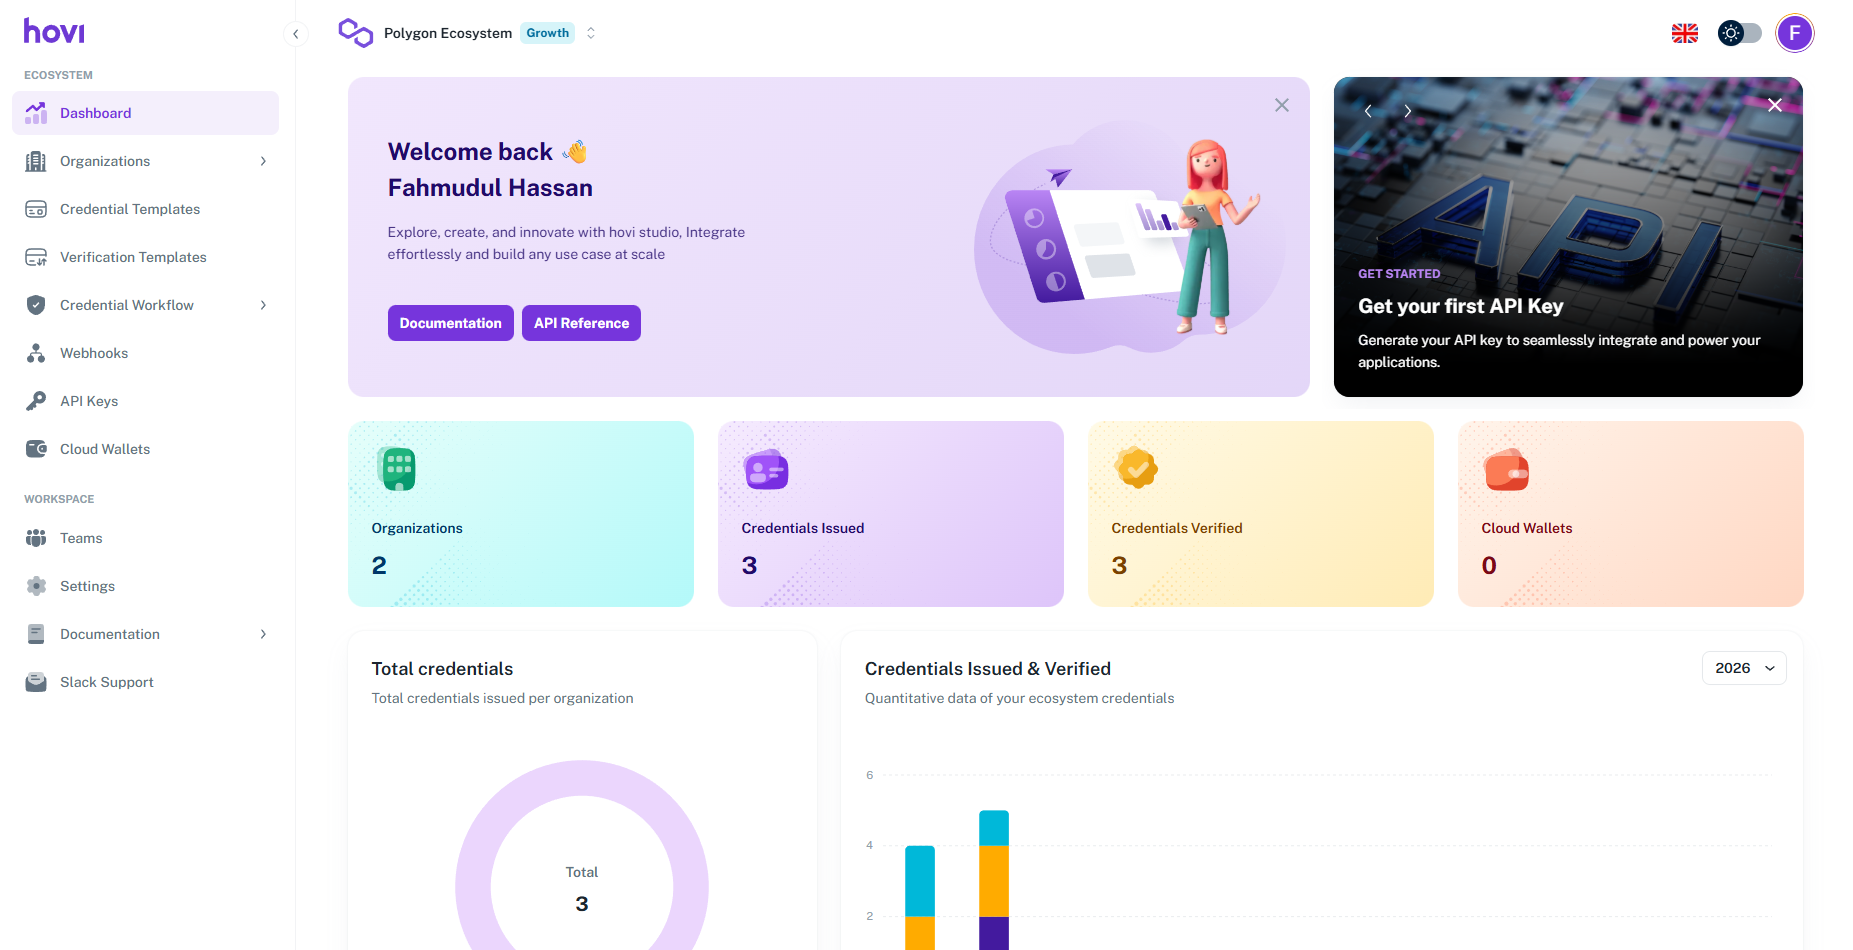
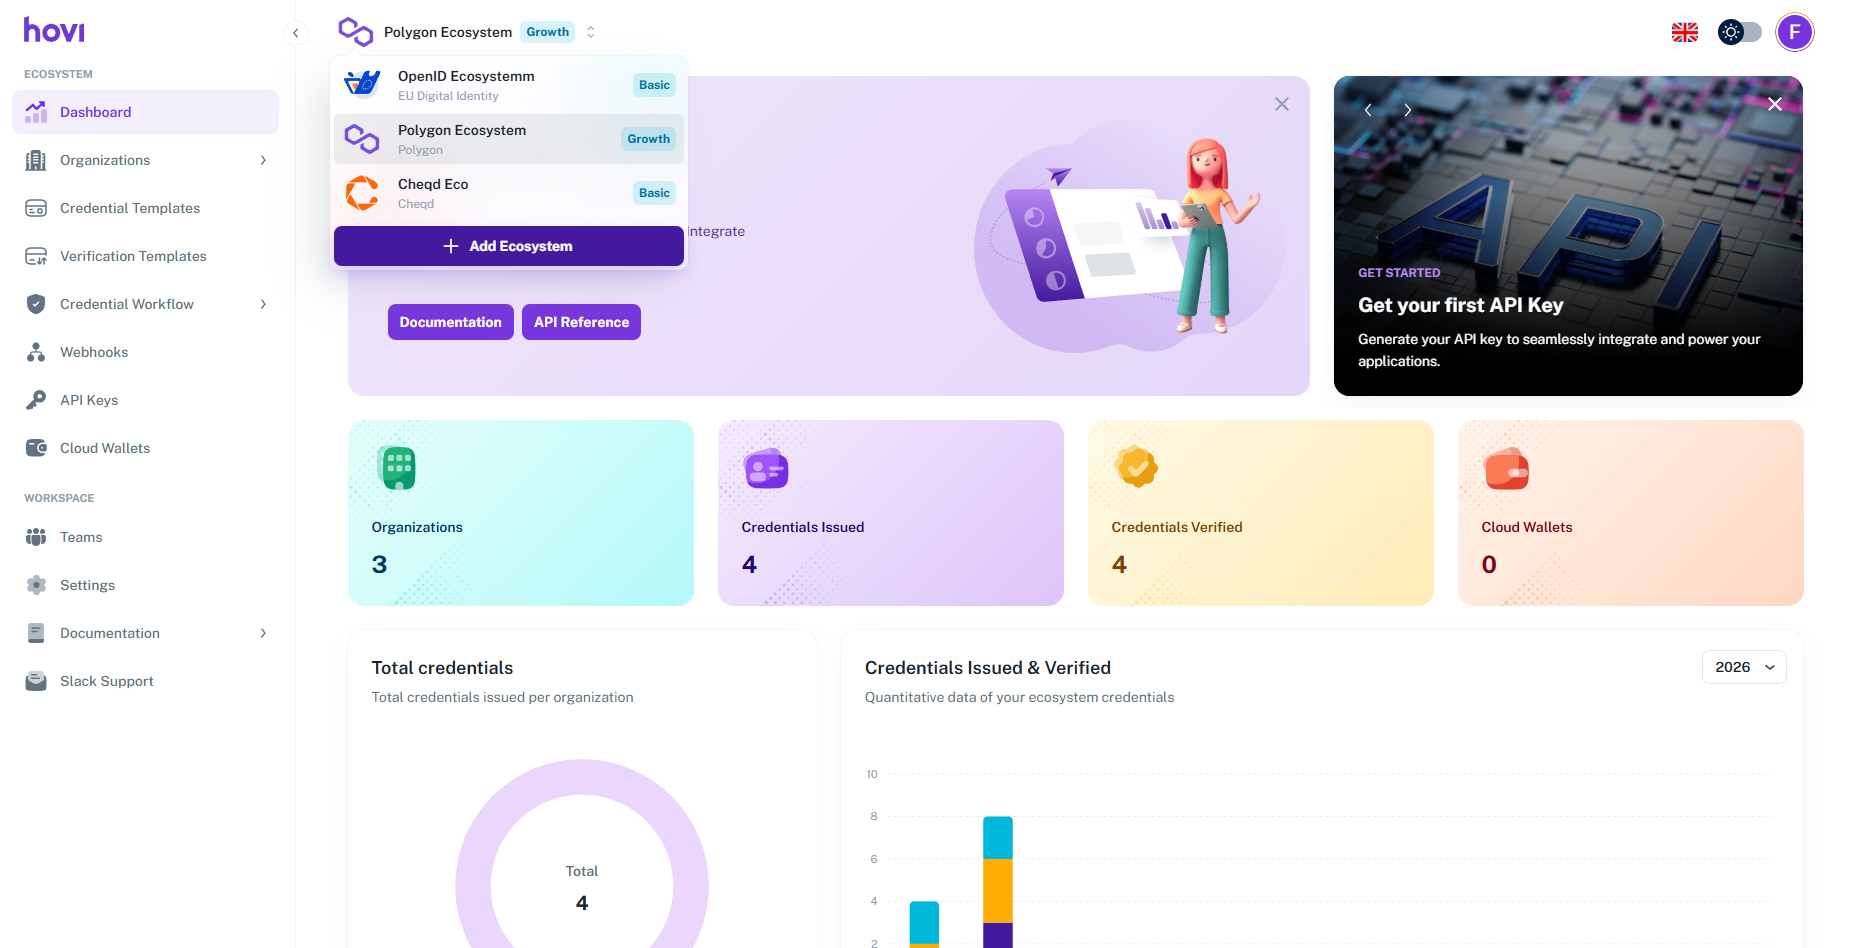
-
Click on the dropdown and select “Add Ecosystem”.
-
Fill in the following details:
- Create your first ecosystem by providing a "Name" and Select "Microsoft Entra ID" as the network for your ecosystem from the available options.

- And click "Continue".
- Create your first ecosystem by providing a "Name" and Select "Microsoft Entra ID" as the network for your ecosystem from the available options.
-
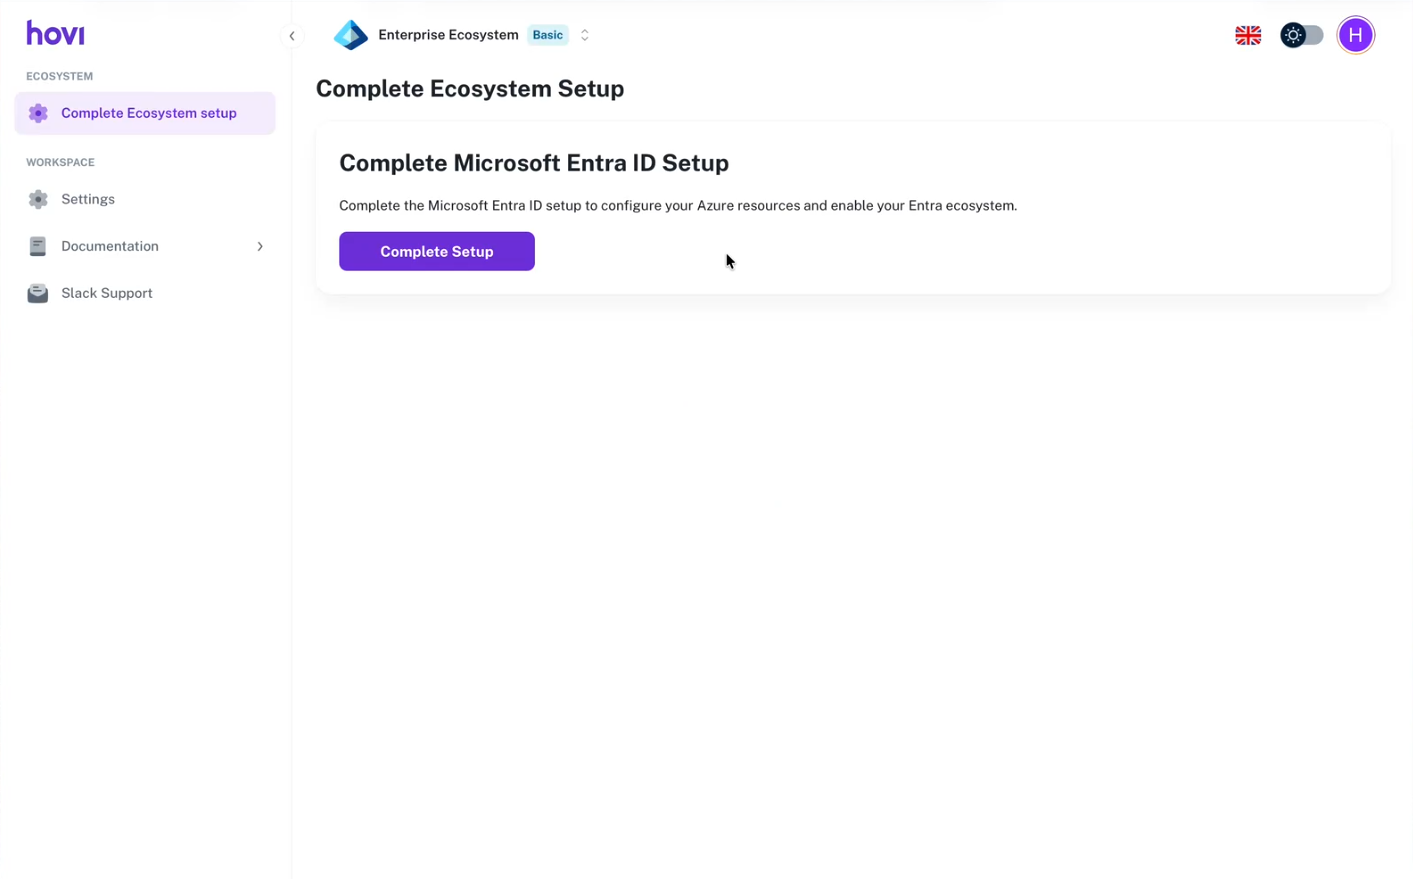
Initiate the Entra ID Setup:
- You will be redirected to the Complete Ecosystem Setup page.
- Click the Complete Setup button to begin configuring your Azure resources.
6. Authenticate and Grant Permissions
After clicking Complete Setup, the Microsoft authentication flow begins. The following steps occur in sequence:
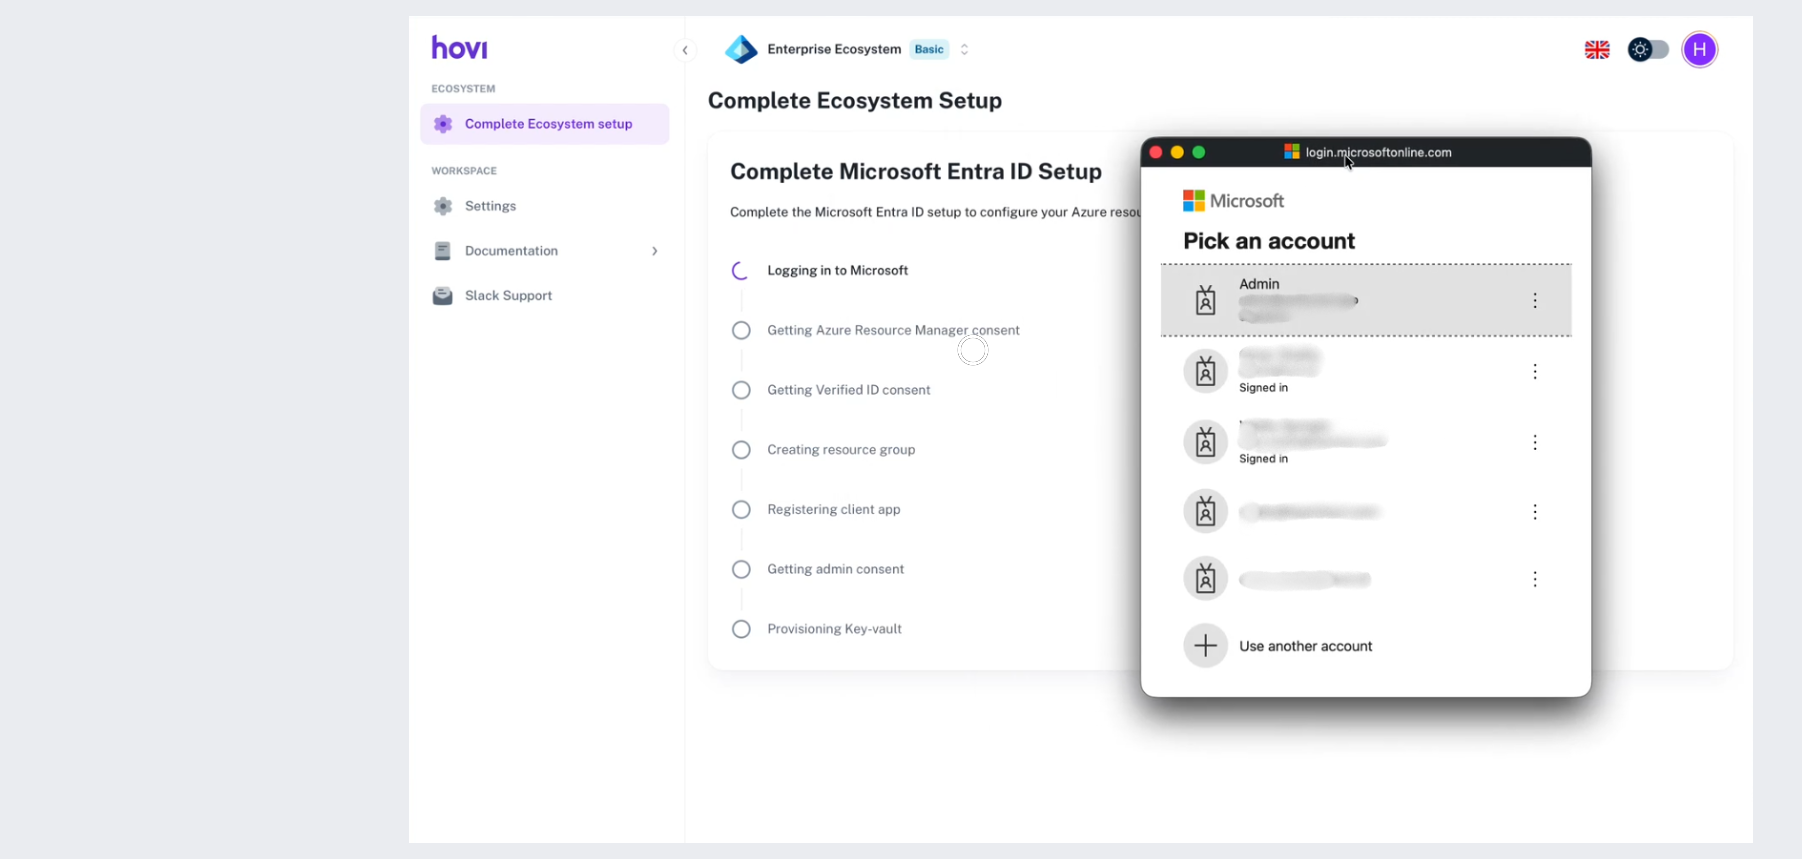
6.1 Pick a Microsoft Account
A Microsoft login pop-up window opens from:
login.microsoftonline.com
You will see a Pick an account screen.
- Select the Microsoft Entra ID administrator account you want to use.
- Or click Use another account if the correct administrator account is not listed.
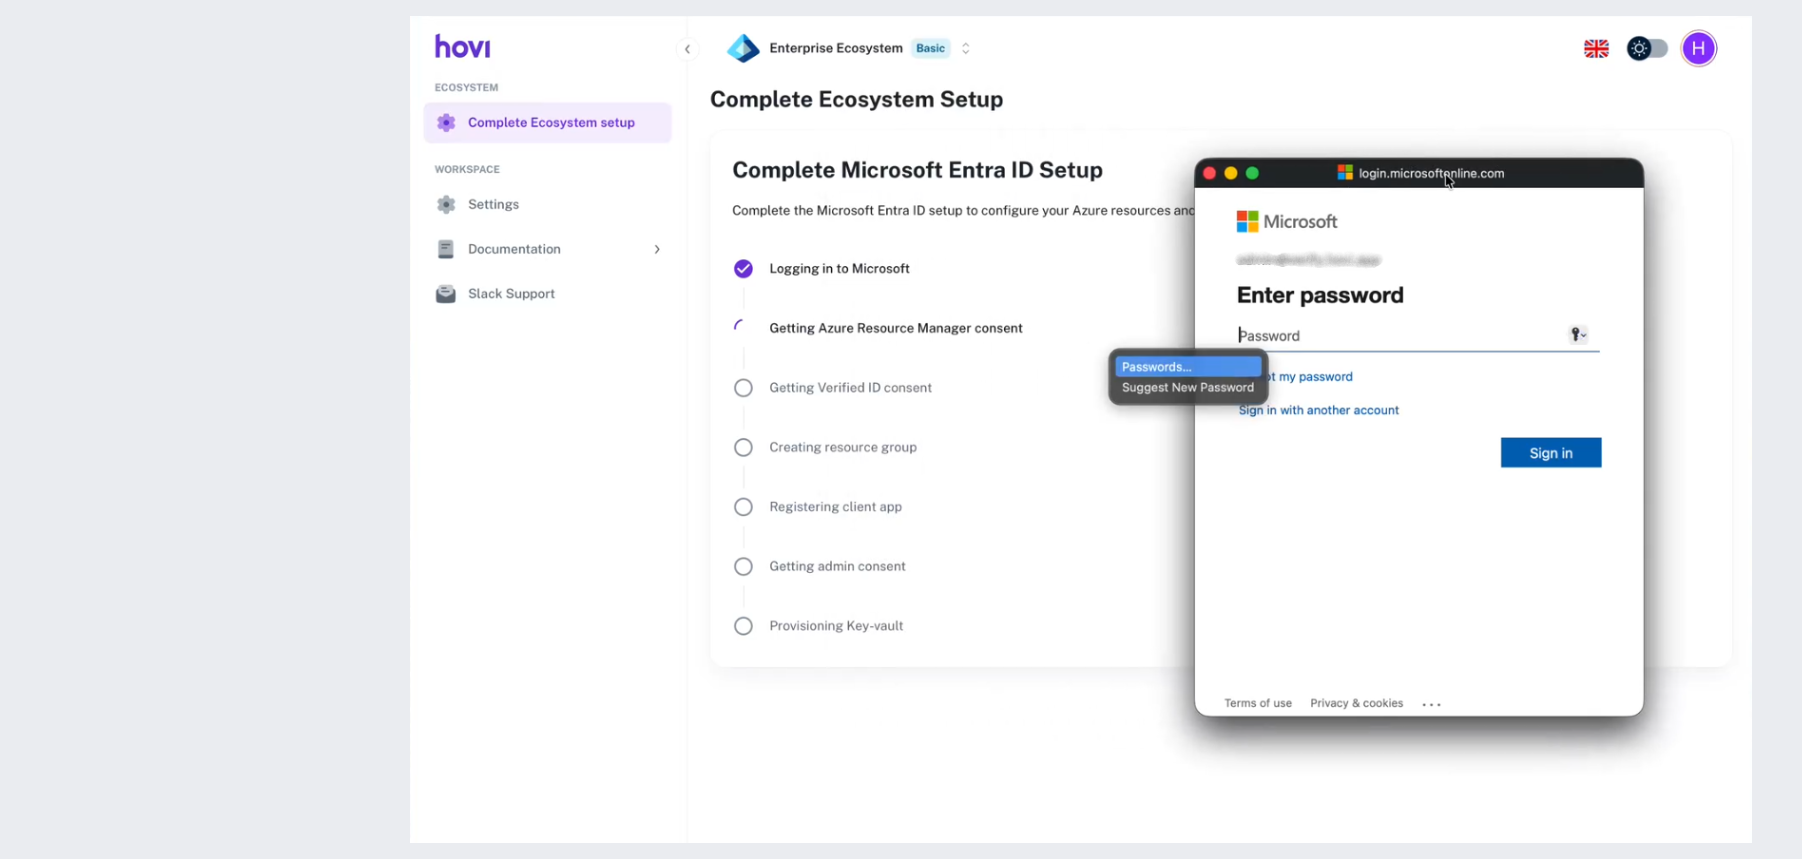
6.2 Enter Password
After selecting the account:
- The Enter password screen appears.
- Enter the password for the selected administrator account.
- Click Sign in.
- If Multi-Factor Authentication (MFA) is enabled, complete the verification process.
6.3 First Consent Screen — Azure Resource Manager Permission
You will then see a Permissions requested screen for:
Hovi Entra Verified ID Onboard
This screen includes permissions such as:
- Access Azure Resource Manager as organization users
- View users' basic profile
- Maintain access to data you have given it access to
- Consent on behalf of your organization
Ensure the correct tenant name is displayed at the top.
Click Accept to grant permission.

This allows Hovi to provision the required Azure resources for your ecosystem.
6.4 Automated Provisioning Process
After clicking Accept, the provisioning process begins.
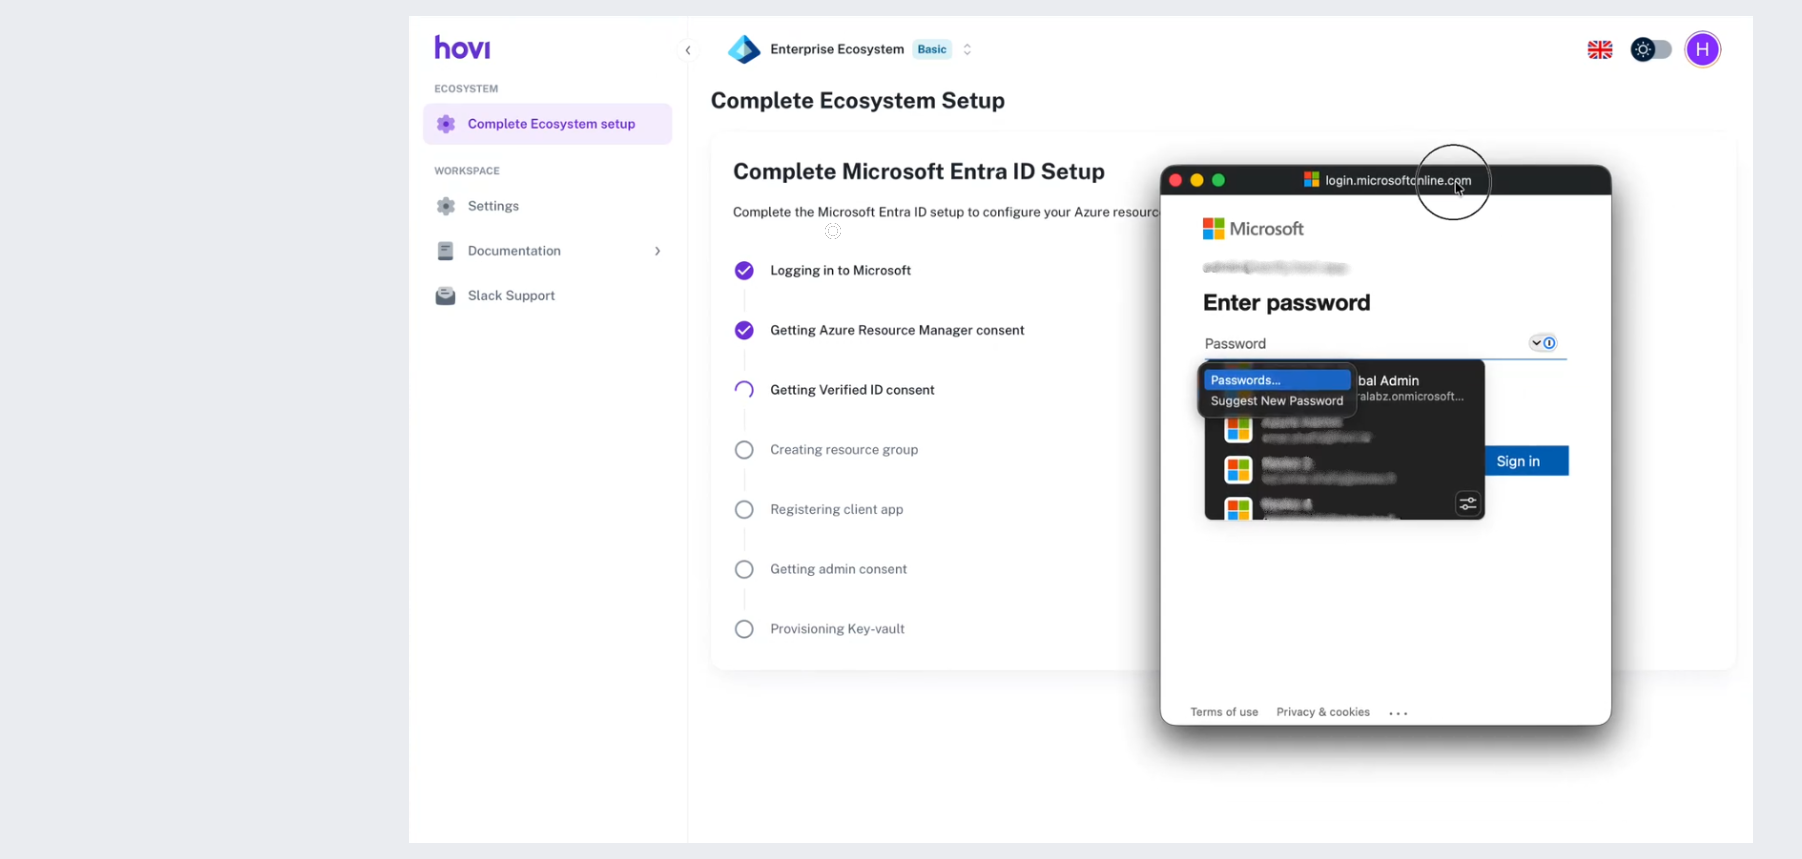
In the Complete Microsoft Entra ID Setup page, you will see the setup checklist updating in real time:
- Logging in to Microsoft
- Getting Azure Resource Manager consent
- Getting Verified ID consent
- Creating resource group
- Registering client app
- Getting admin consent
- Provisioning Key-vault
Each step completes sequentially as configuration progresses.
6.5 Second Consent Screen — Verified ID Permissions
During provisioning, a second Microsoft permission screen appears.
The page displays a notice:
This application is not published by Microsoft.
This screen requests permissions including:
- VerifiableCredential.Create.All
- VerifiableCredential.Authority.ReadWrite
- VerifiableCredential.Contract.ReadWrite
- VerifiableCredential.Credential.Revoke
- VerifiableCredential.Credential.Search
- Sign in and read user profile
- Read and write domains
Review the permissions and click Accept.

This grants Hovi access to configure Microsoft Entra Verified ID for your tenant.
6.6 Consent Confirmation
After accepting the second consent, the pop-up displays:
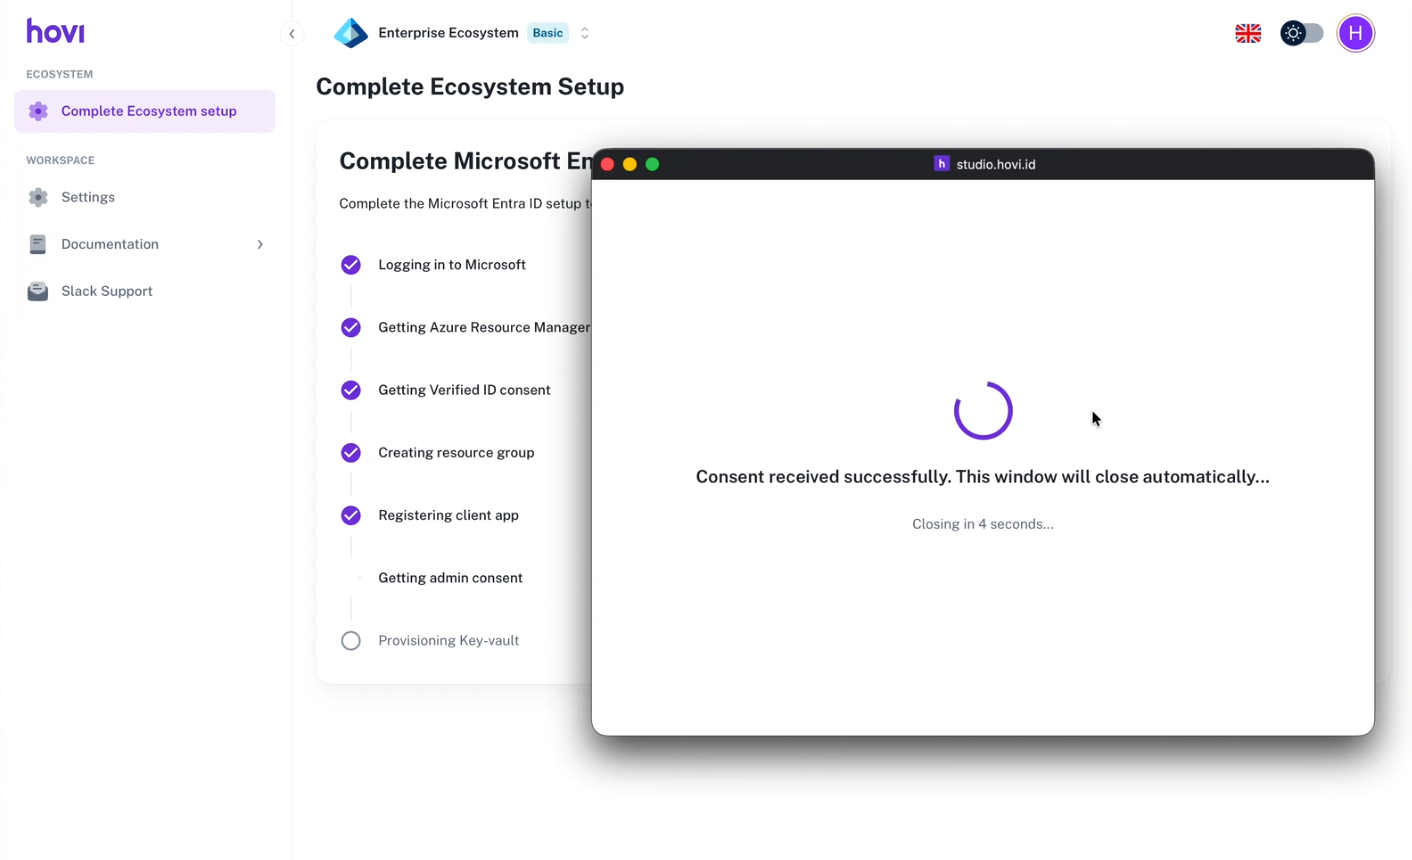
Consent received successfully. This window will close automatically.
Closing in 4 seconds.
The window closes automatically.
6.7 Redirect to Ecosystem Dashboard
You will see a message:
You are being redirected to the ecosystem dashboard
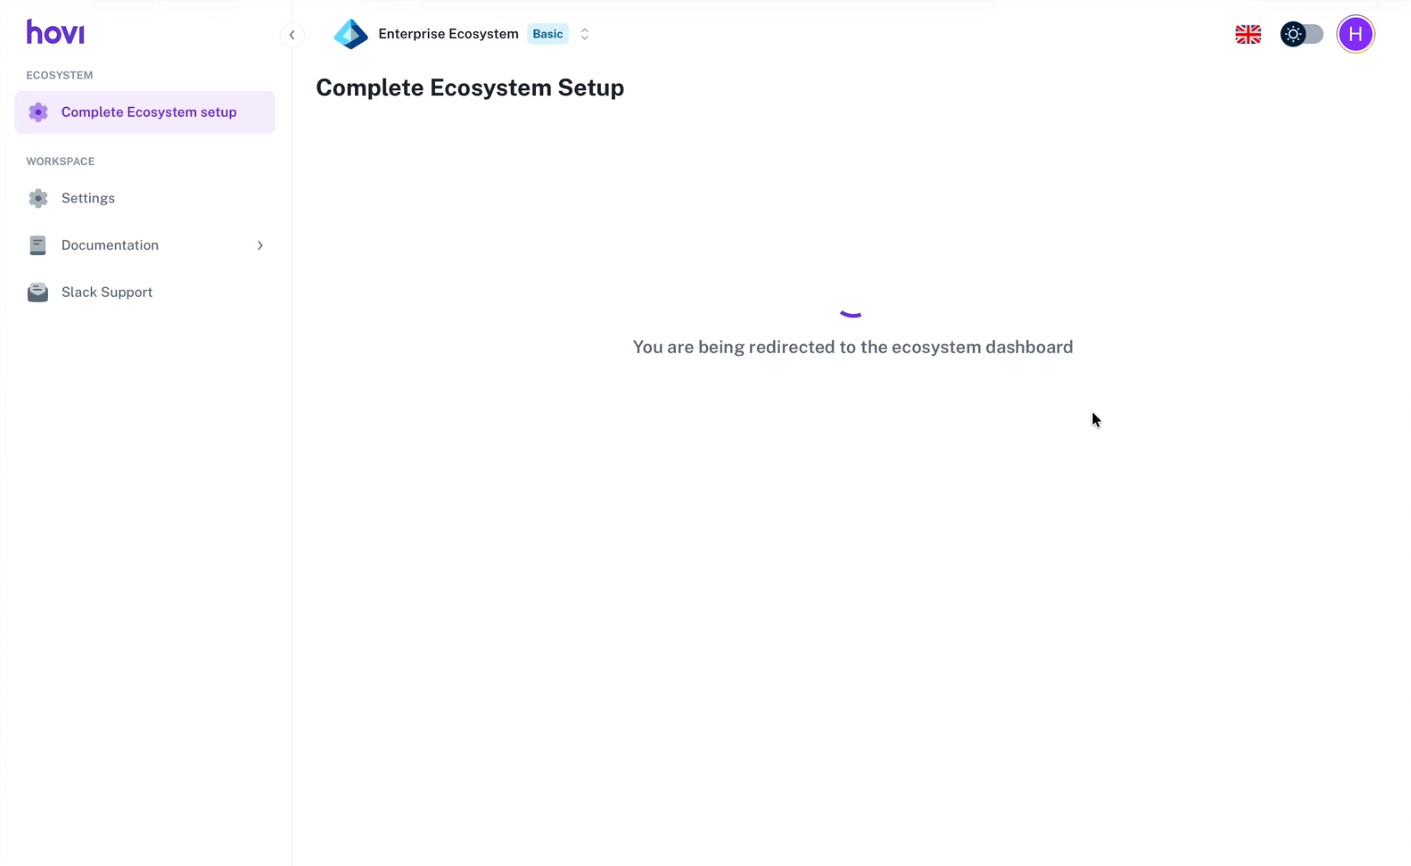
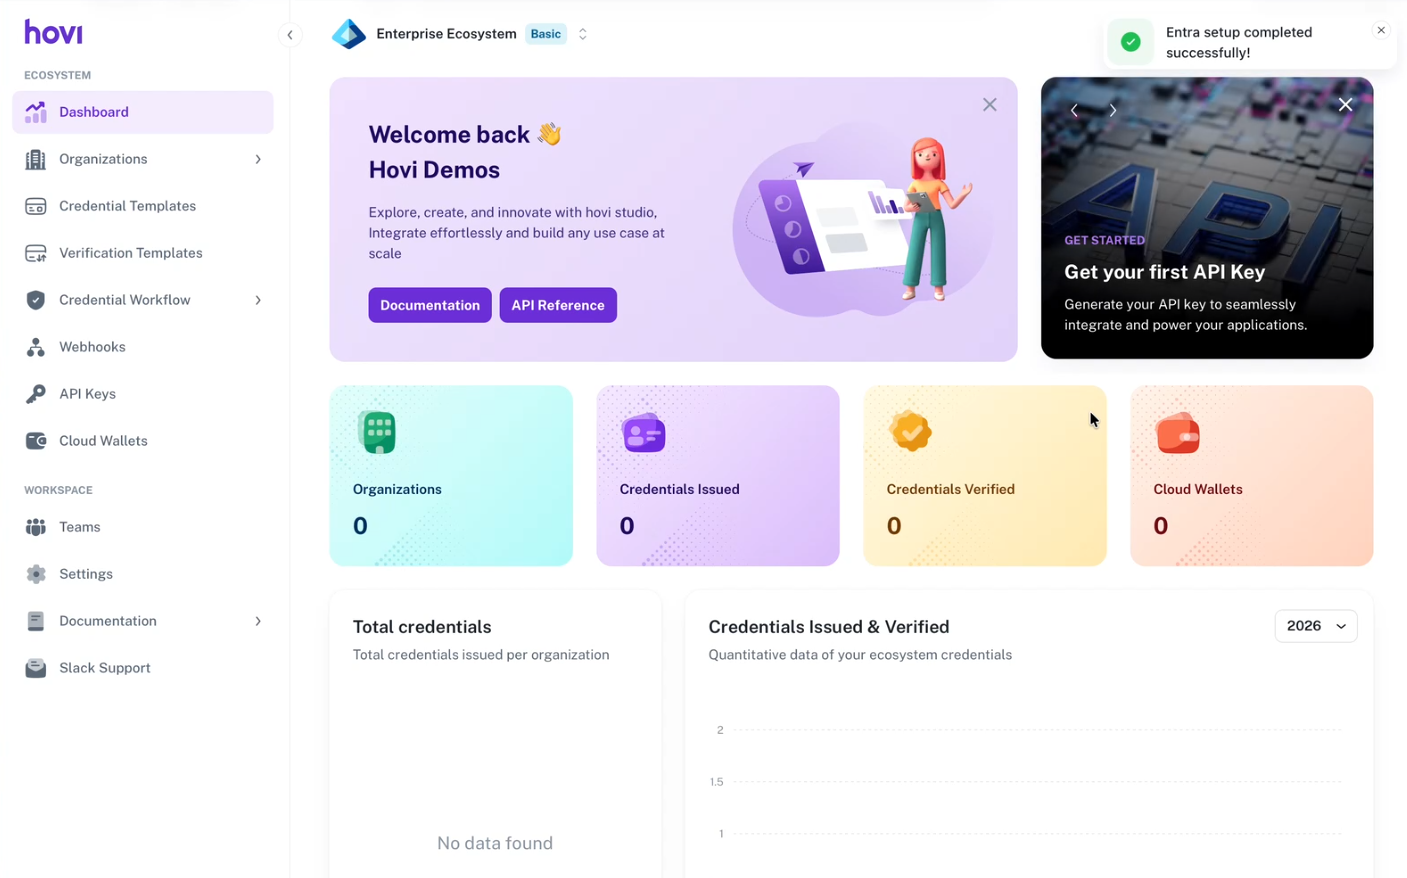
After redirection, a success notification appears in the top-right corner of the dashboard:
Entra setup completed successfully.
Your ecosystem setup is now complete.
Once the onboarding is complete, you’ll be directed to the Hovi Studio dashboard.
We give a free tier of 30 days. To know about subscription plans and billing details, please refer here: Billing and Usage.
You can now create and manage credential and verification templates, create tenants, and retrieve or create a new API key to start using Hovi APIs to issue or verify credentials.