Quick Start
This guide will walk you through the steps to get started with Hovi Studio and APIs. You’ll learn how to retrieve your API key, issue your first credential, receive it, and verify it using Hovi.
1. Get Your API Key
Before interacting with Hovi APIs, you need to retrieve an API key to authenticate your requests.
Step 1: Register for a Hovi Studio Account
-
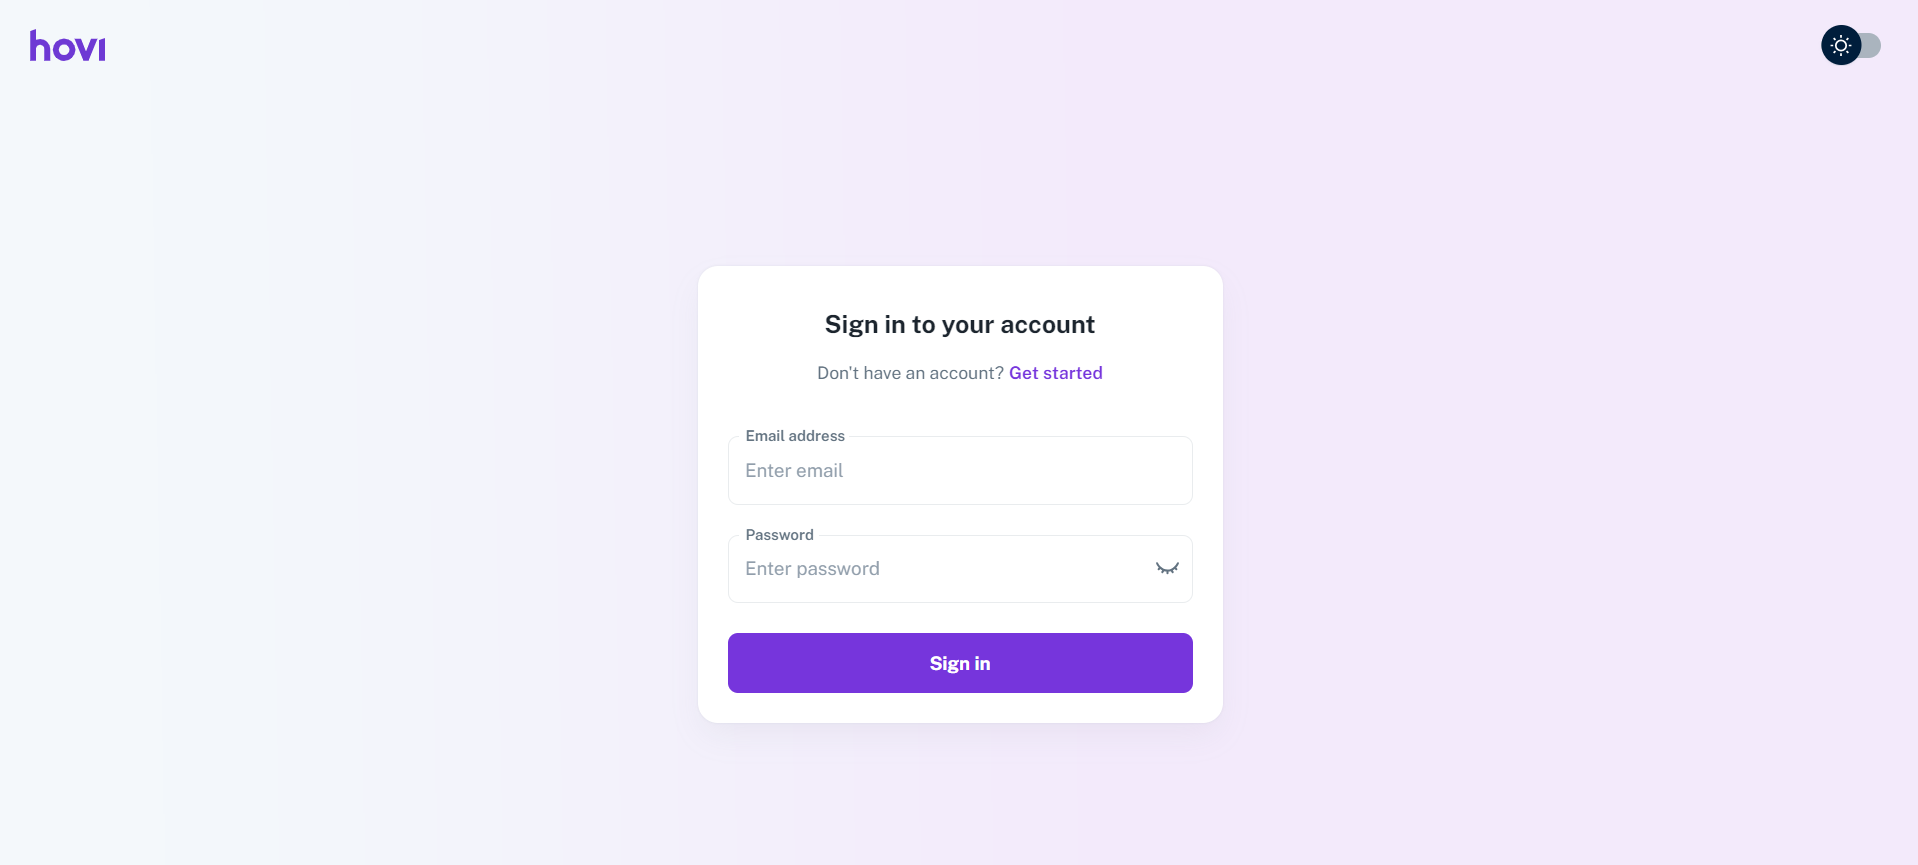
Visit Hovi Studio.
-
Click "Get started" to access the sign-up page.
-
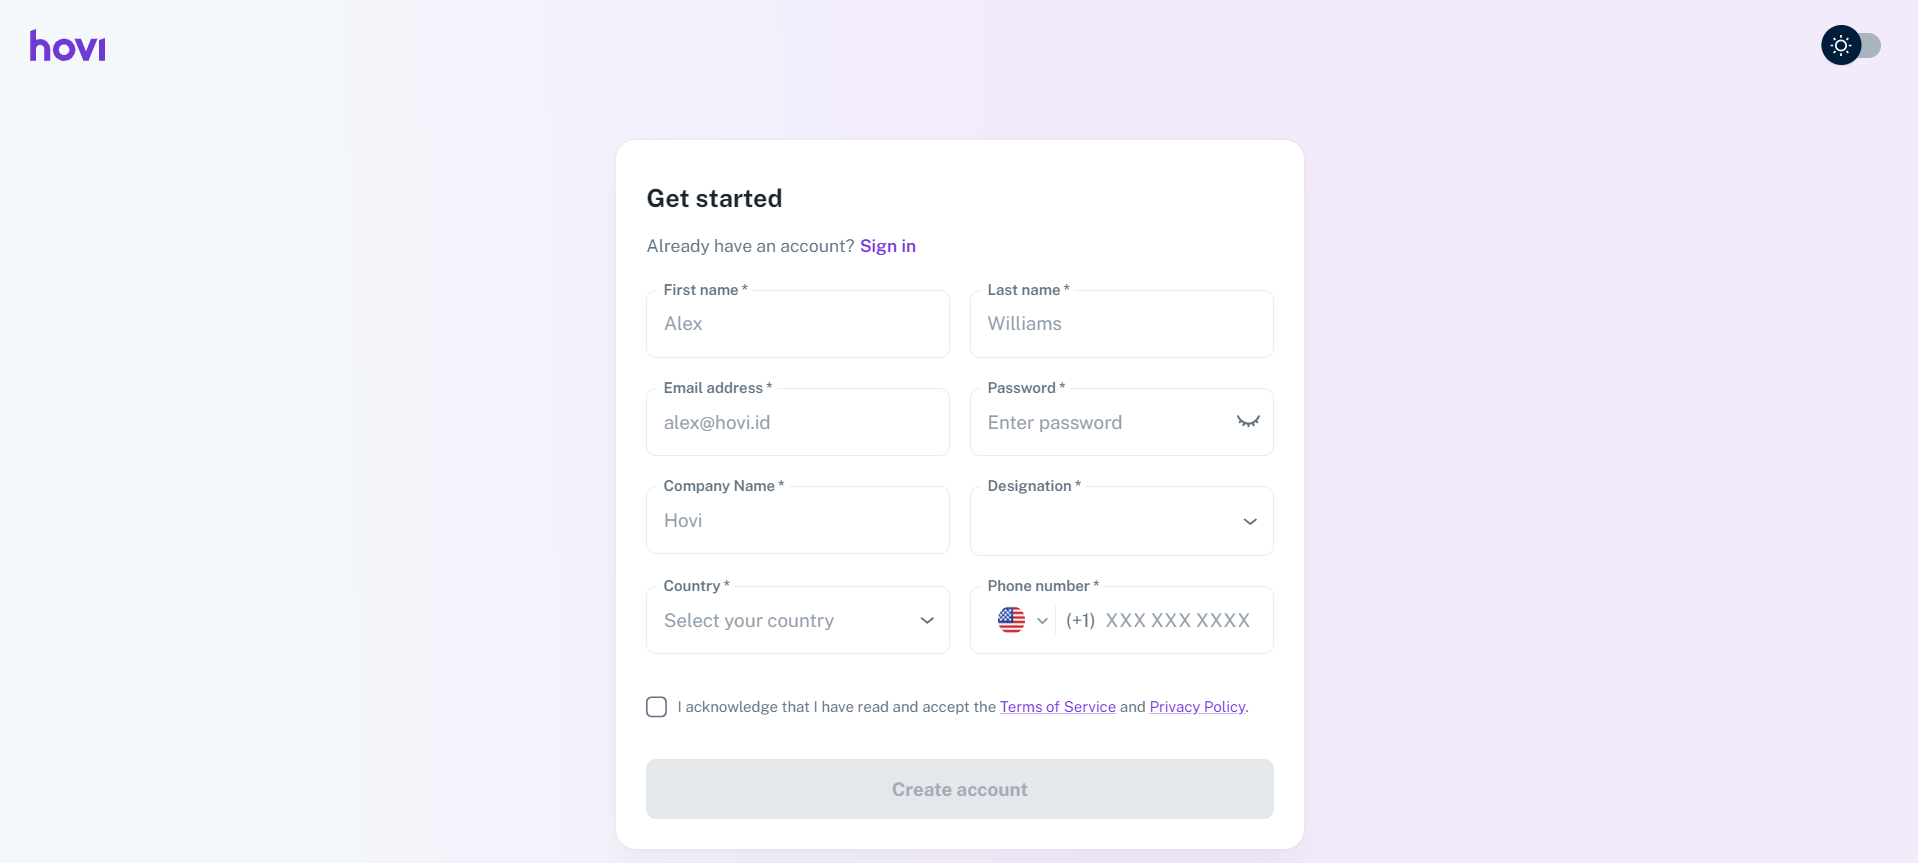
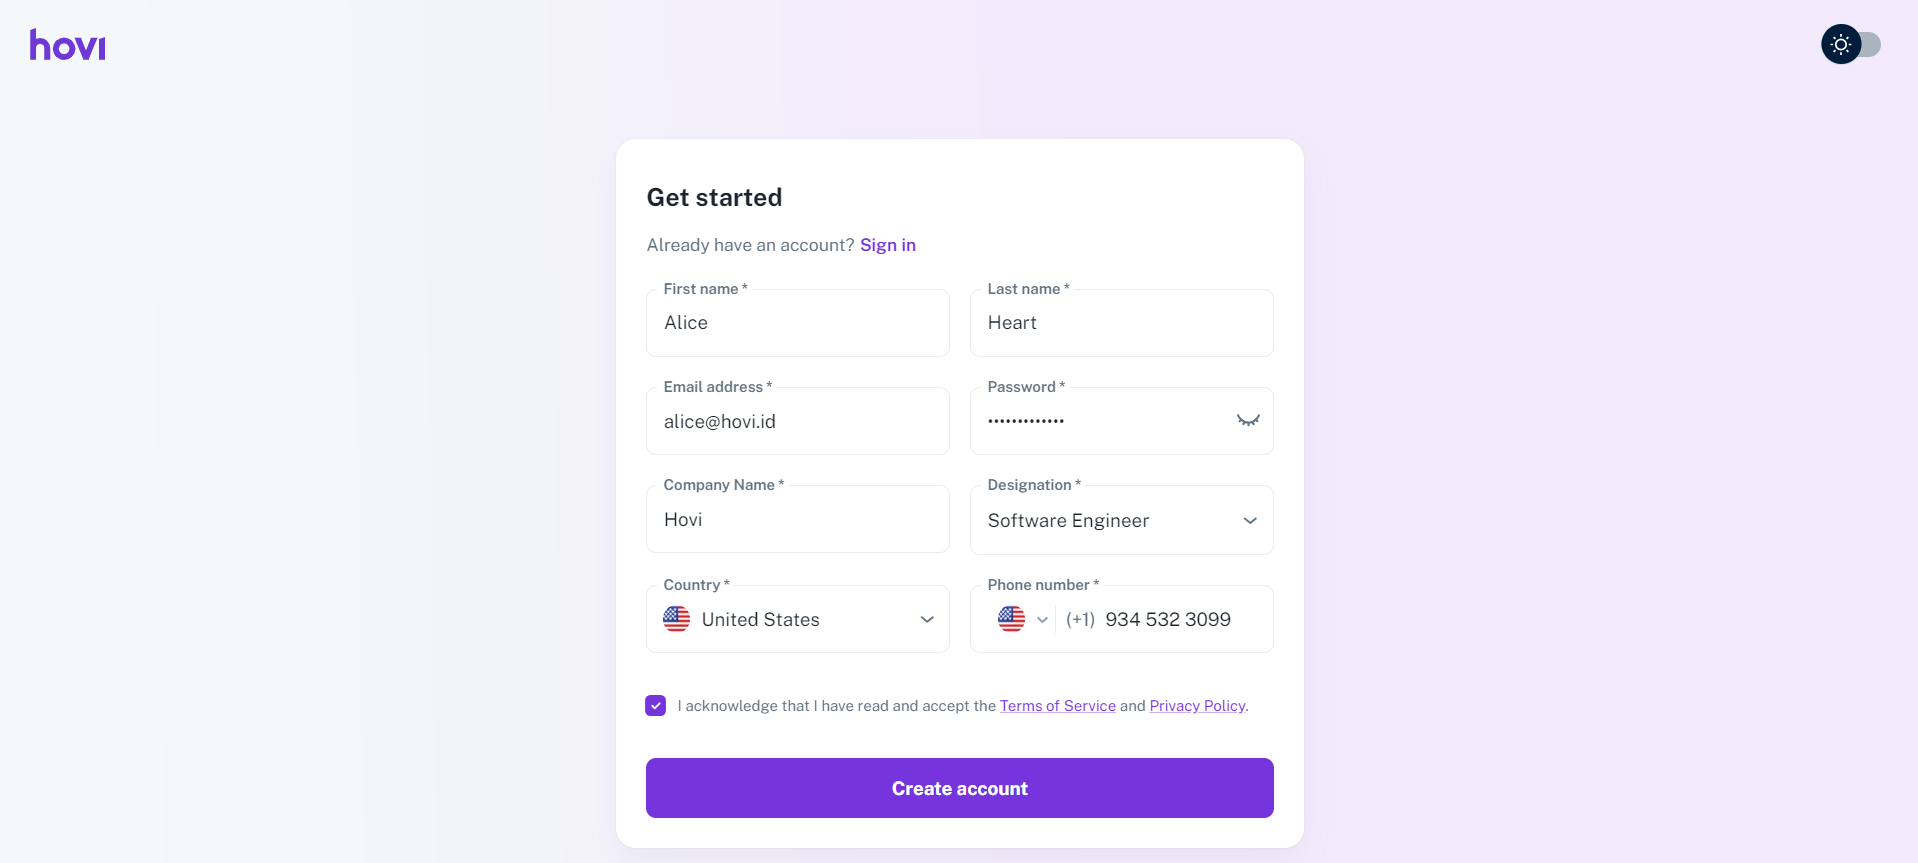
Fill in the required details and click "Create account" to complete the registration process.
Step 2: Complete the Onboarding Process
-
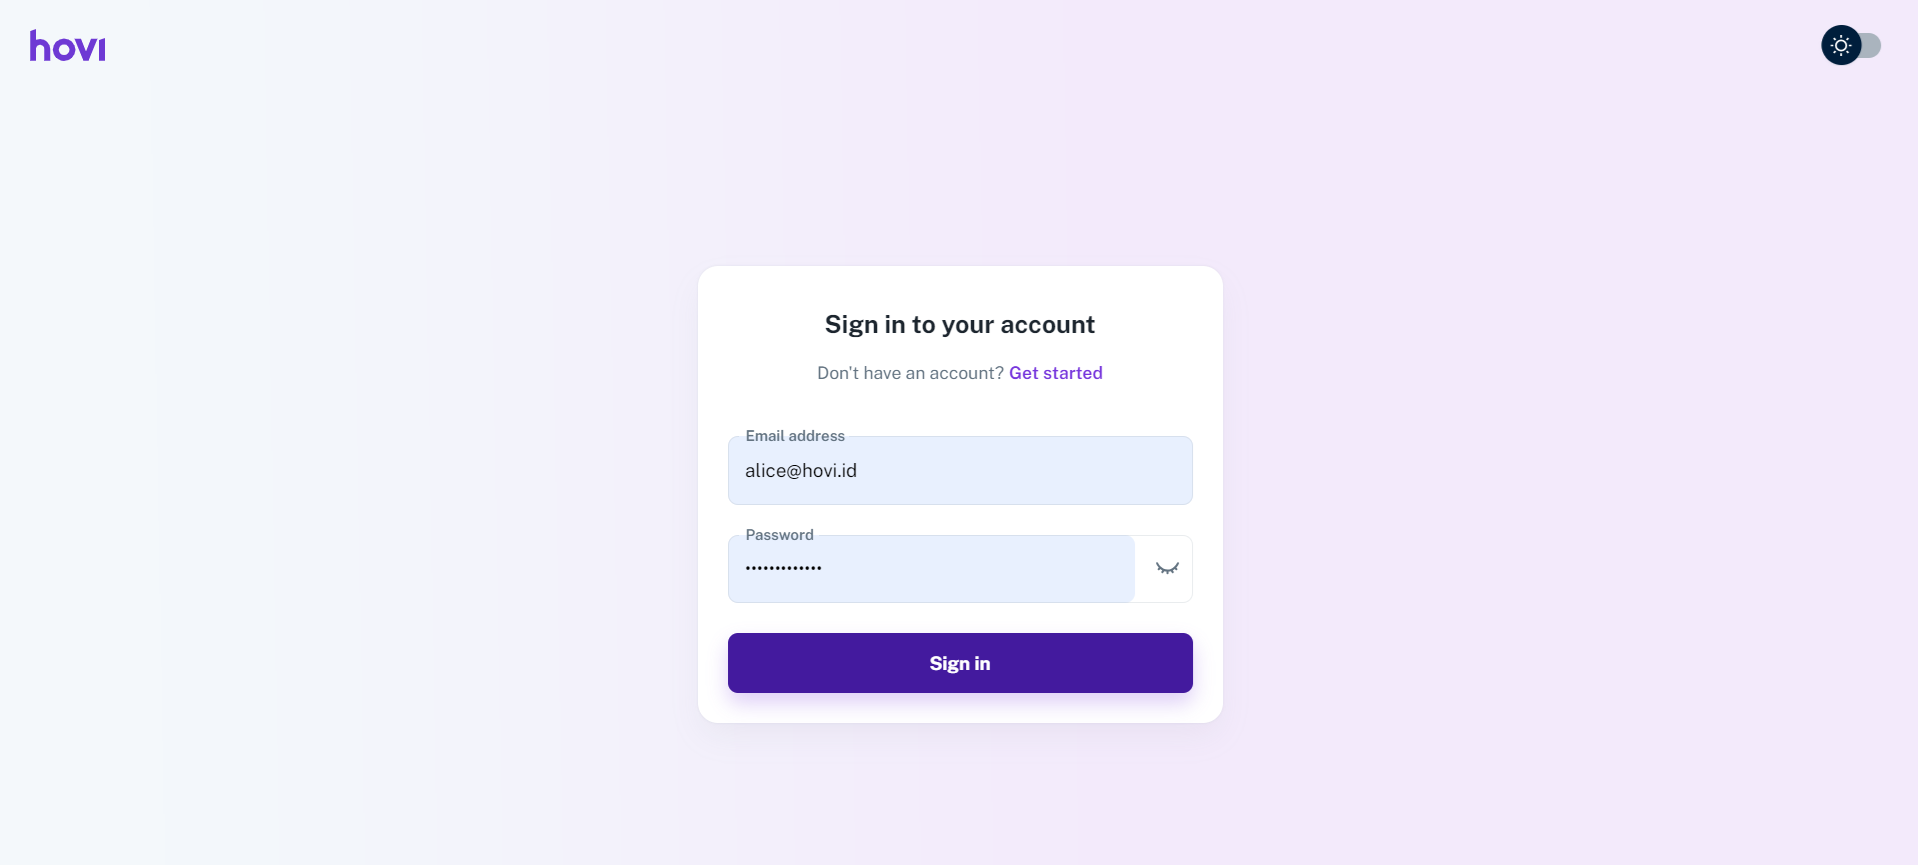
Sign in using your registered credentials.
-
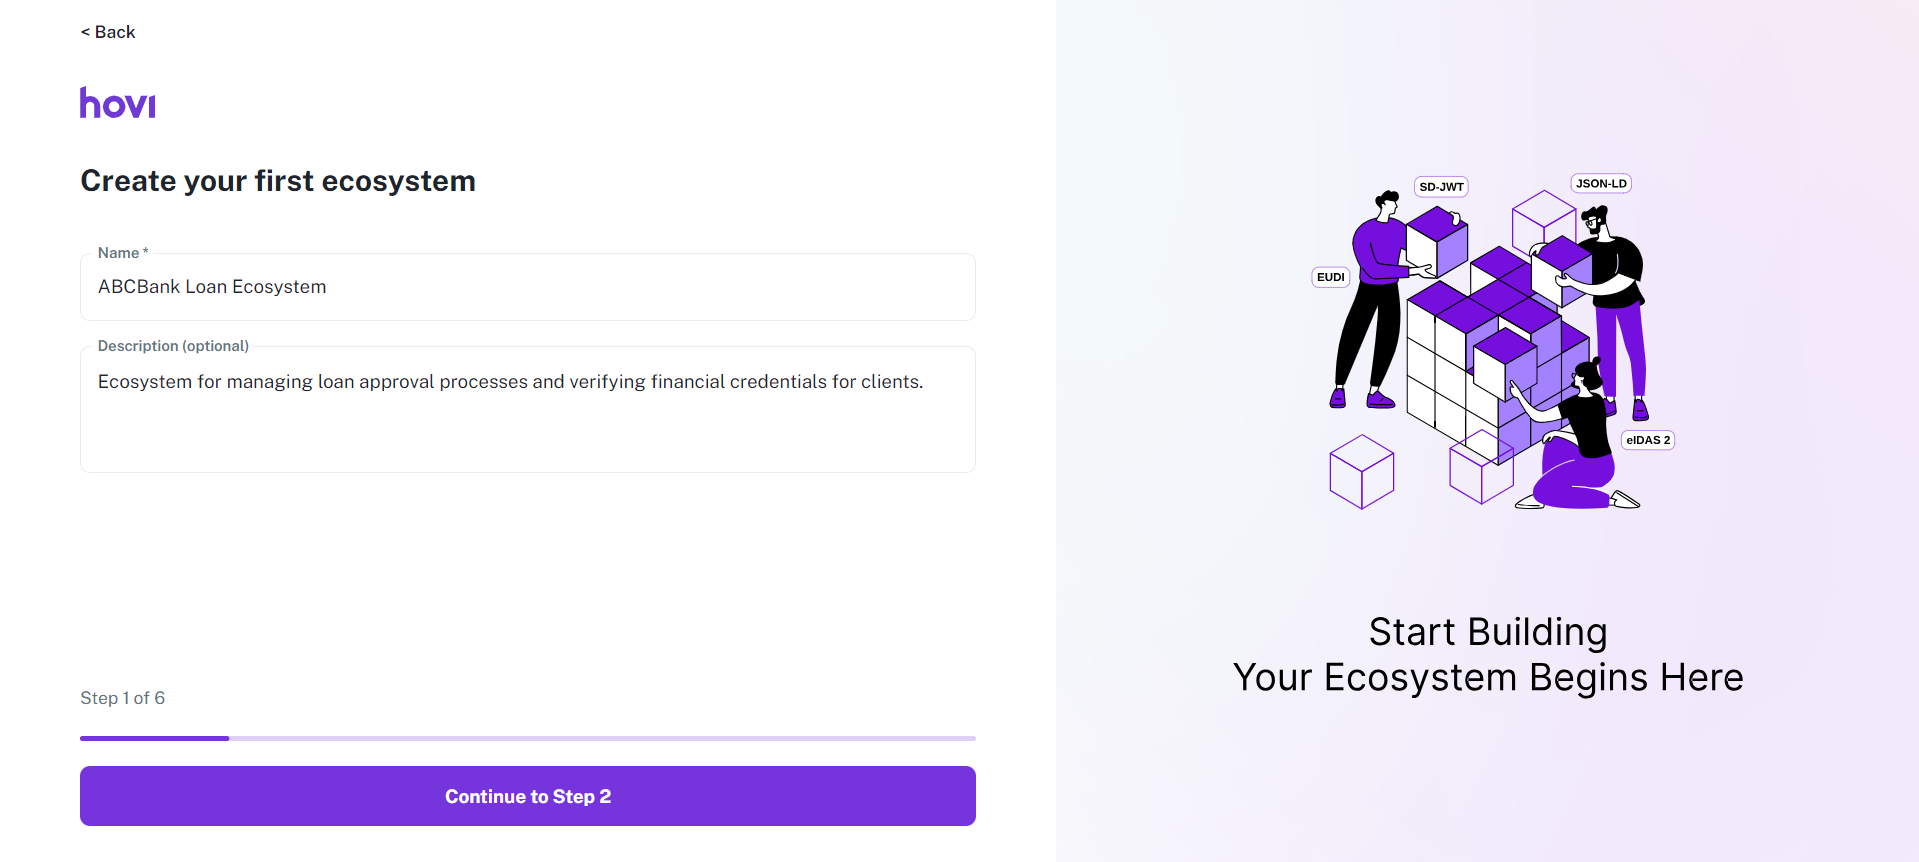
Create your first ecosystem by providing a "Name" and an optional "Description".
-
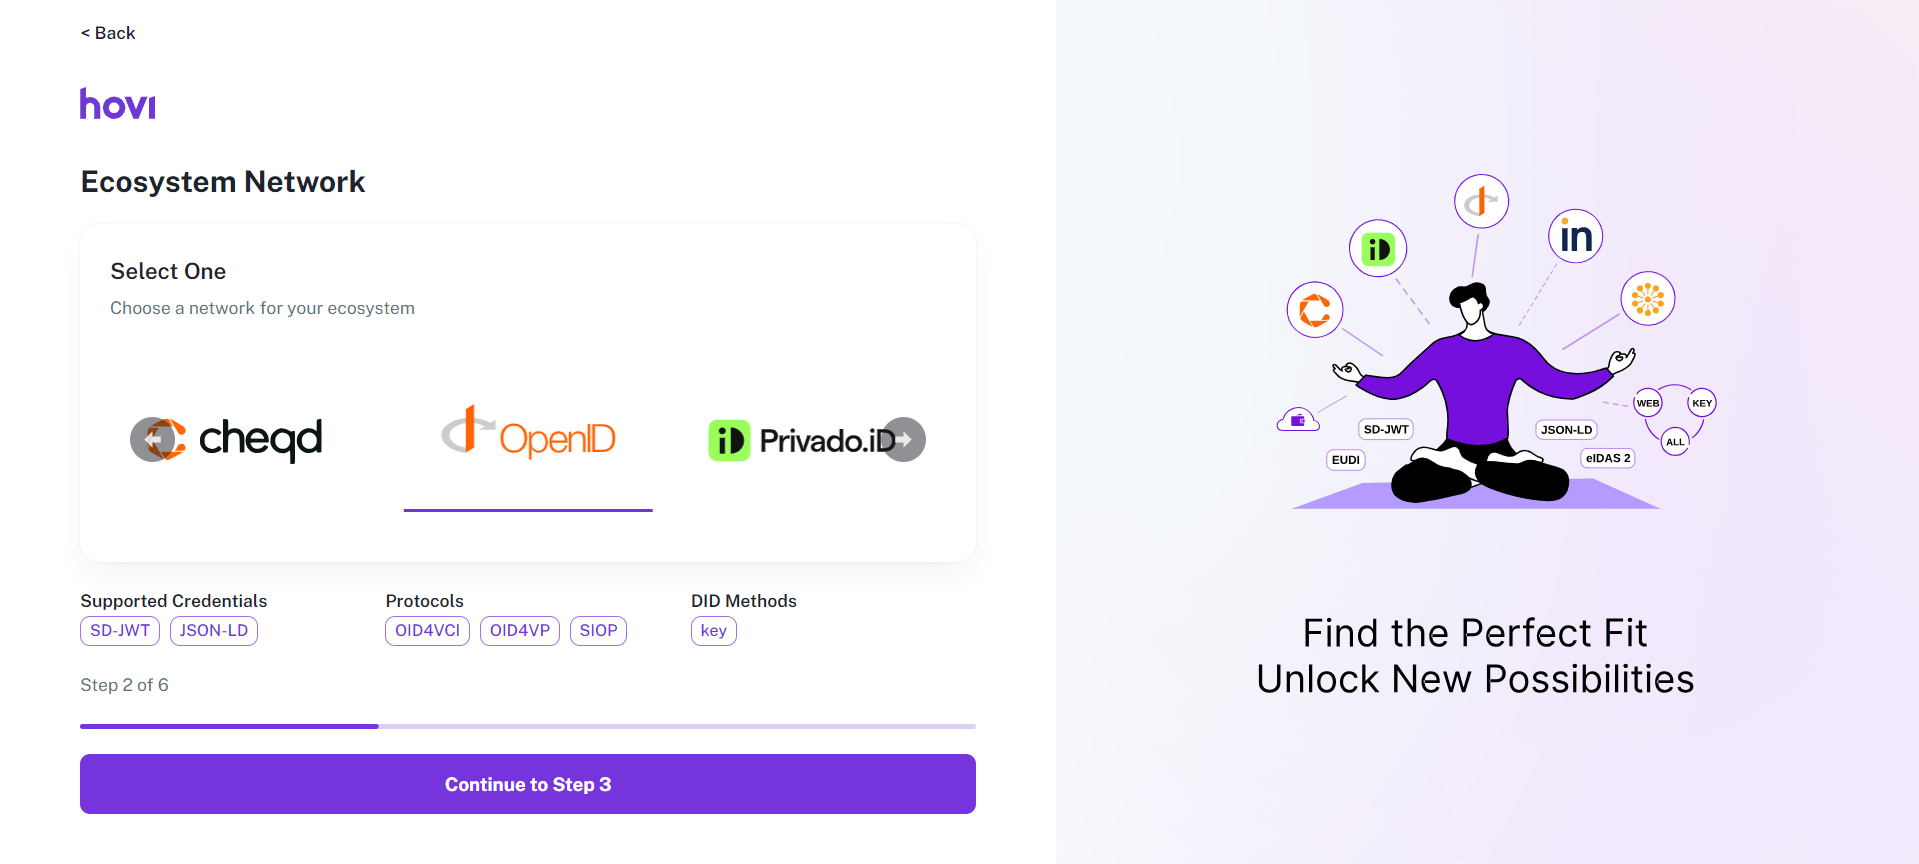
Select a network for your ecosystem from the available options.
-
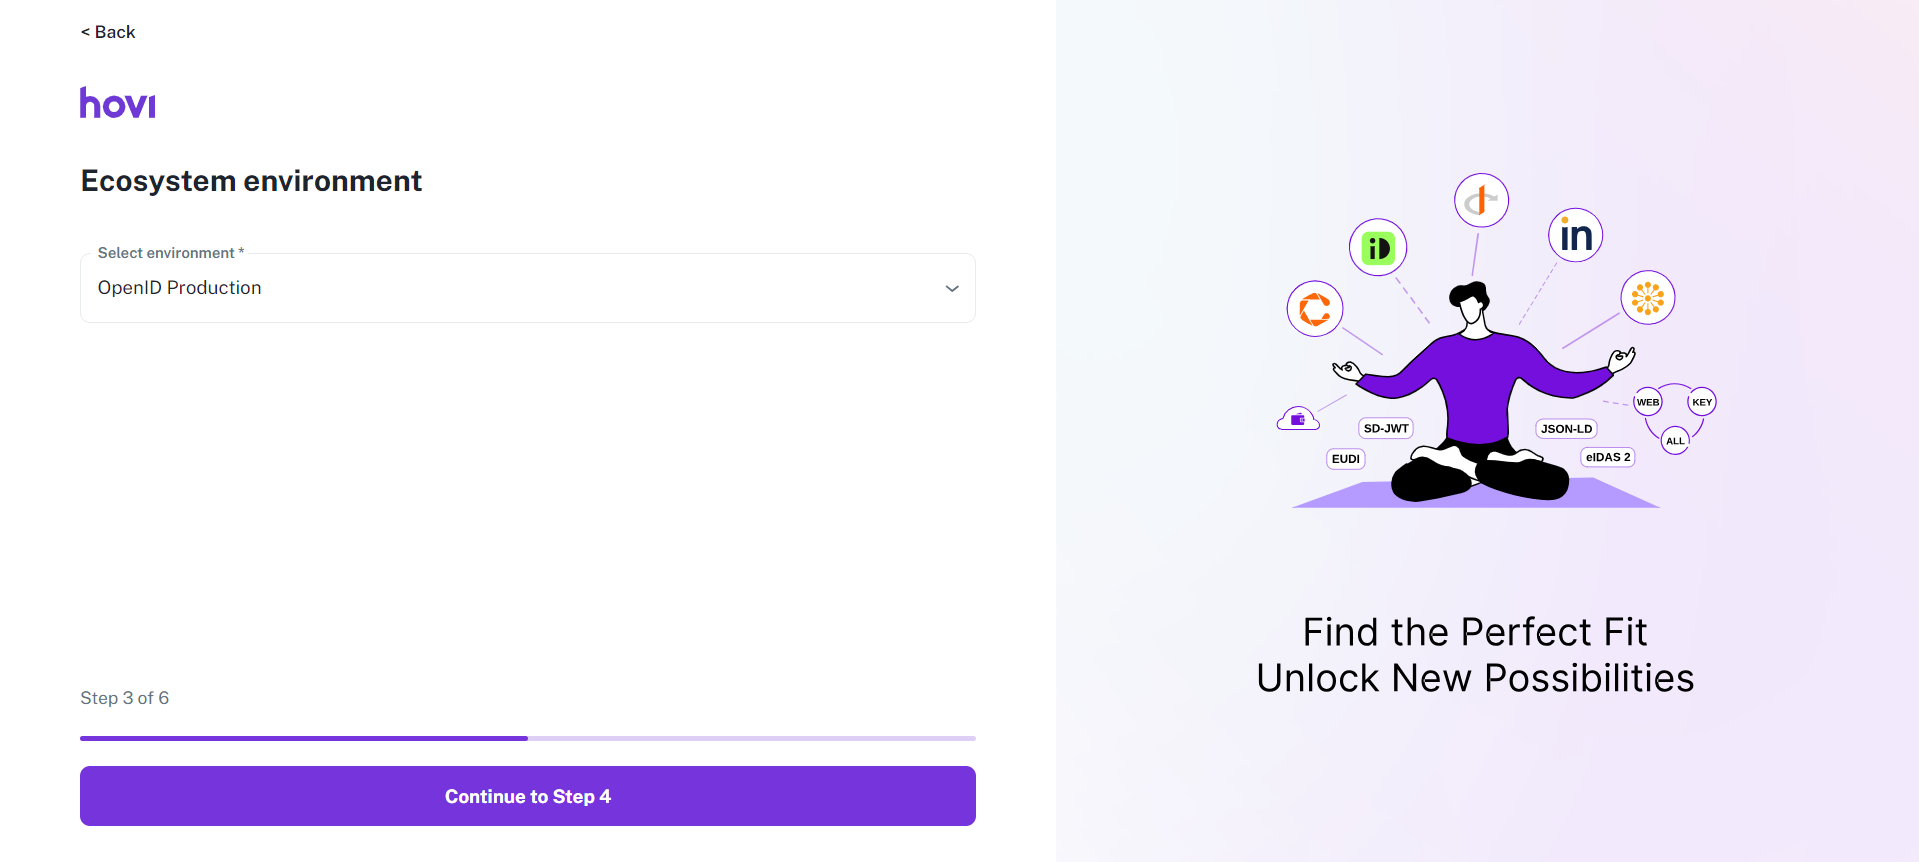
Choose the environment for your ecosystem.
-
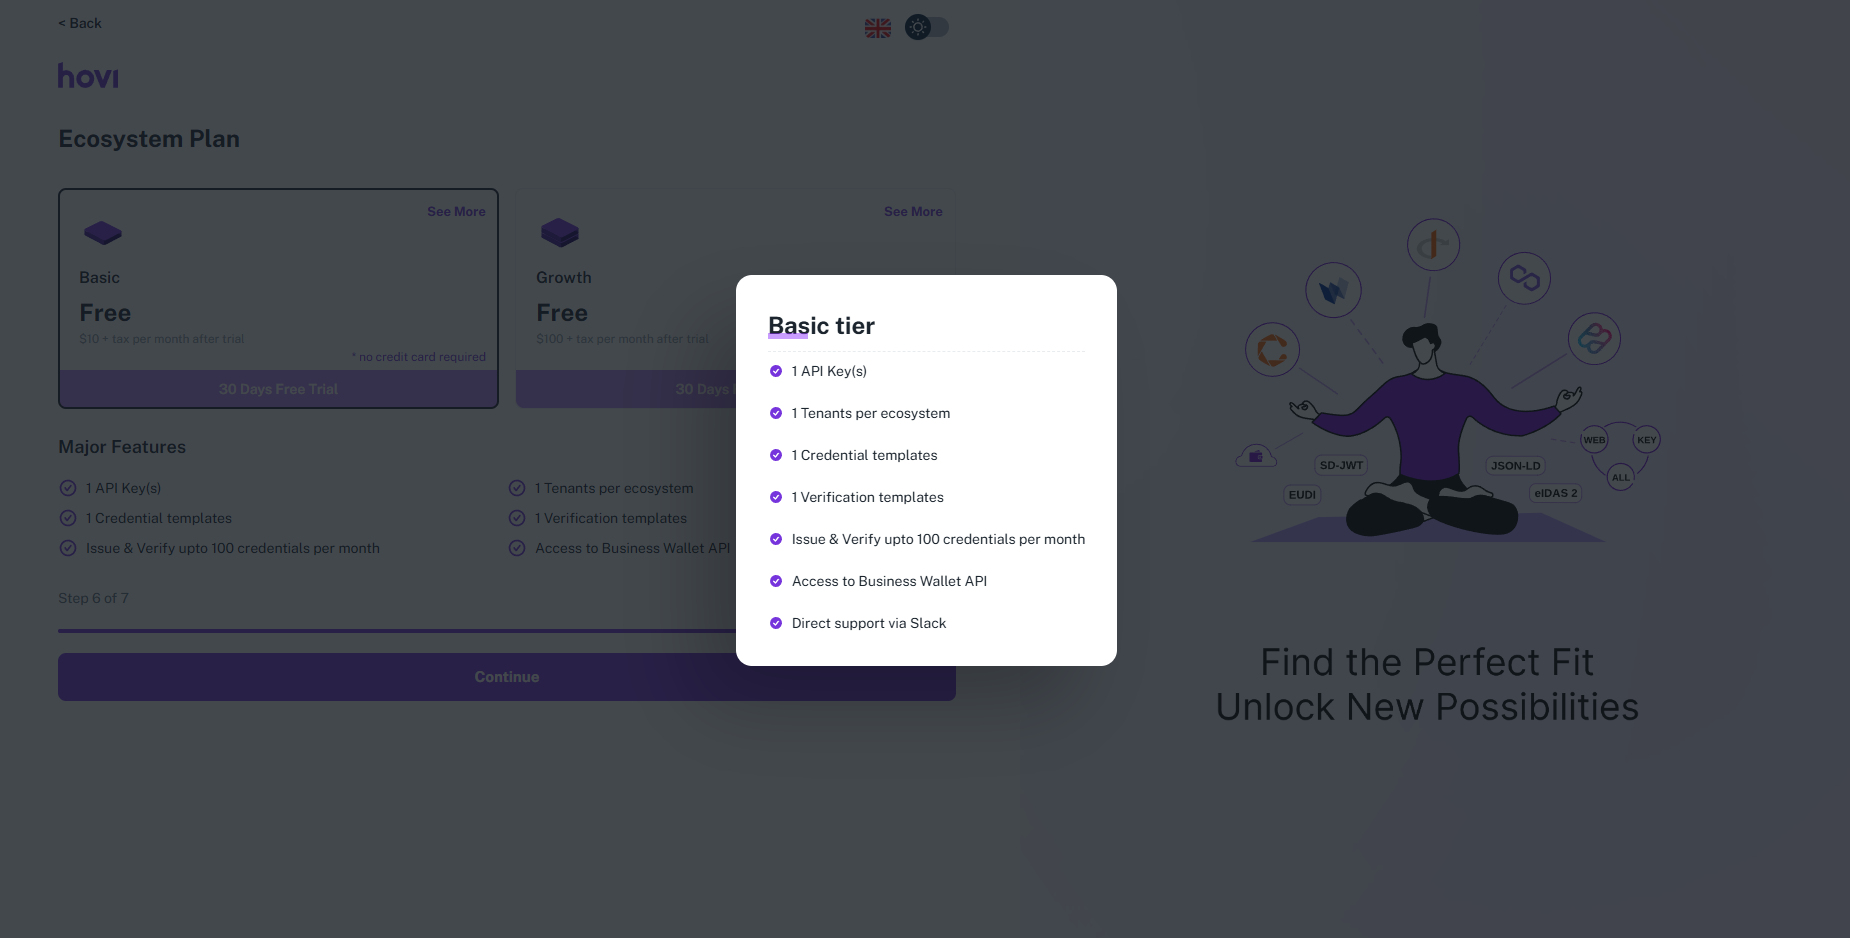
Select your subscription plan and click "Finish".
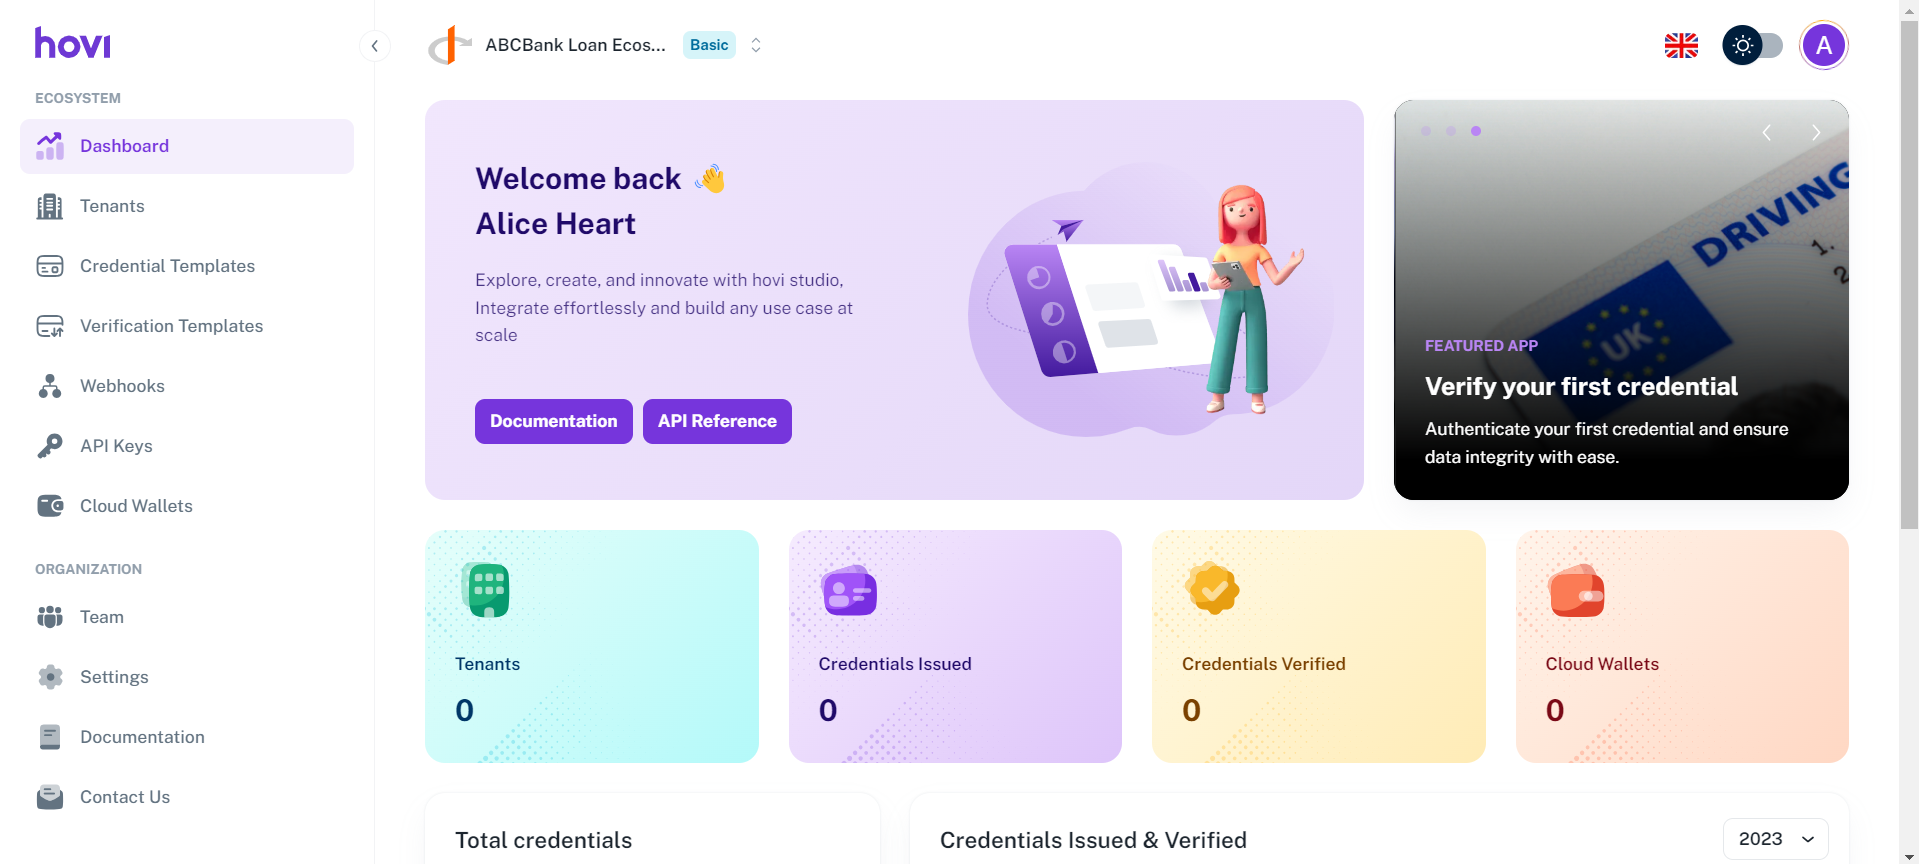
Once the onboarding is complete, you’ll be directed to the Hovi Studio dashboard.
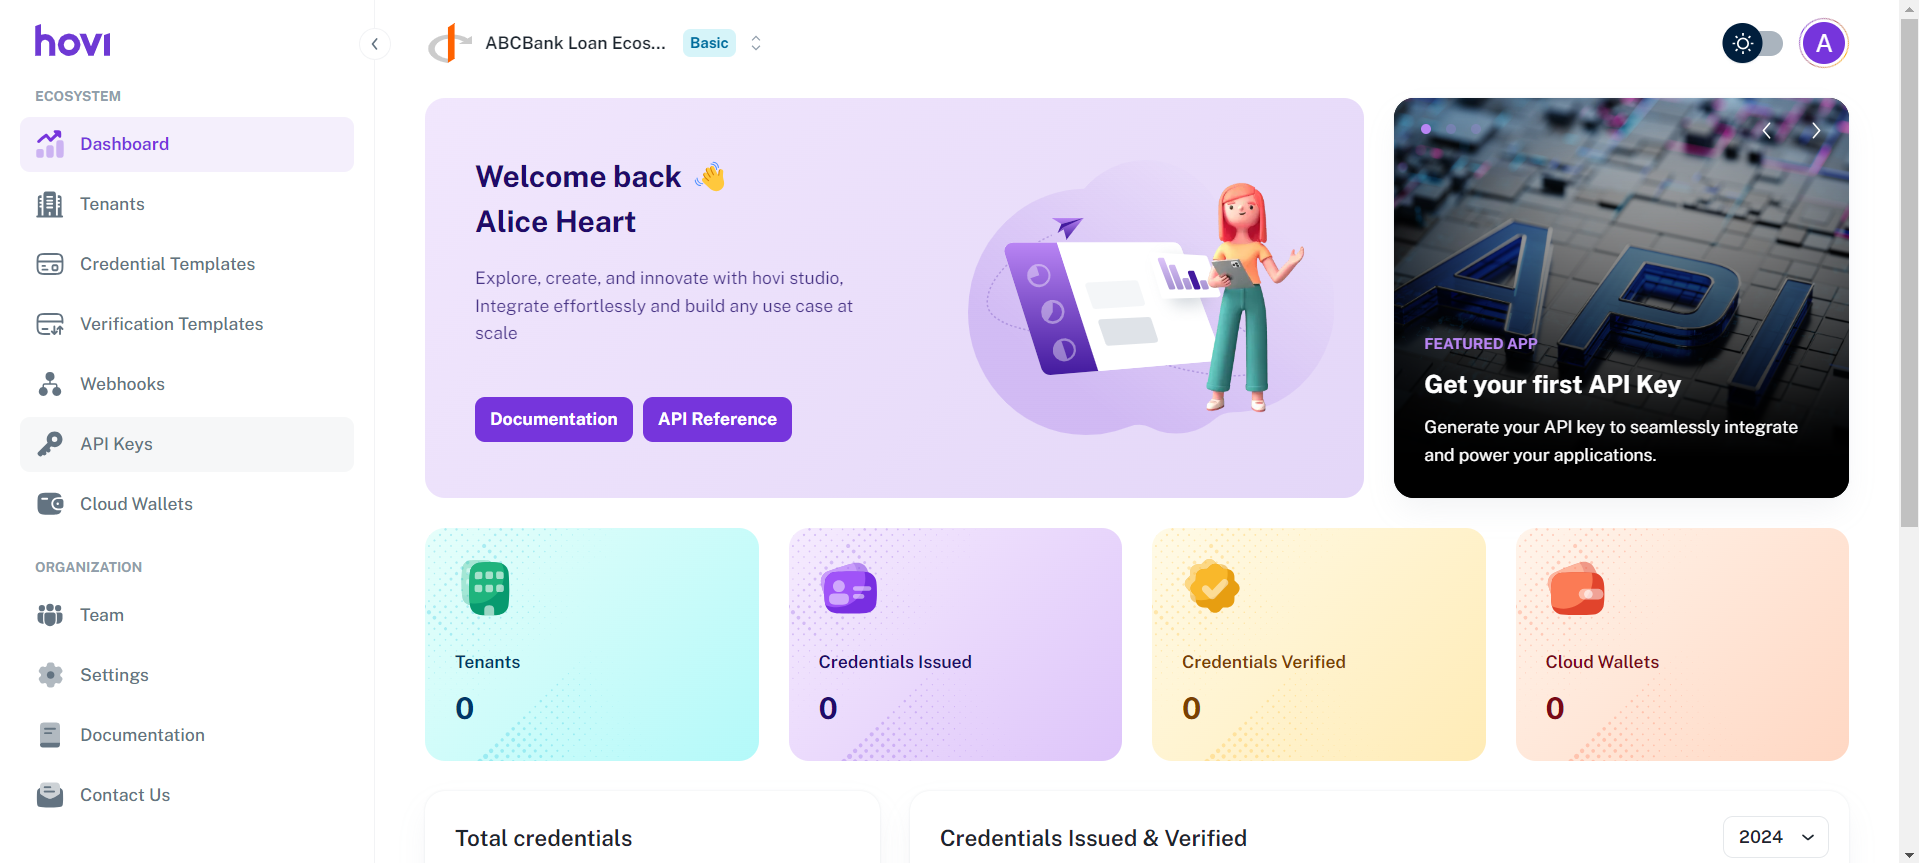
Step 3: Retrieve Your API Key
-
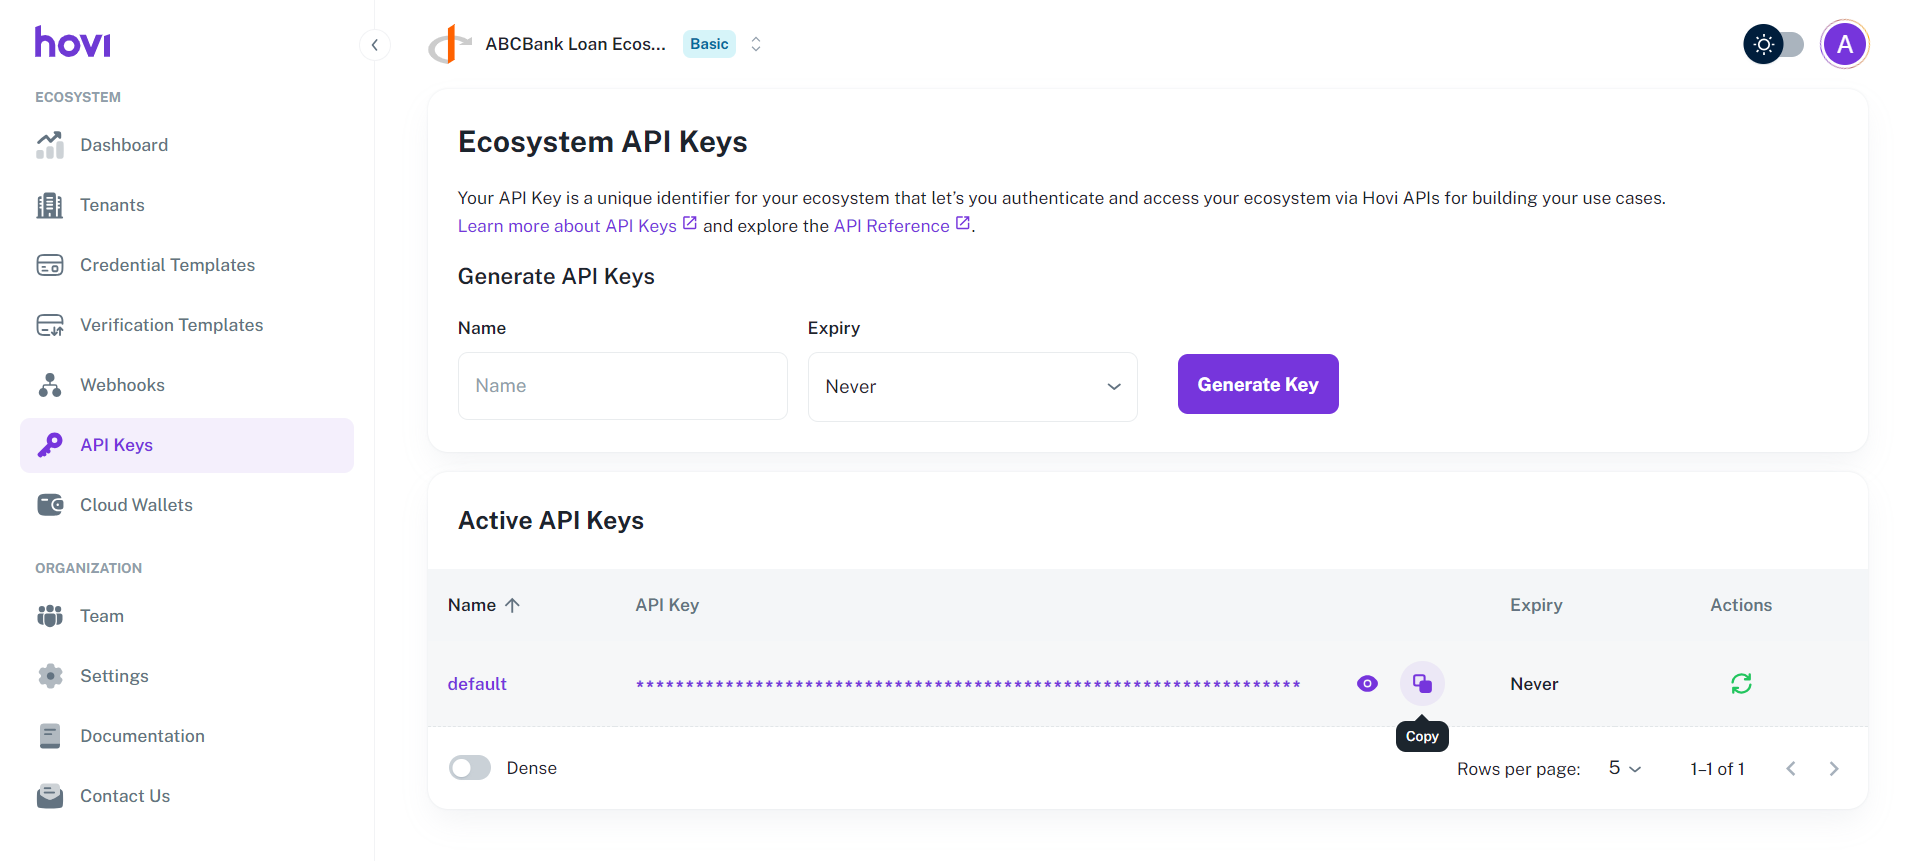
Click on the "API Keys" tab from the left-hand navigation menu.
-
Your pre-generated API key will be available under the "Active API Keys" section.
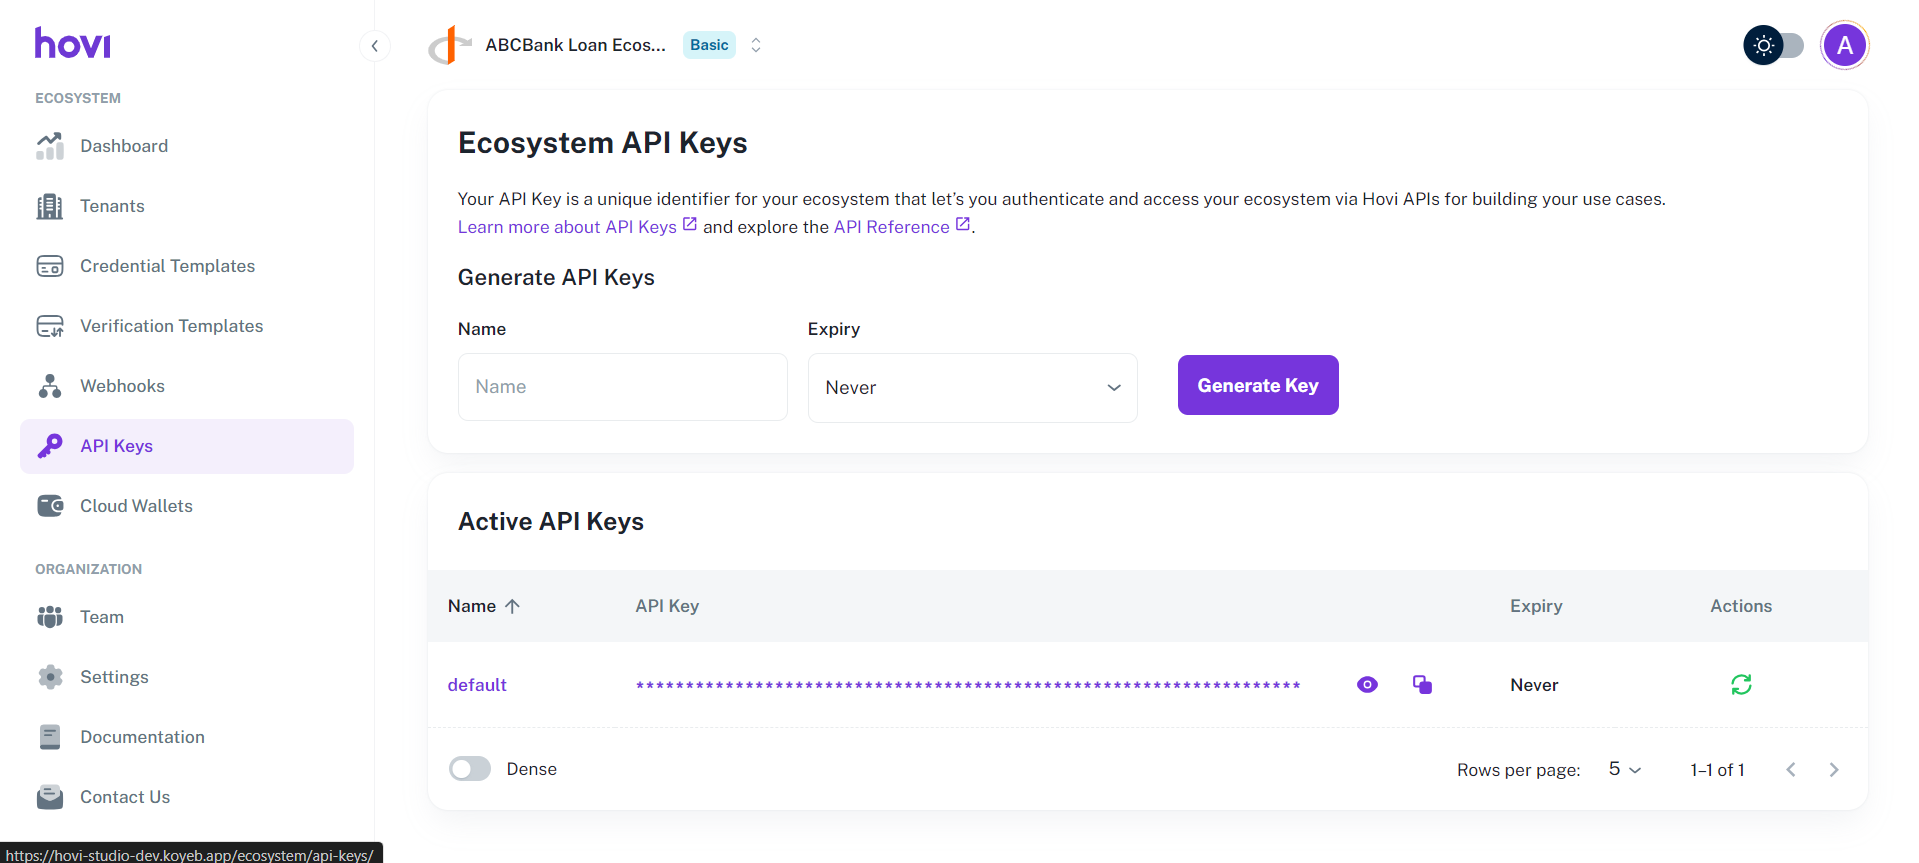
You can now use this key to authenticate your API requests.
2. Issue Your First Credential
Follow these steps to issue a verifiable credential using Hovi.
Step 1: Log in to Hovi Studio
- Use your registered credentials to sign in to Hovi Studio.

Step 2: Create a Organization
-
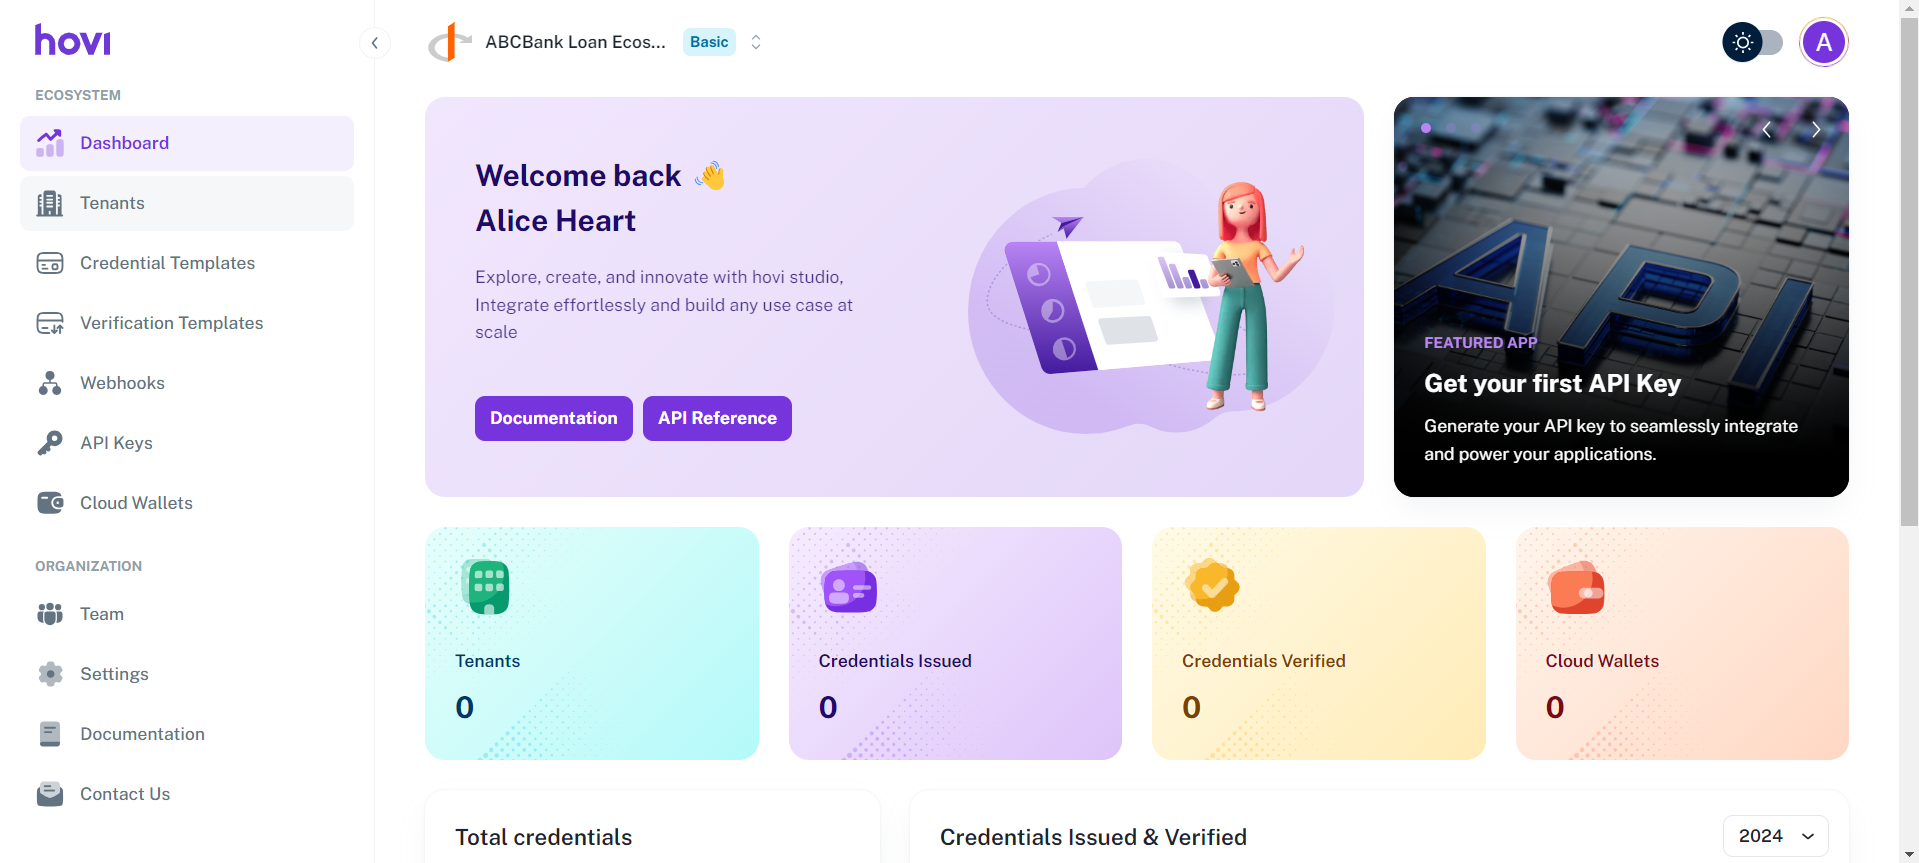
In the dashboard, click on the "Organizations" tab.
-
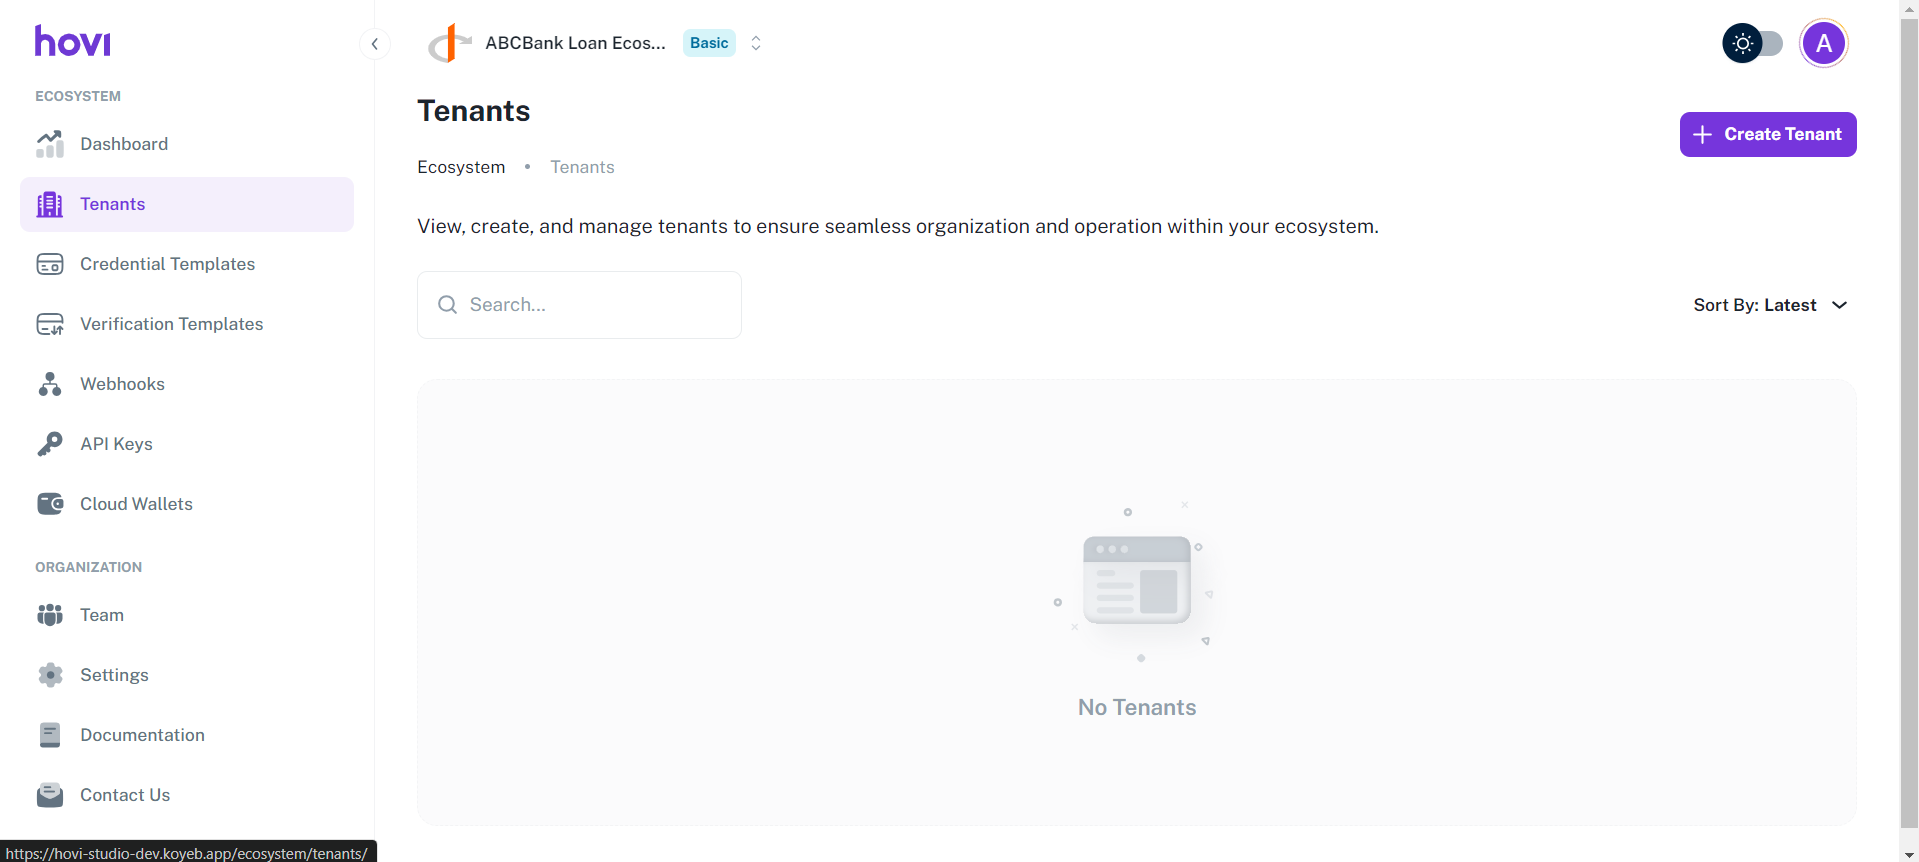
Click the "Create Organization" button located at the top-right corner.
-
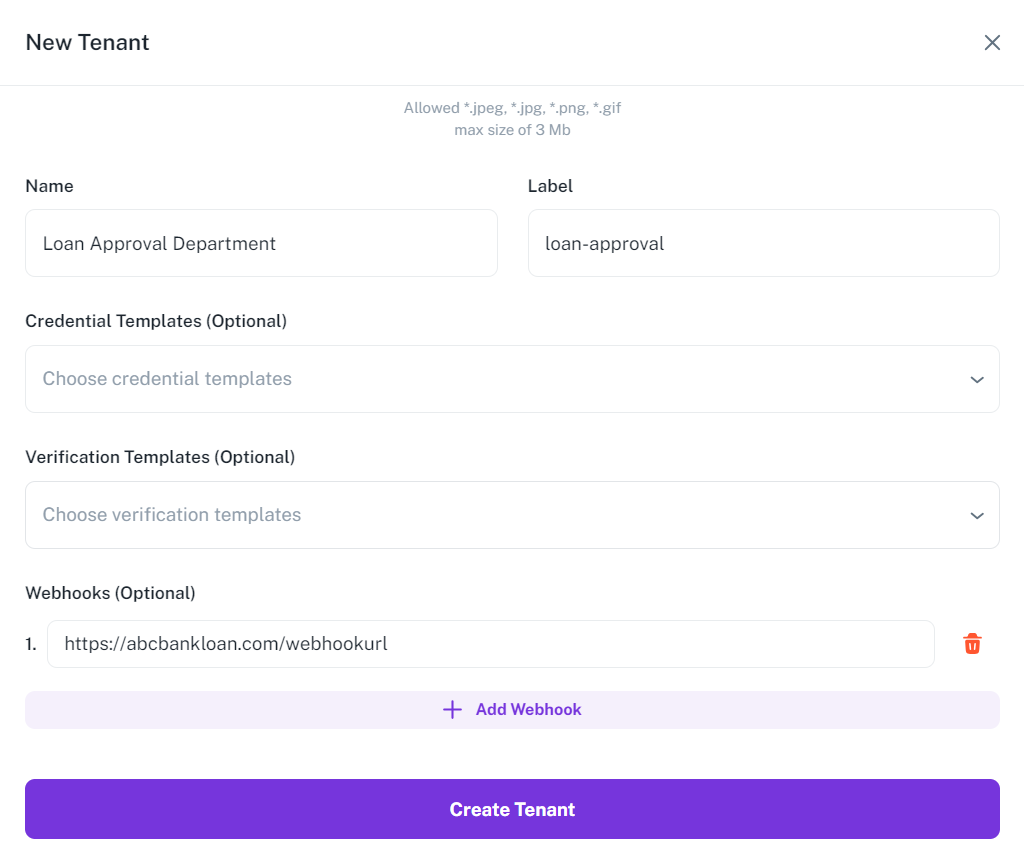
Fill in the required details and click "Create Organization" to create a new organization.
-
Your seed tenant's secret and DID seed phrases will be generated. Copy or download them, as they won’t be displayed again.
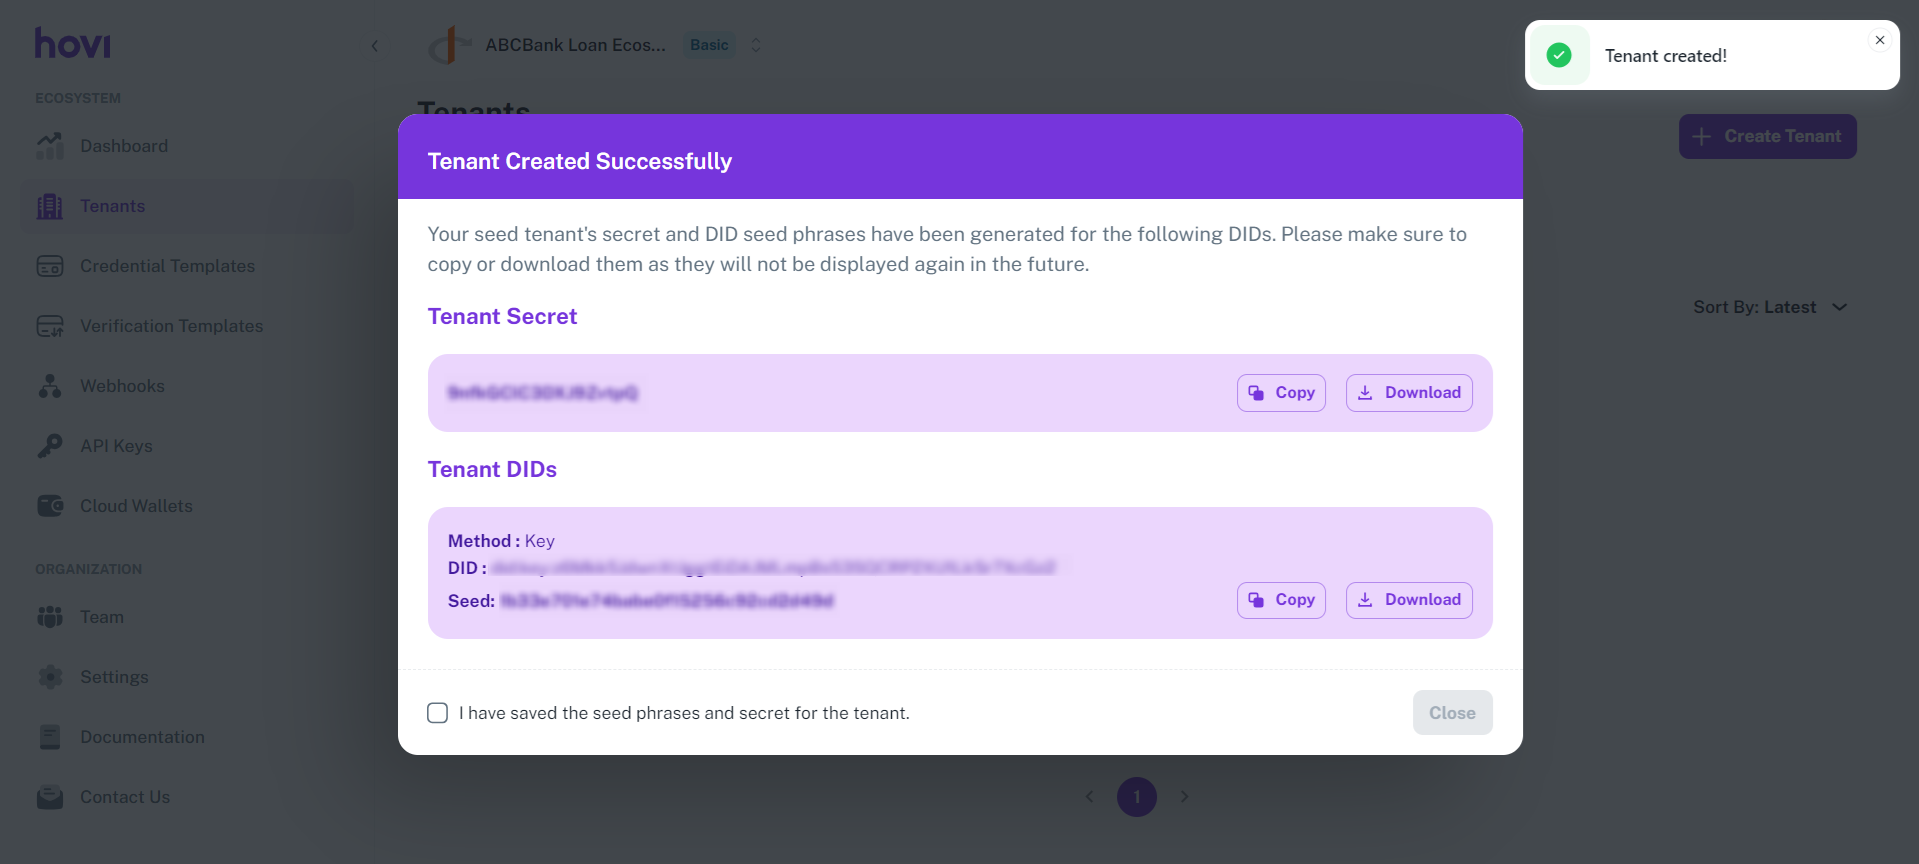
Your new tenant has been created.
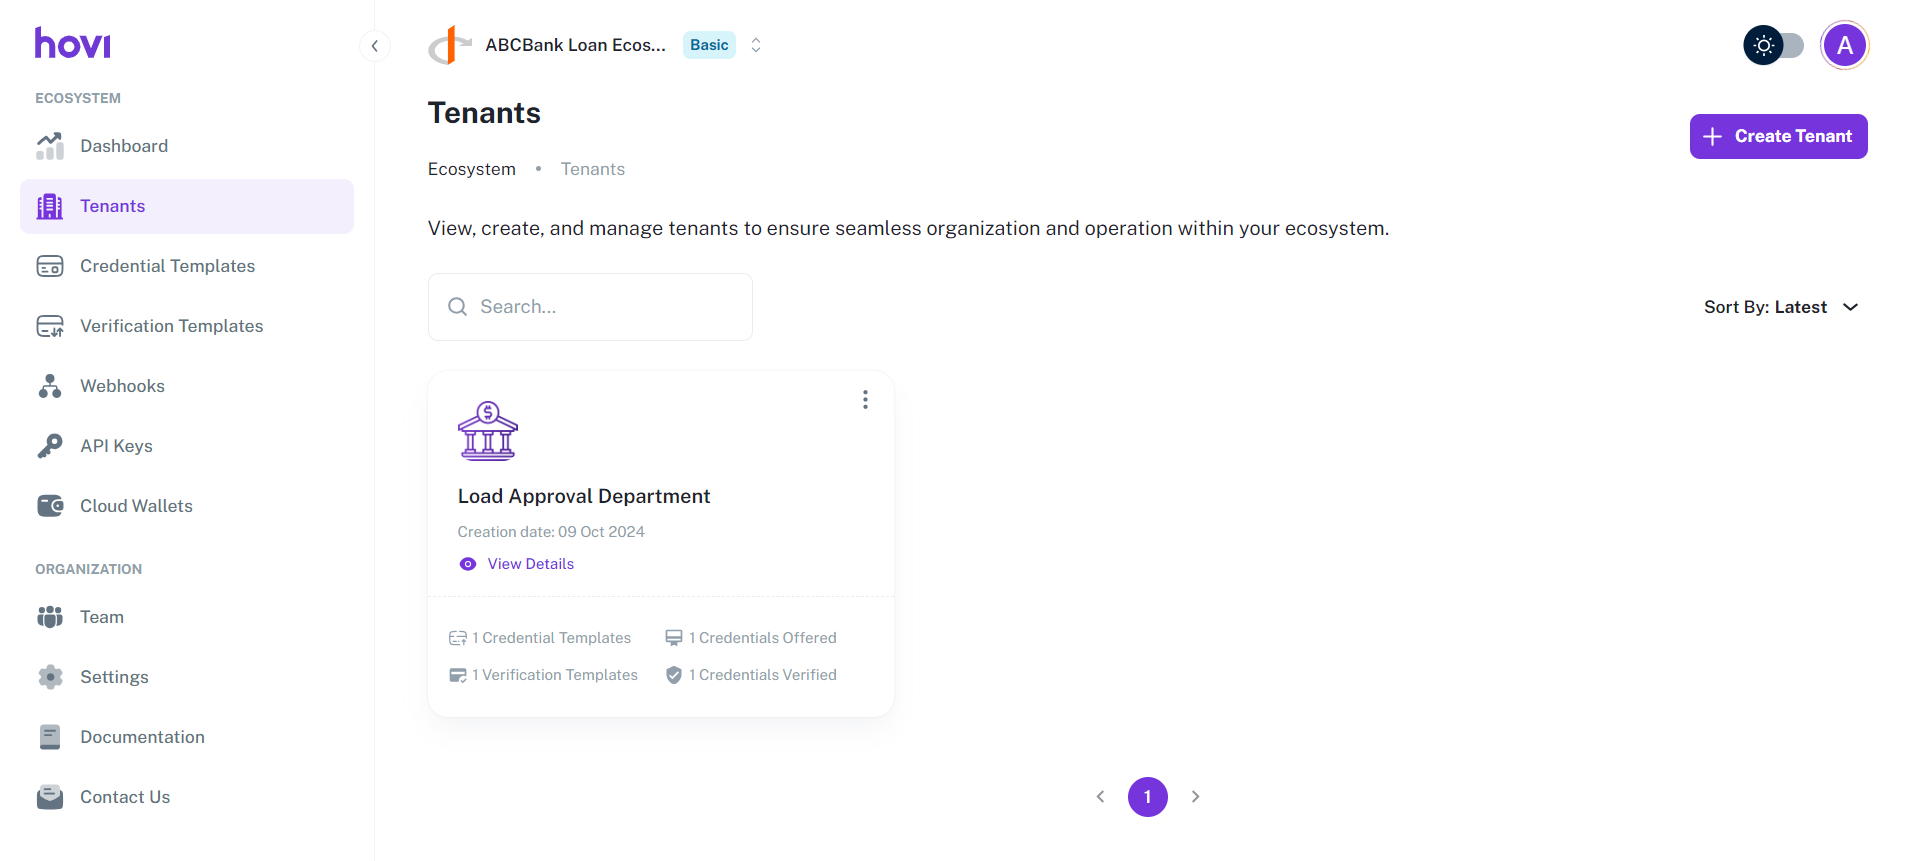
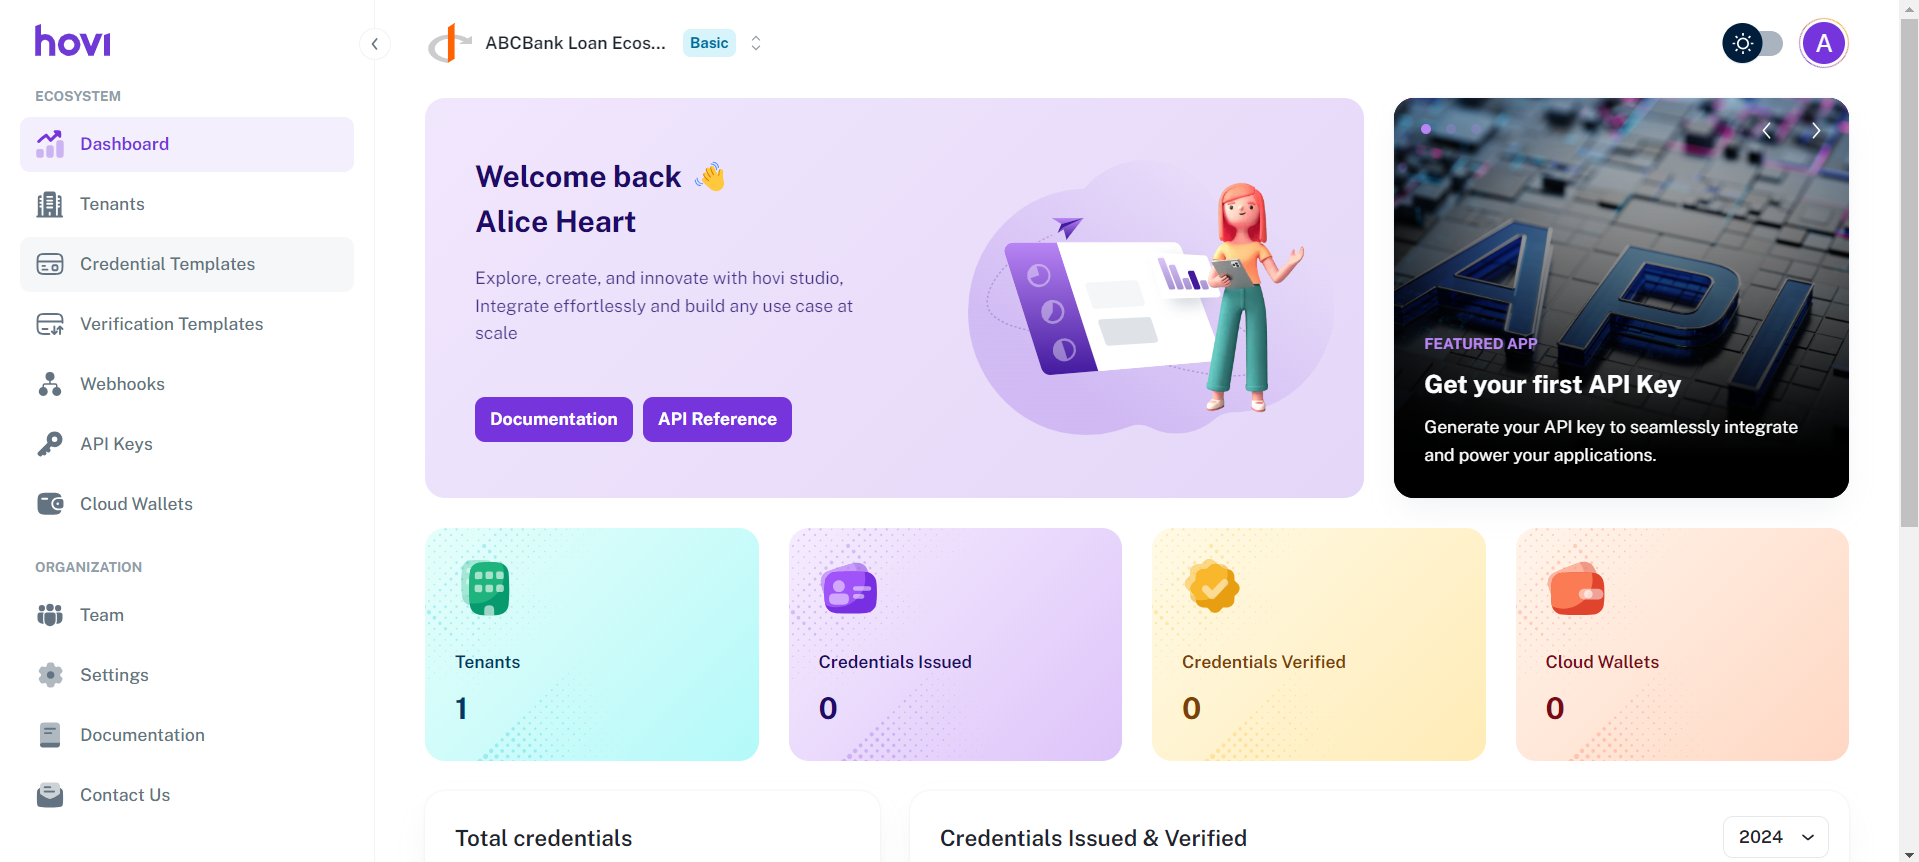
Step 3: Create an Issuance Template
-
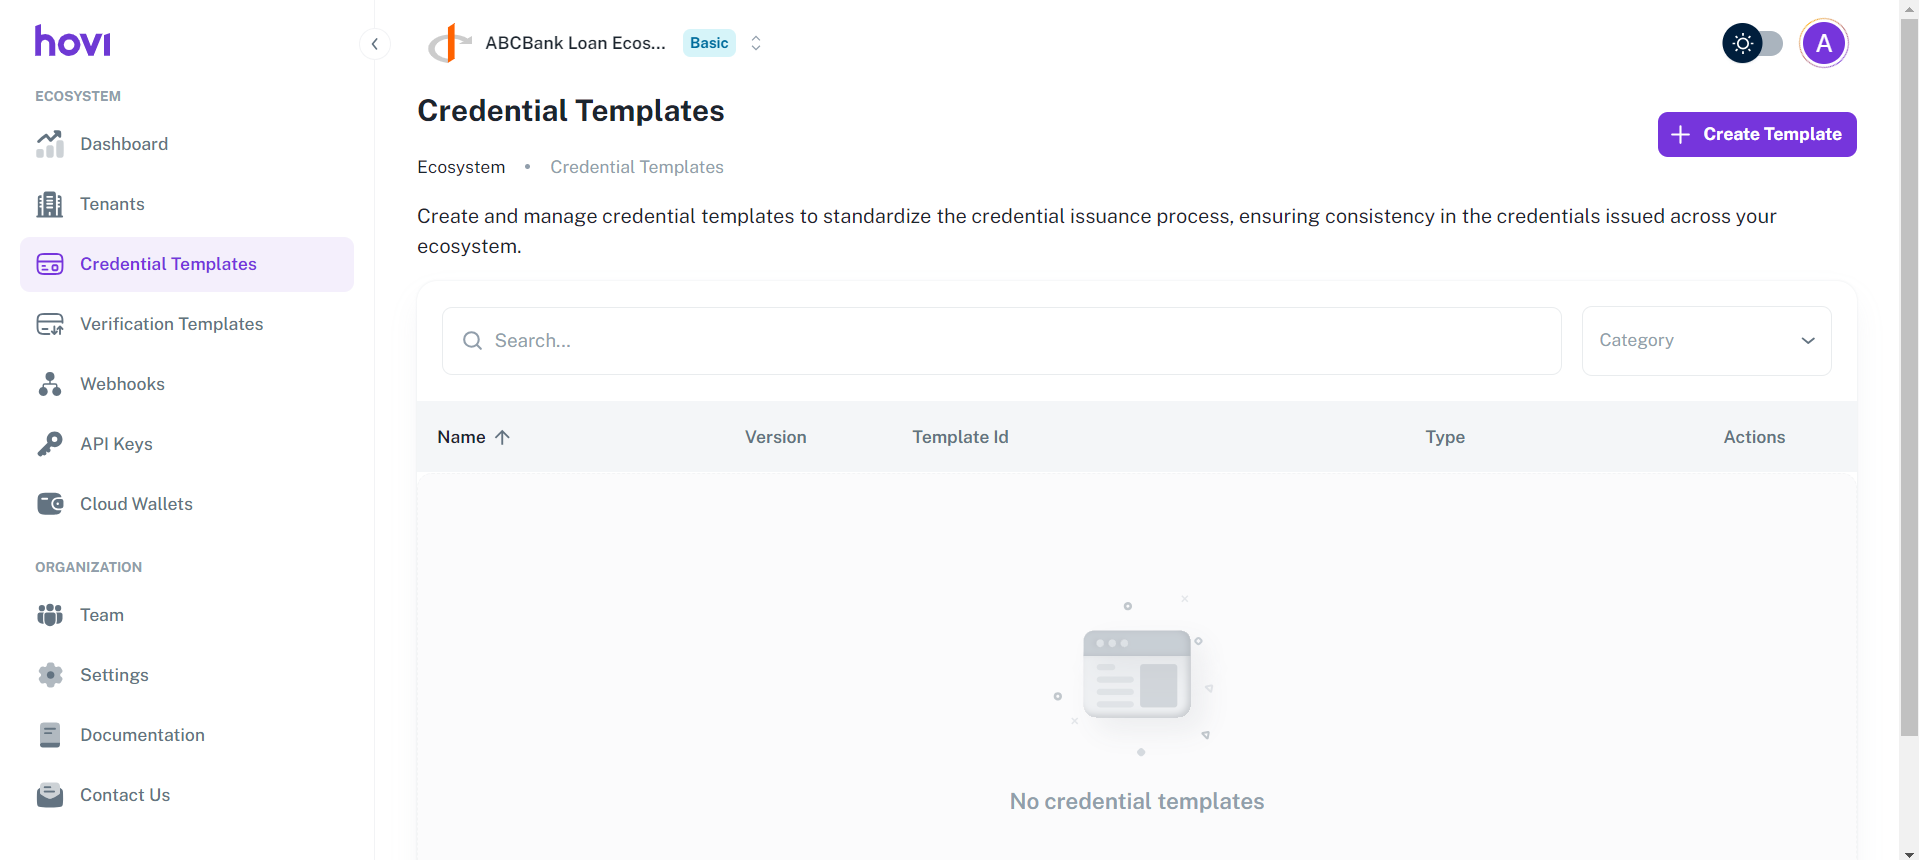
Navigate to the "Credential Templates" tab.
-
Click the "Create Template" **button located at the top-right corner.
-
Fill in the required details and click "Create Template" to create a new issuance template.
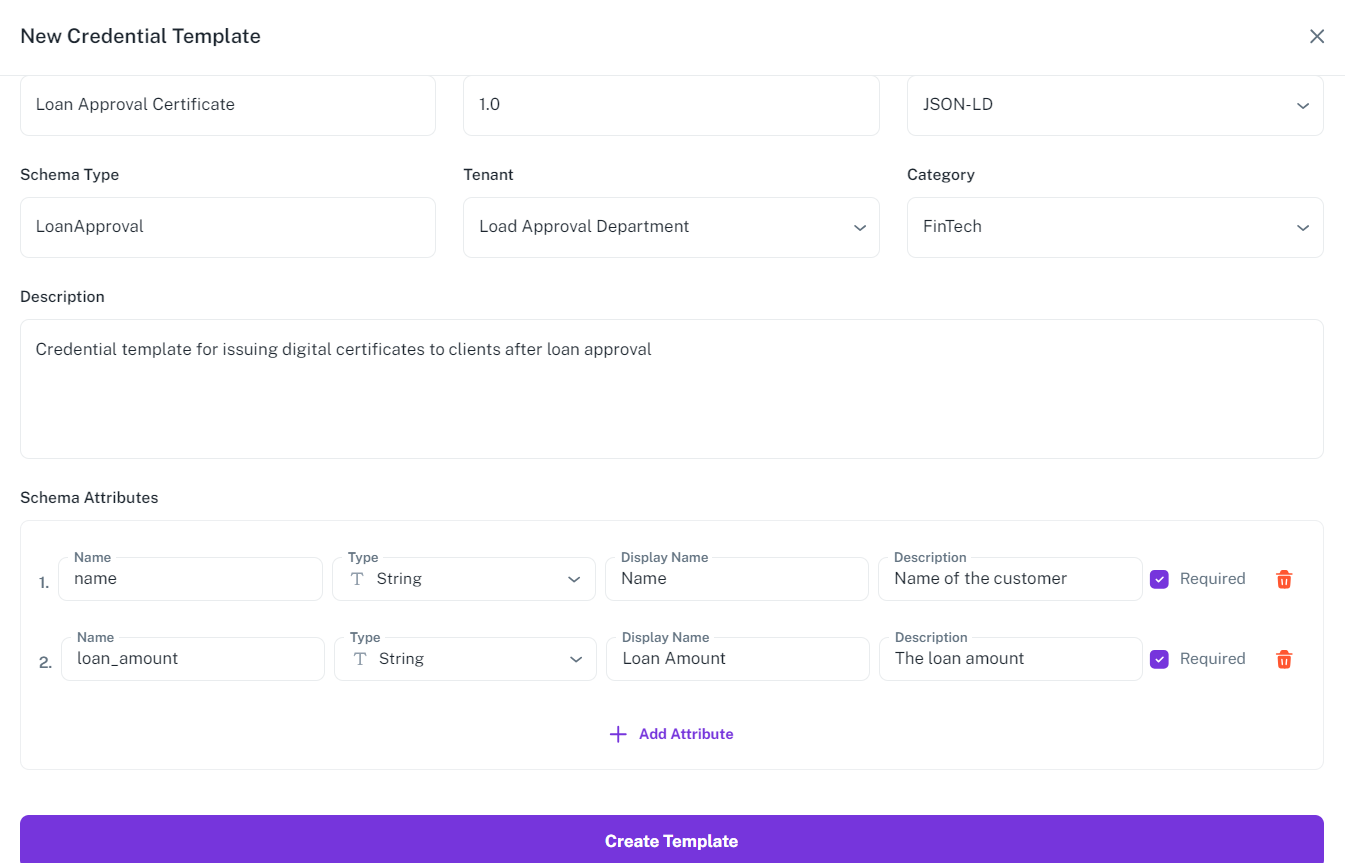
Your issuance template is now ready for use.
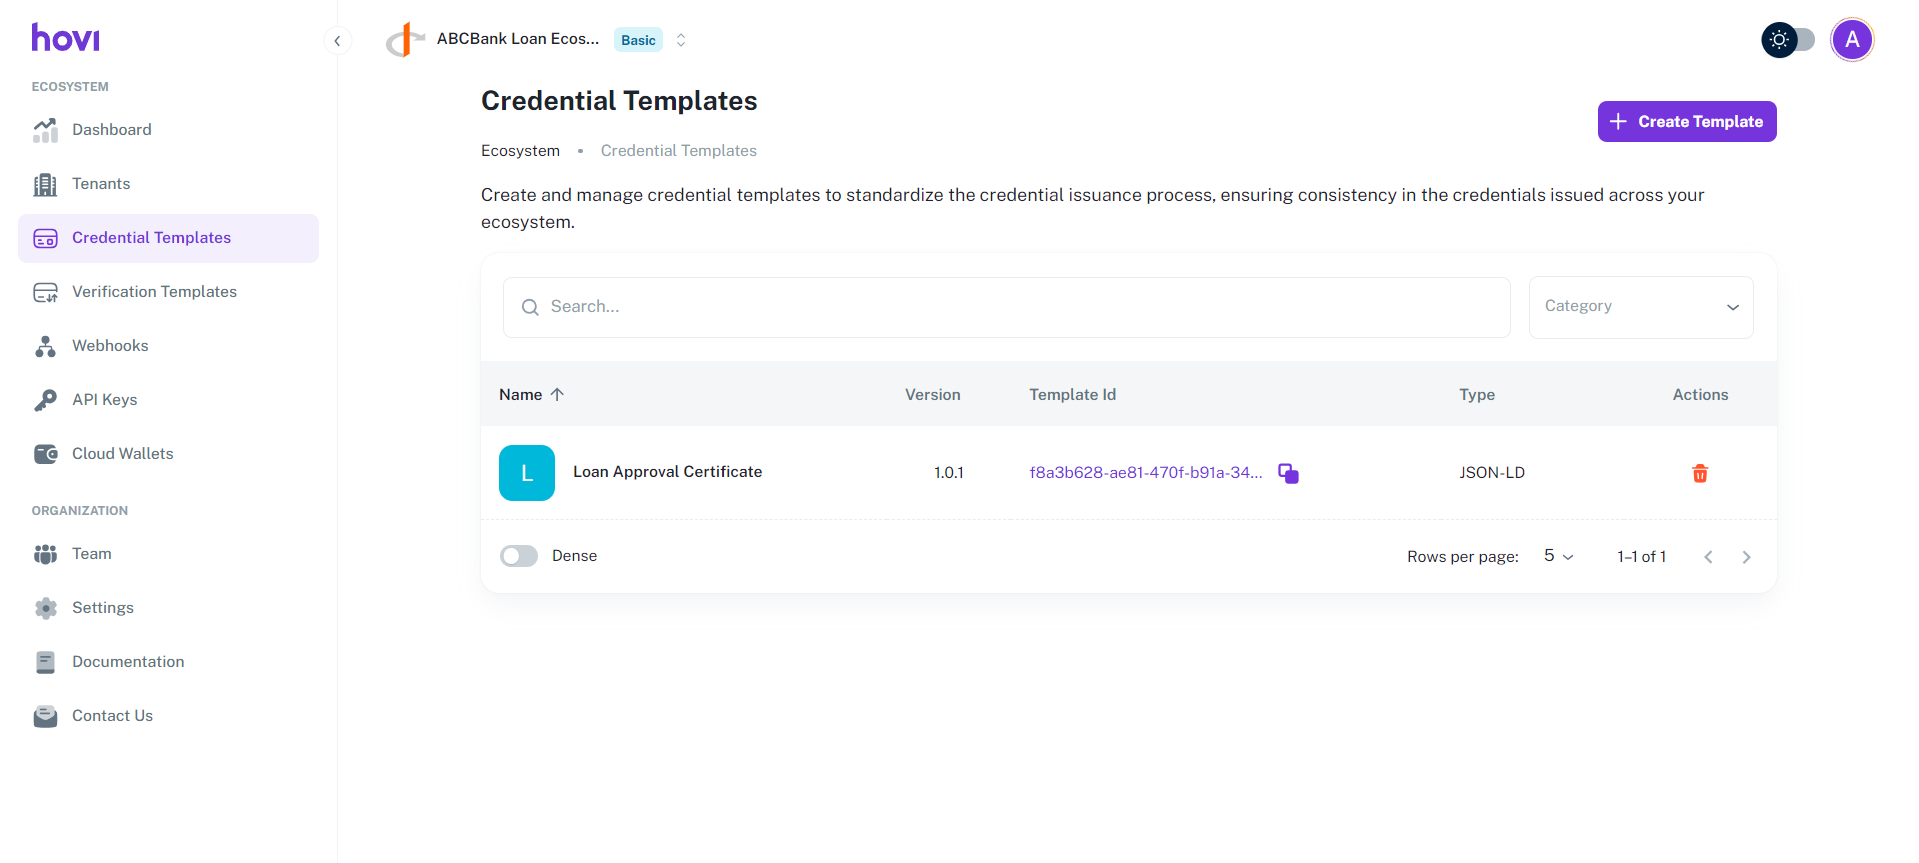
Step 4: Use API-Key to Issue a Credential
Use the API key you generated earlier to issue a credential using Hovi’s API.
-
Visit the Hovi API Reference.
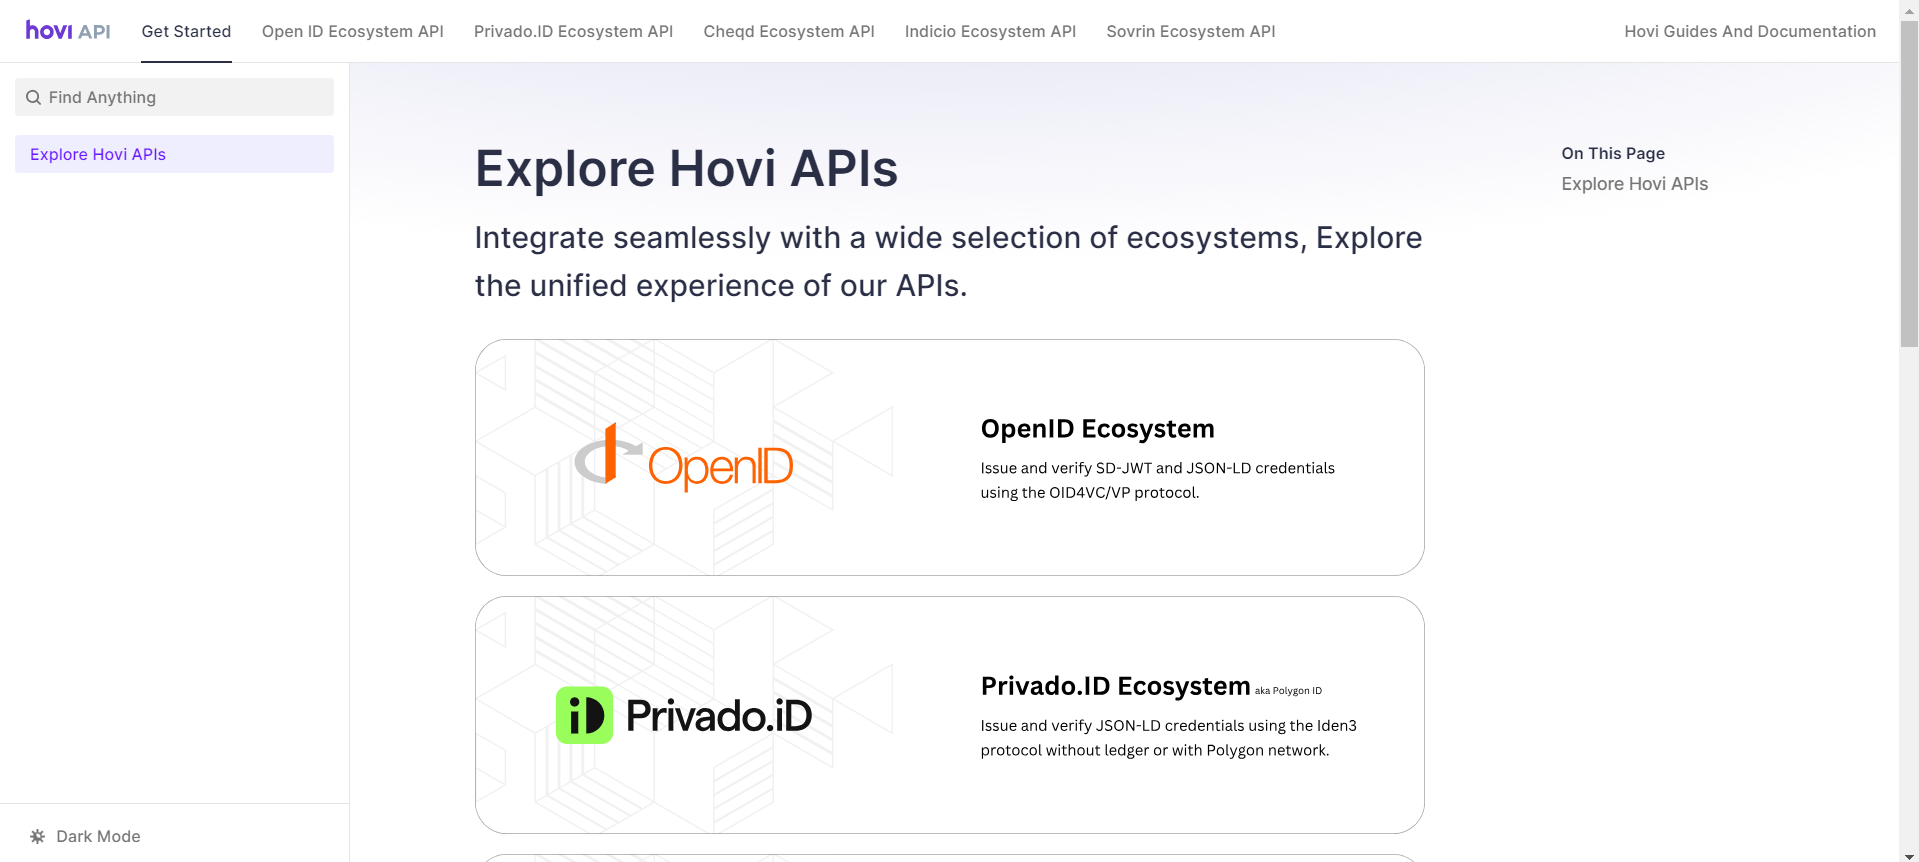
-
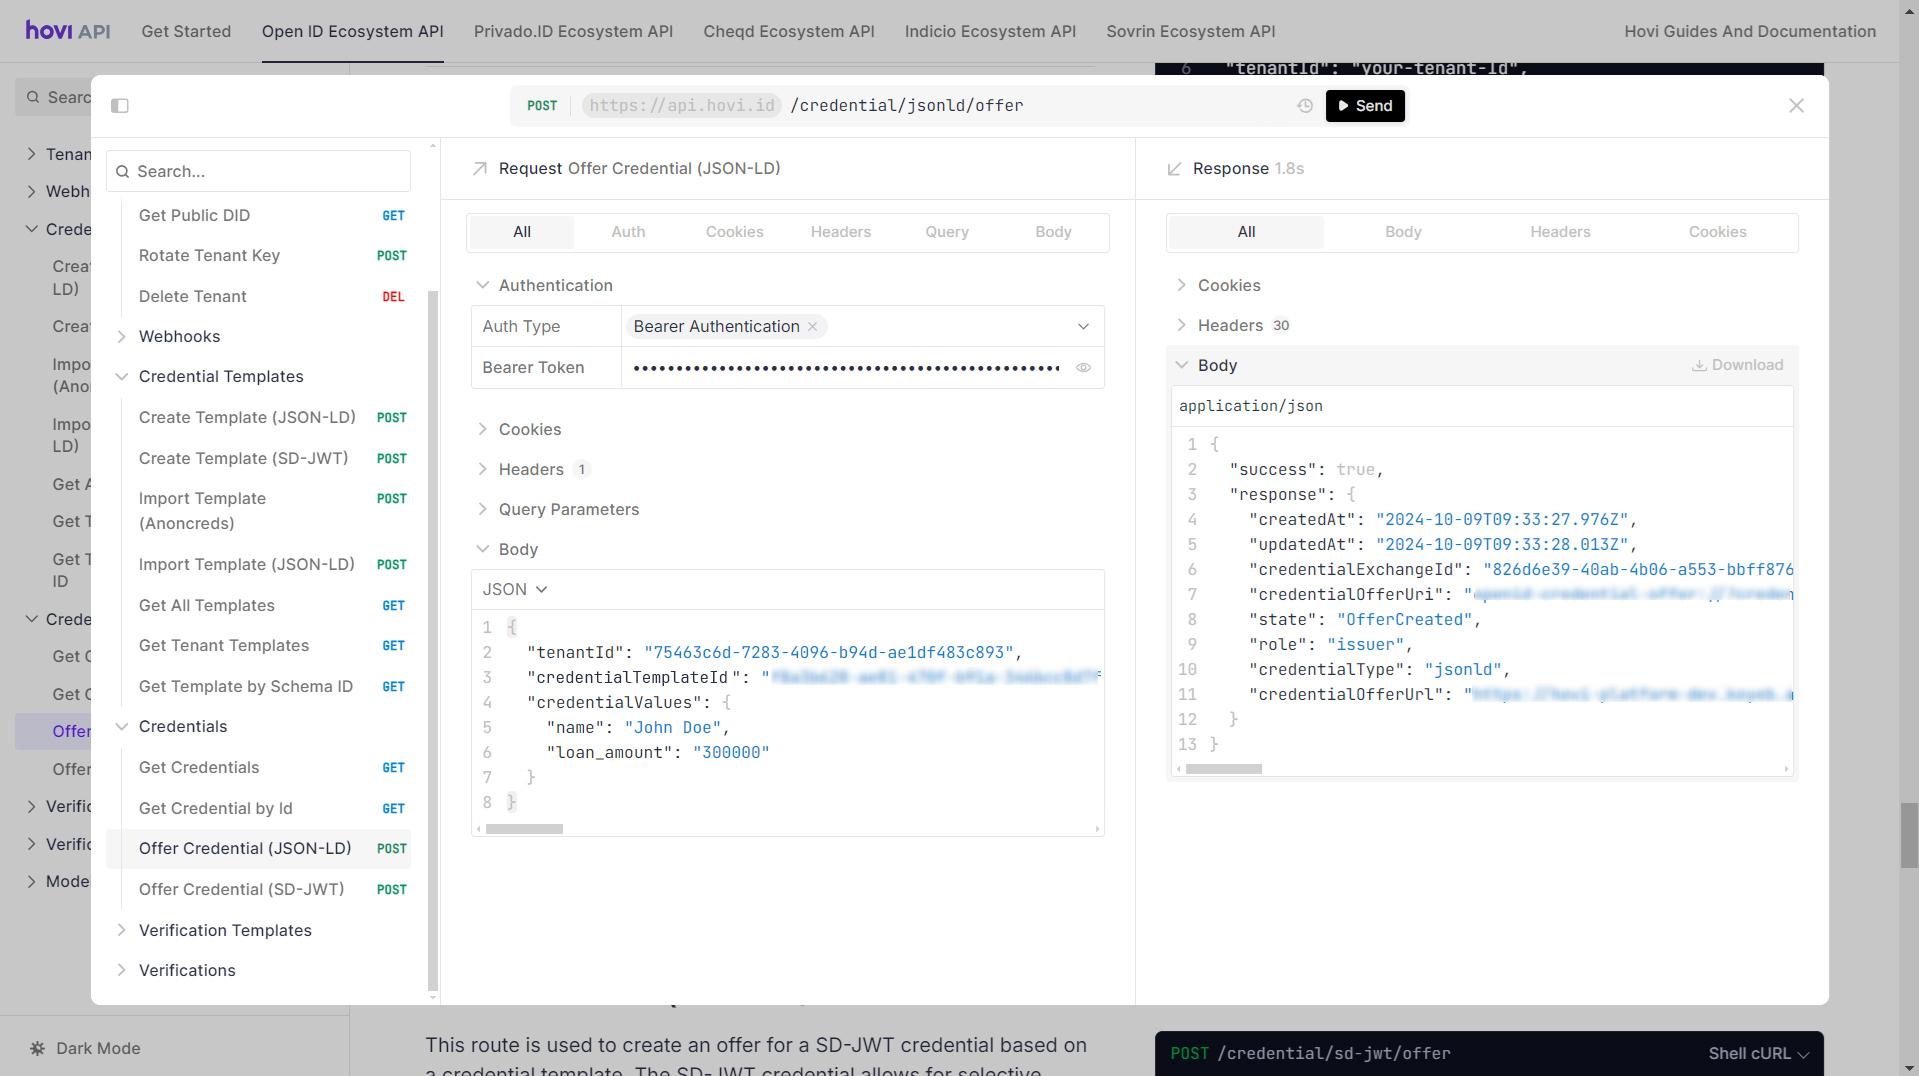
Navigate to your ecosystem's POST - Offer Credentials endpoint and click “Test Request”.
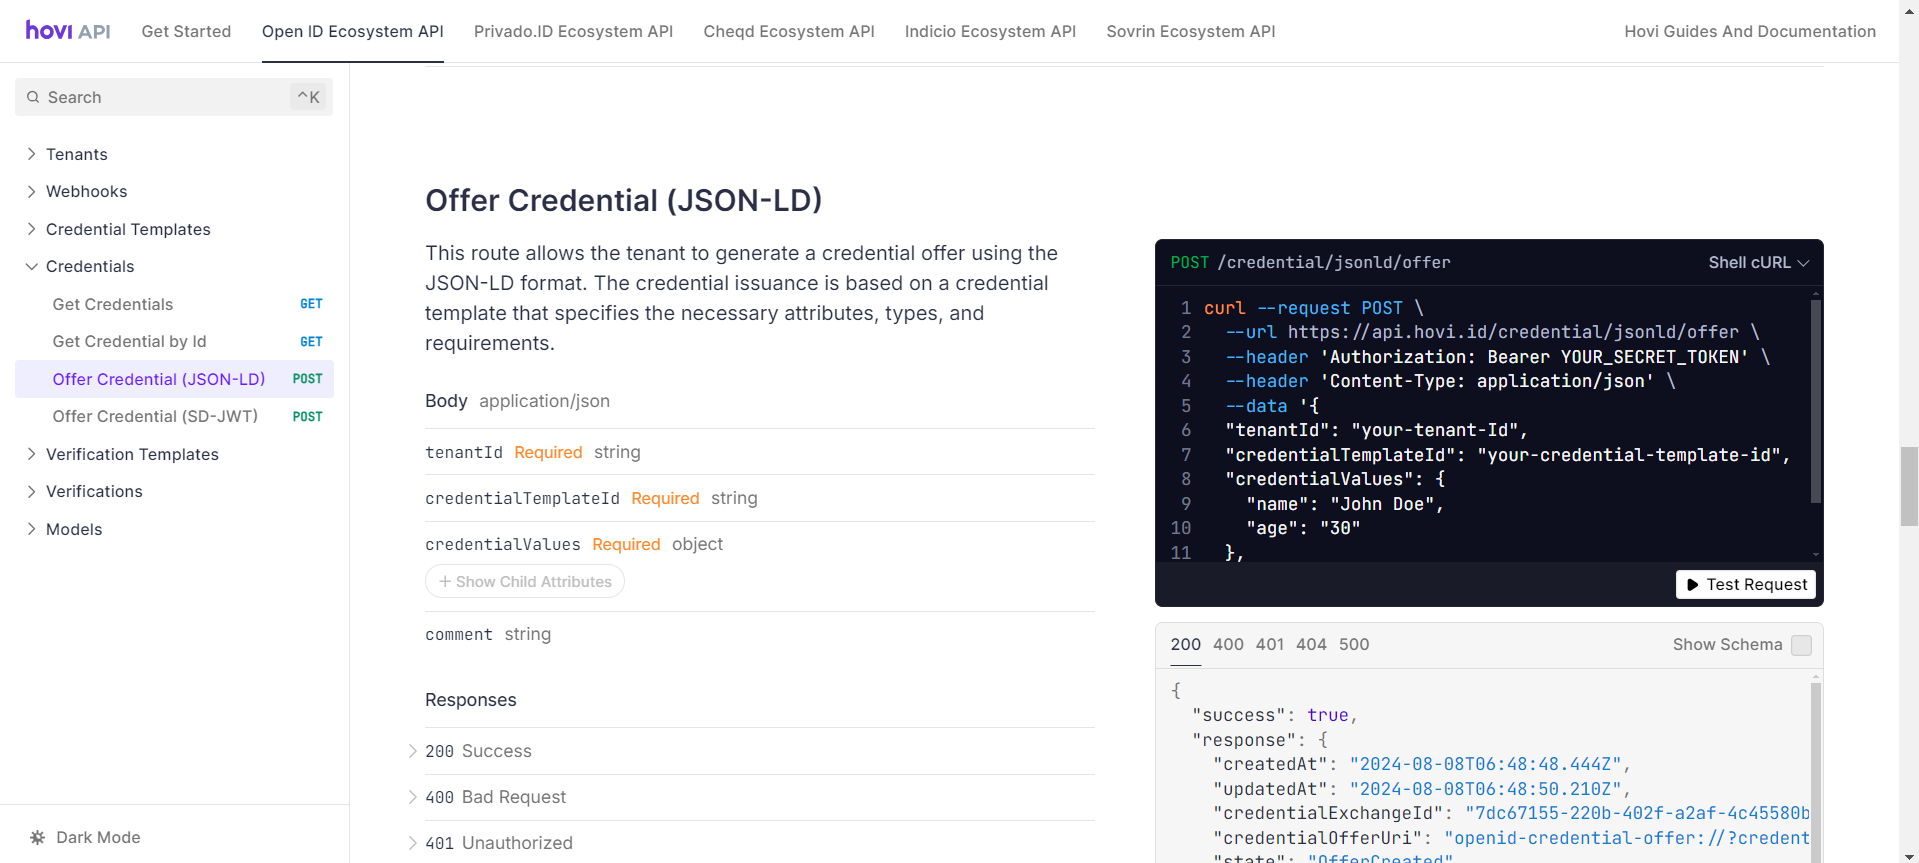
-
Enter the API key as a Bearer Token, provide the body parameters, and click “Send”. The credential will be issued to the recipient/holder.
3. Receive Your First Credential
Once the credential is issued:
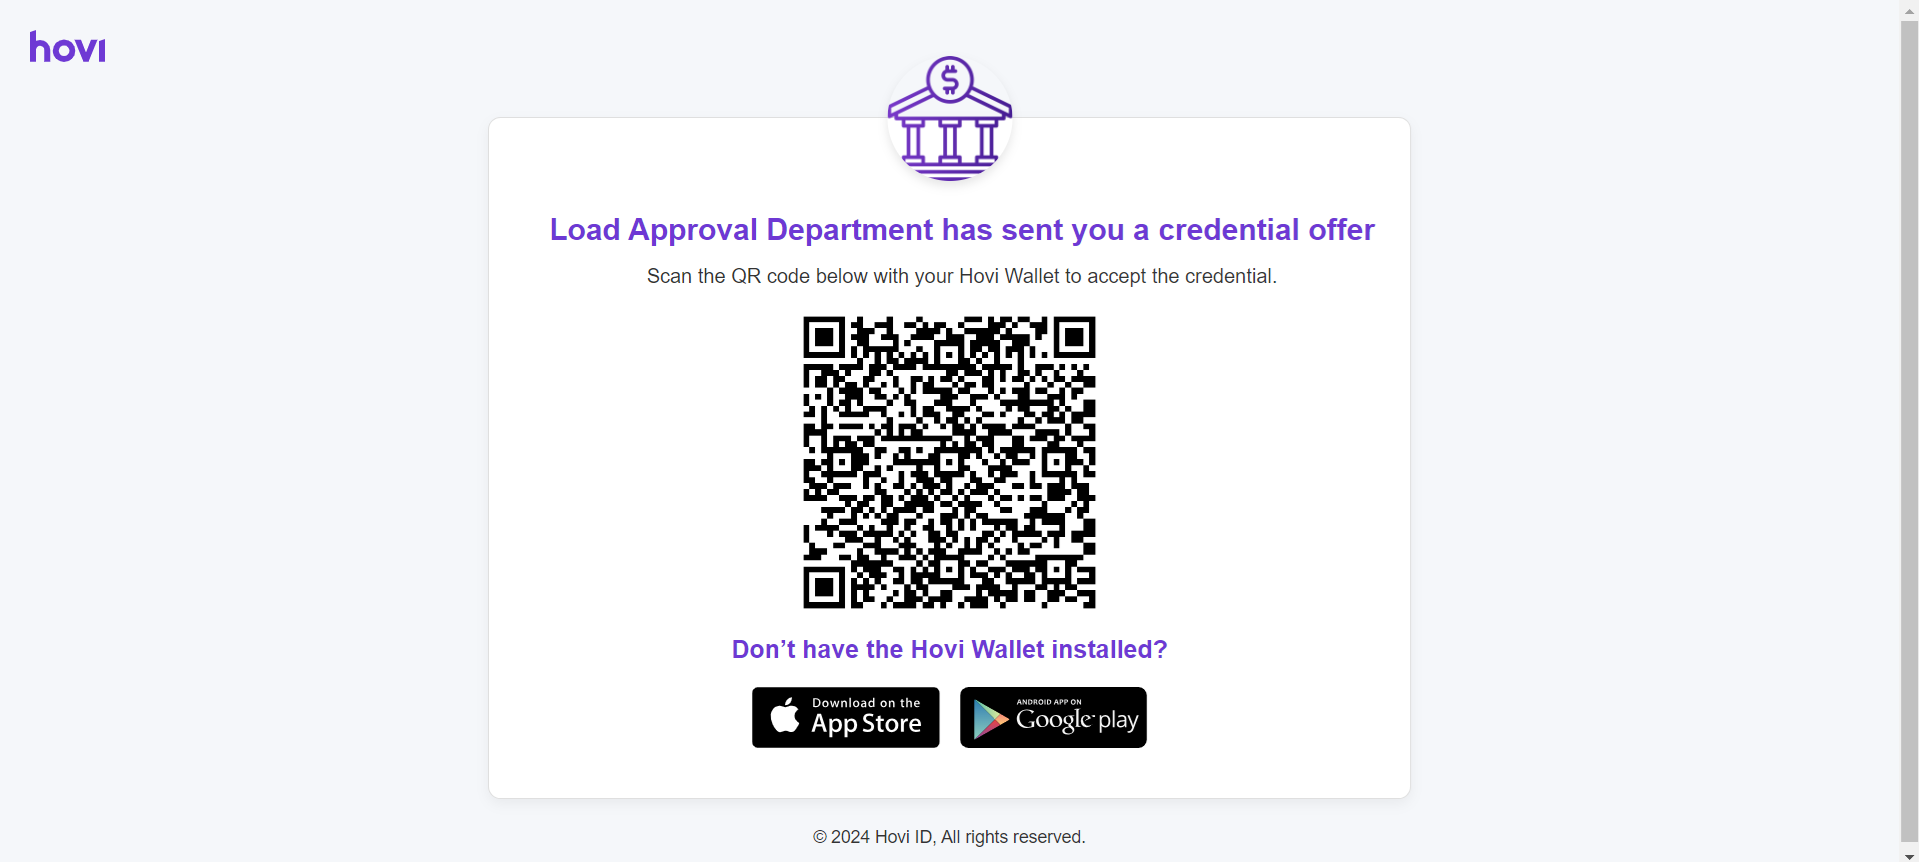
- The holder will scan the QR code using their digital wallet (e.g., Hovi Wallet or compatible wallet) and receive the credential.
To see the complete list of supported wallets, please refer here: Supported Wallets List.
They can now securely store the credentials or share them with third-party verifiers as needed.
Using Cloud Wallet API
Alternatively, you can programmatically manage credentials using the Cloud Wallet API. This is ideal for applications that need to automate wallet operations or integrate wallet functionality directly into their backend systems.
Step 1: Create a Wallet
Create a cloud wallet for your user using your ecosystem API key. This will return a wallet with a unique access token for subsequent operations.
Learn more in the Cloud Wallet Guide.
Step 2: Accept the Credential Offer
Use the wallet access token to accept the credential offer URL and store the credential in the wallet.
See the Cloud Wallet Guide for details.
Step 3: Submit a Proof Presentation
When a verifier requests proof, submit a presentation using the stored credentials and the wallet access token.
Learn more in the Cloud Wallet Guide.
The Cloud Wallet API allows you to build headless wallet solutions, automate credential management, and integrate wallet functionality seamlessly into your applications without requiring users to scan QR codes manually.
4. Verify Your First Credential
Follow these steps to verify a credential using Hovi Studio and APIs.
Step 1: Log in to Hovi Studio
- Sign in to your Hovi Studio account.

Step 2: Create a Organization
- If you don’t already have one, follow the same steps from earlier to create a tenant for verification.
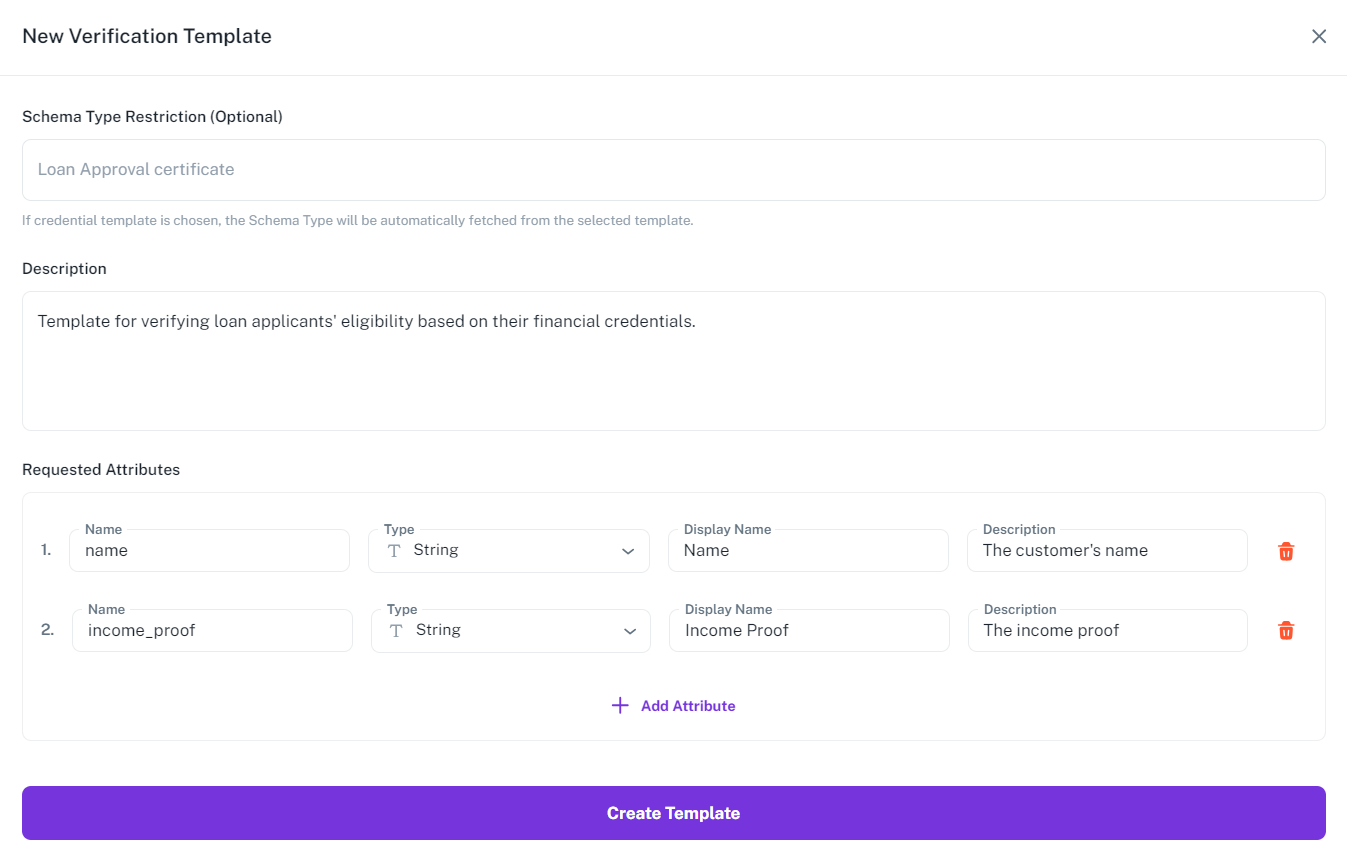
Step 3: Create a Verification Template
-
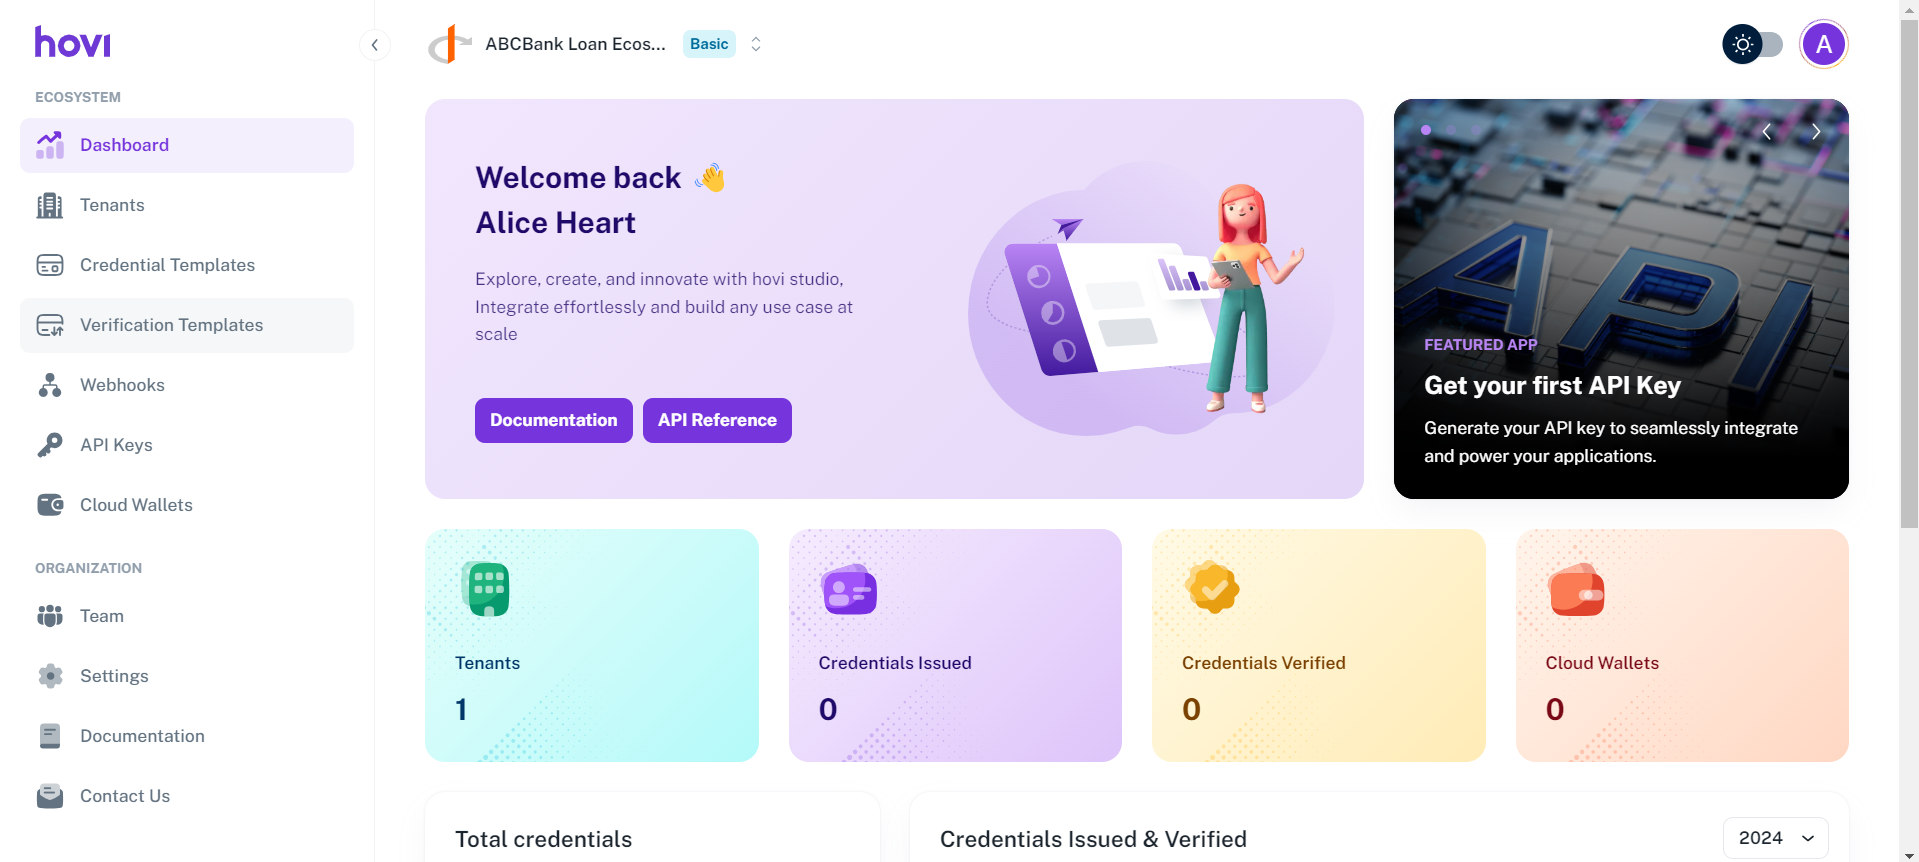
Navigate to the “Verification Template” tab.
-
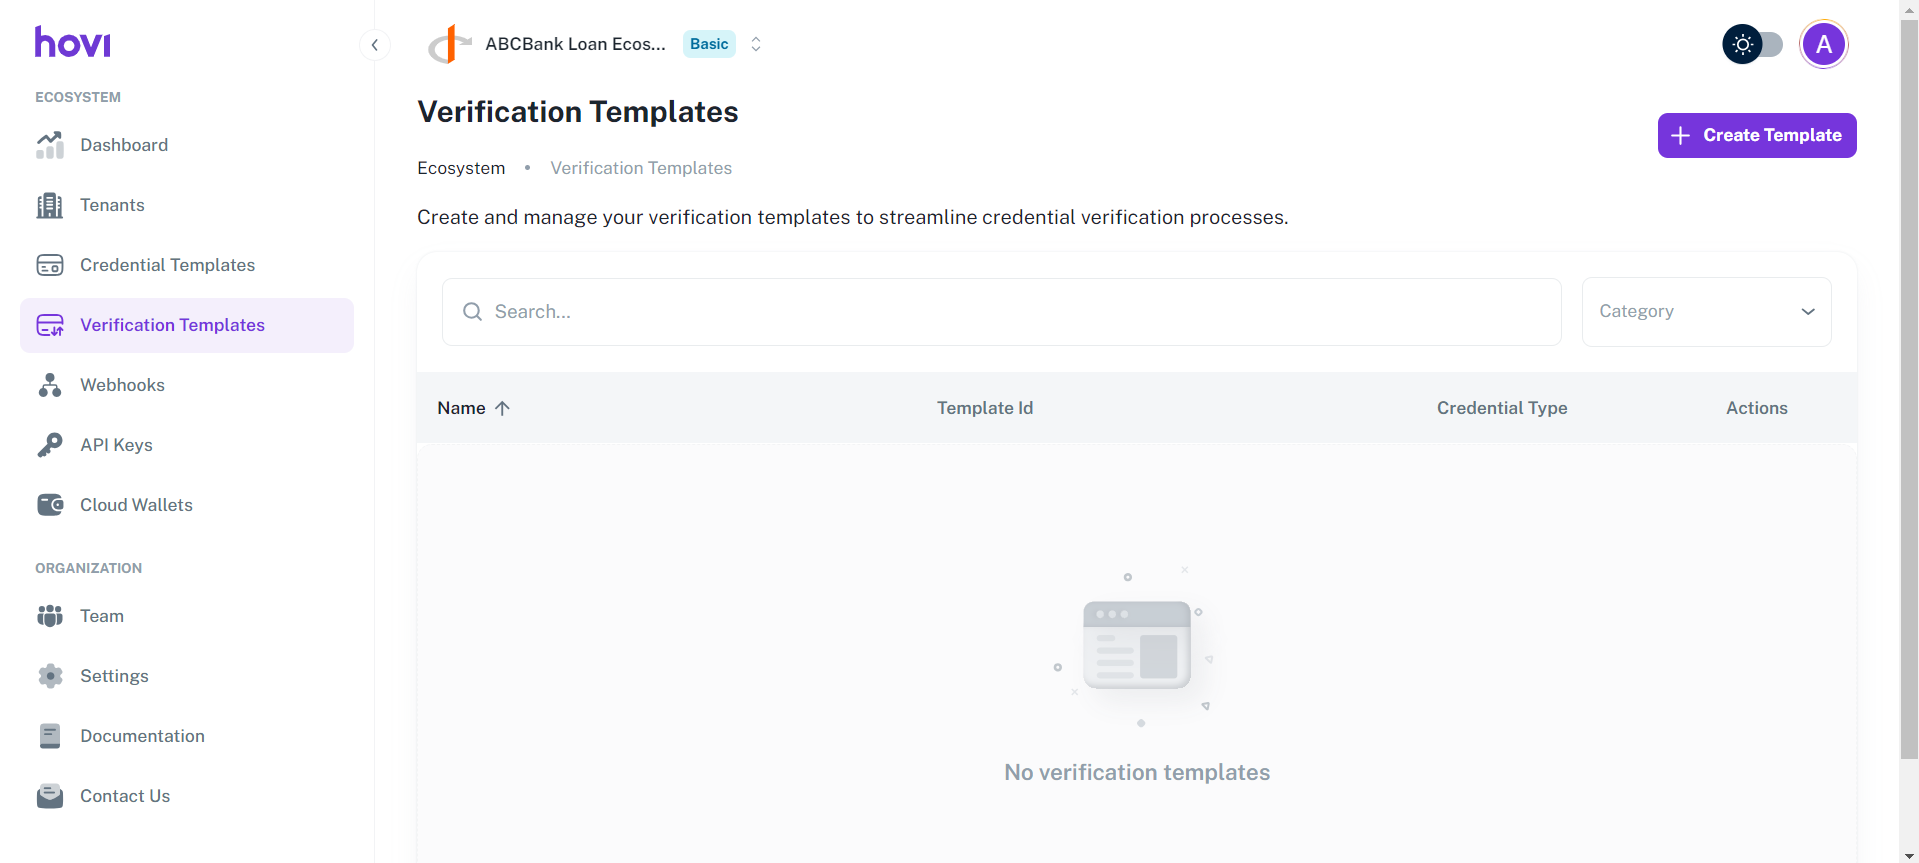
Click the “Create Template” button at the top right corner.
-
Fill in the required information and click “Create Template” to create a new verification template.
Step 4: Use API-Key to Verify a Credential
Follow these steps to verify a credential using Hovi APIs.
-
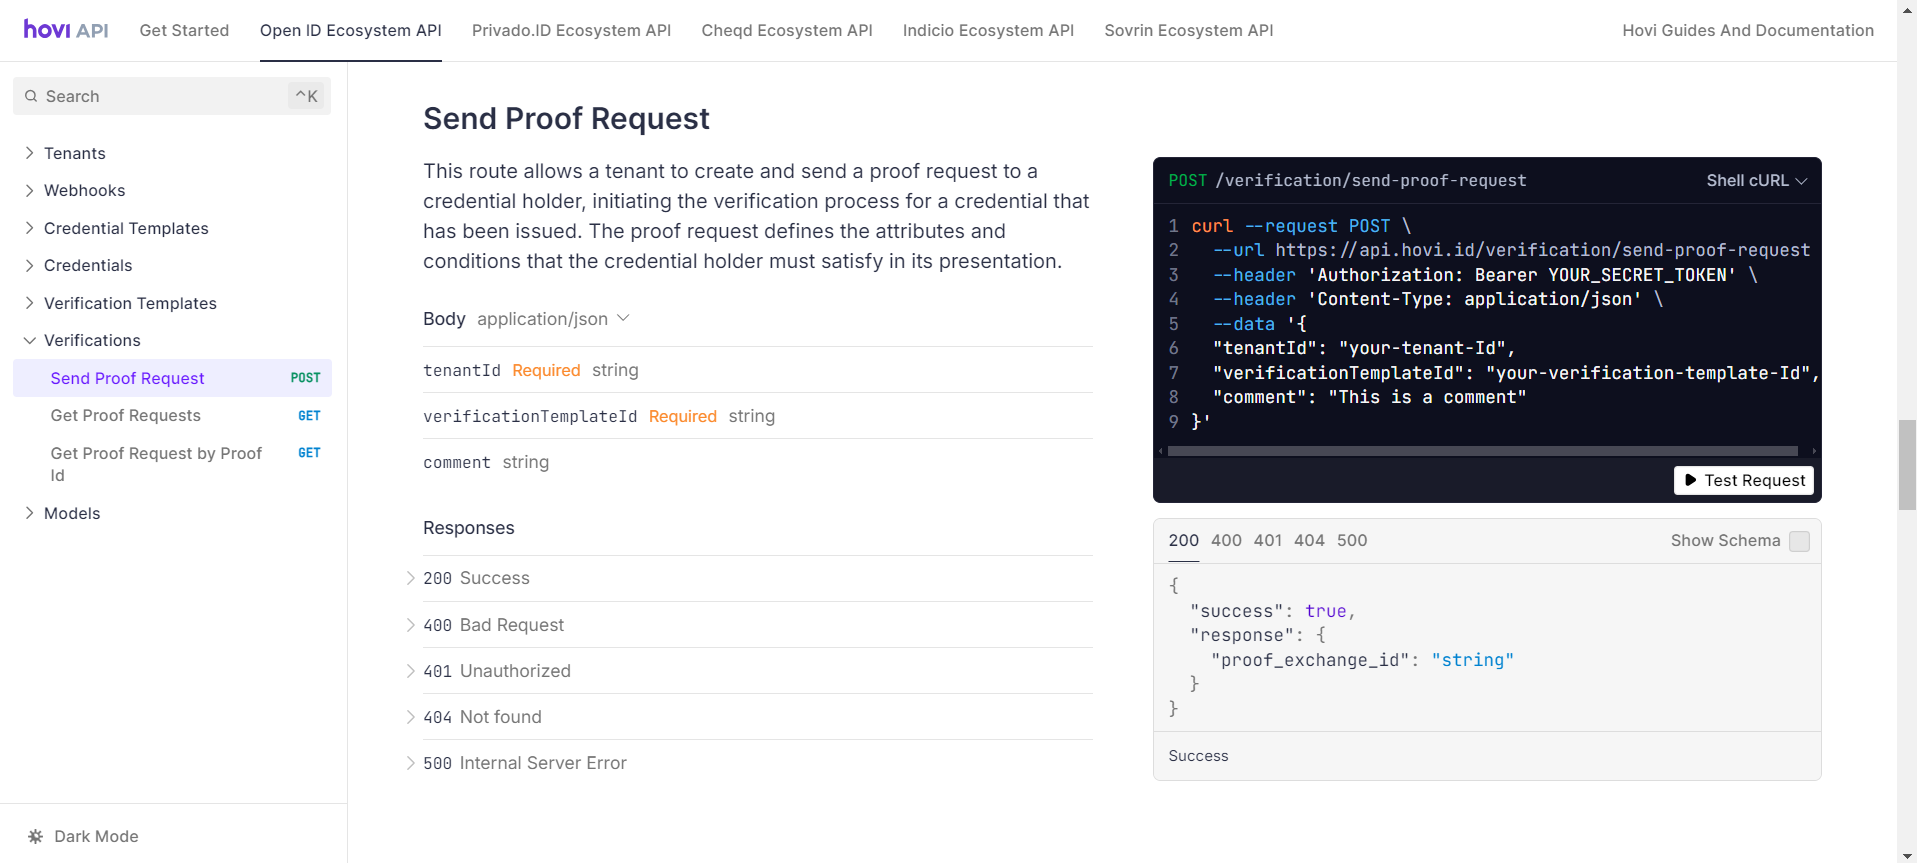
Visit the Hovi API Reference.

-
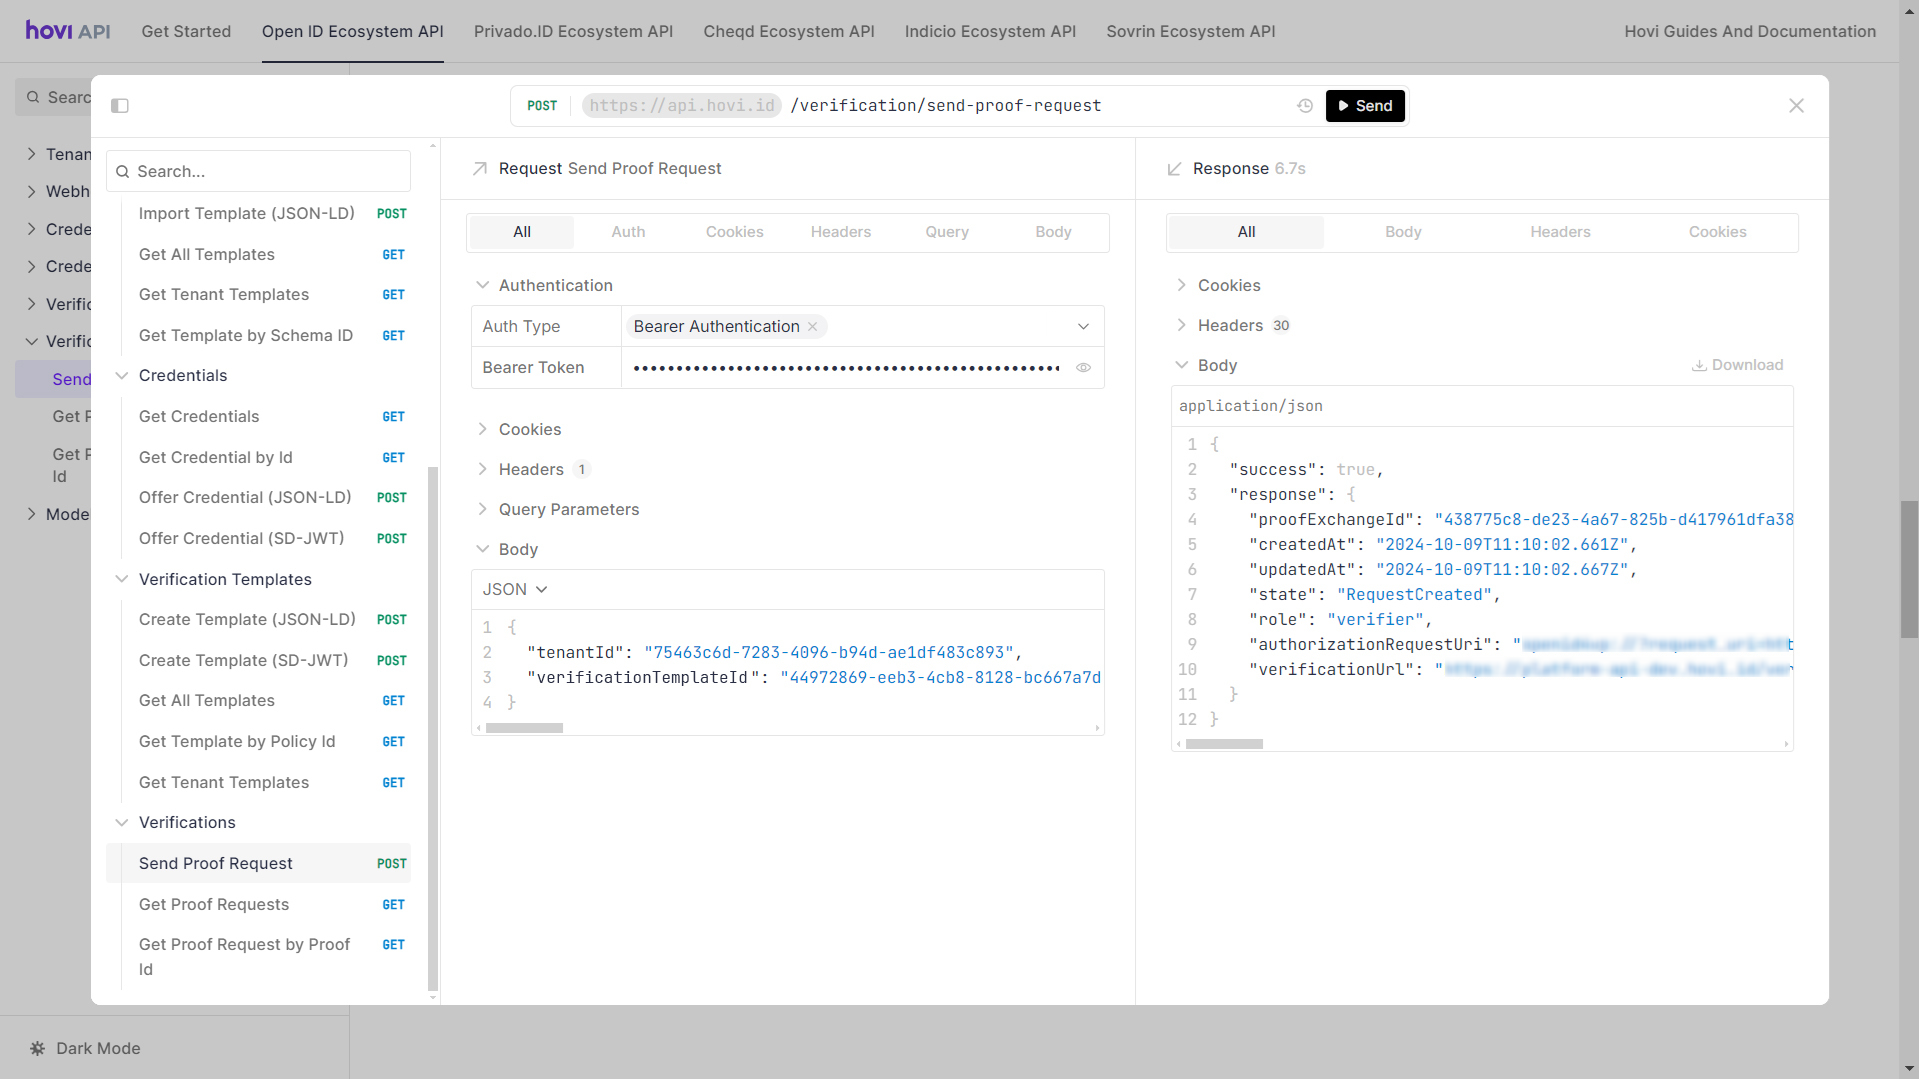
Navigate to your ecosystem's POST - Send Proof Request endpoint and click “Test Request”.
-
Enter your API key as a Bearer Token, fill in the body parameters, and click “Send".
-
The
verificationURLwill lead you to a QR code that the recipient can scan using their digital wallet to accept the verification request.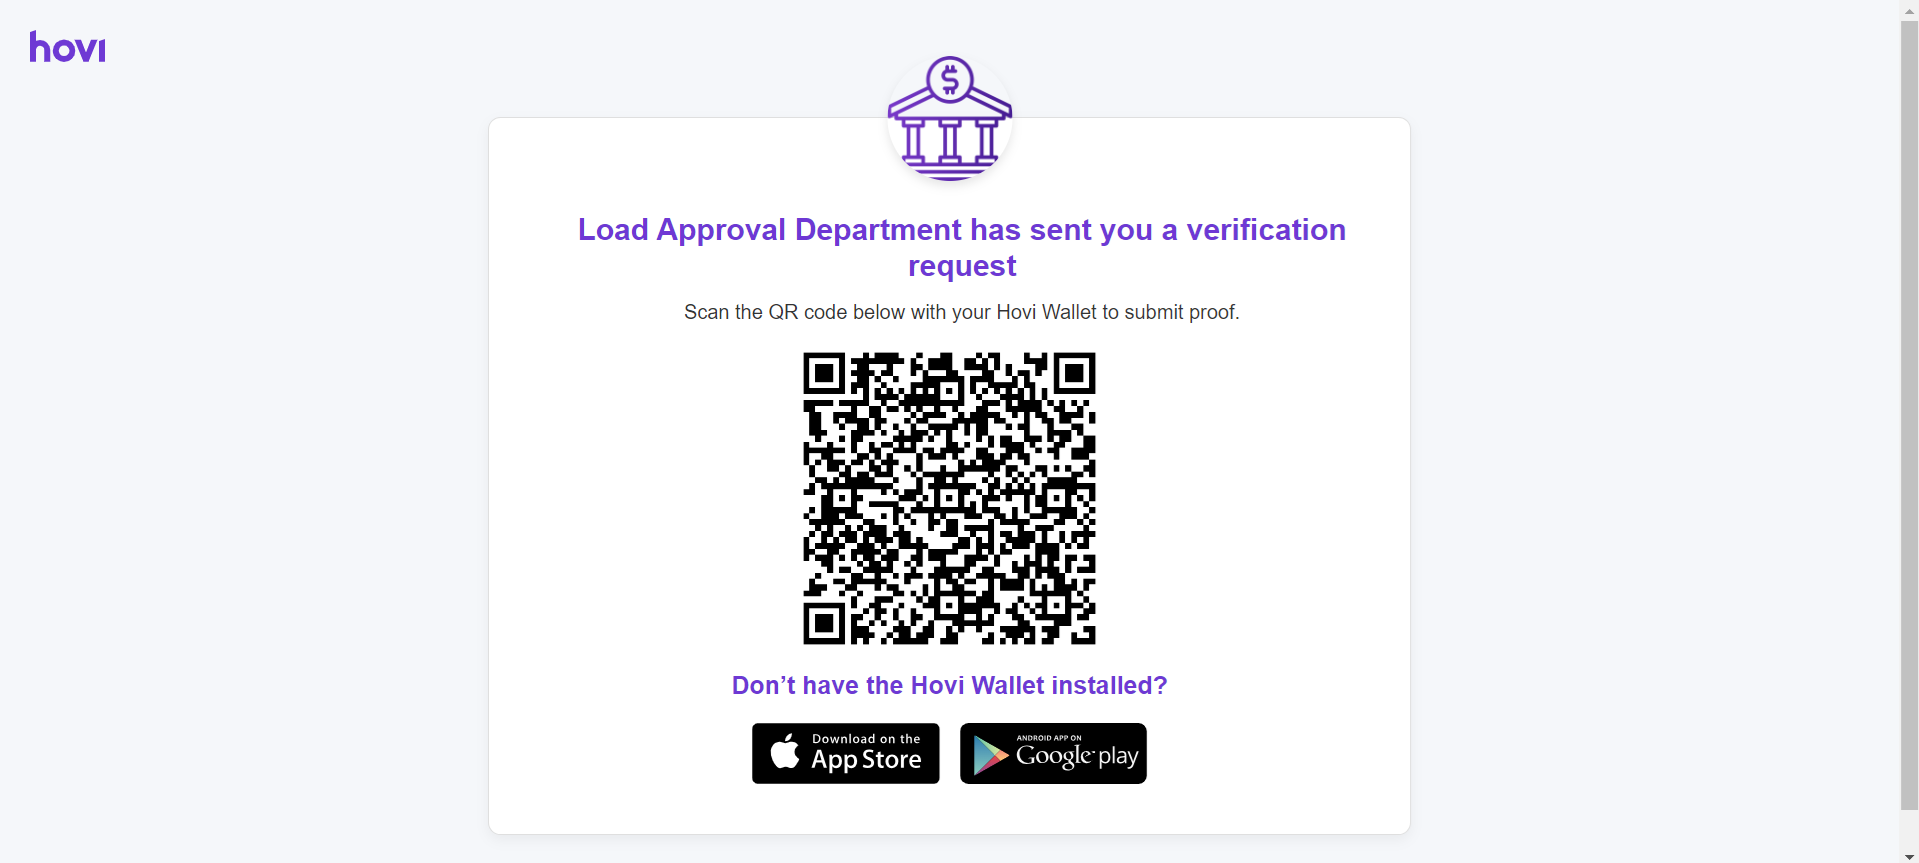
-
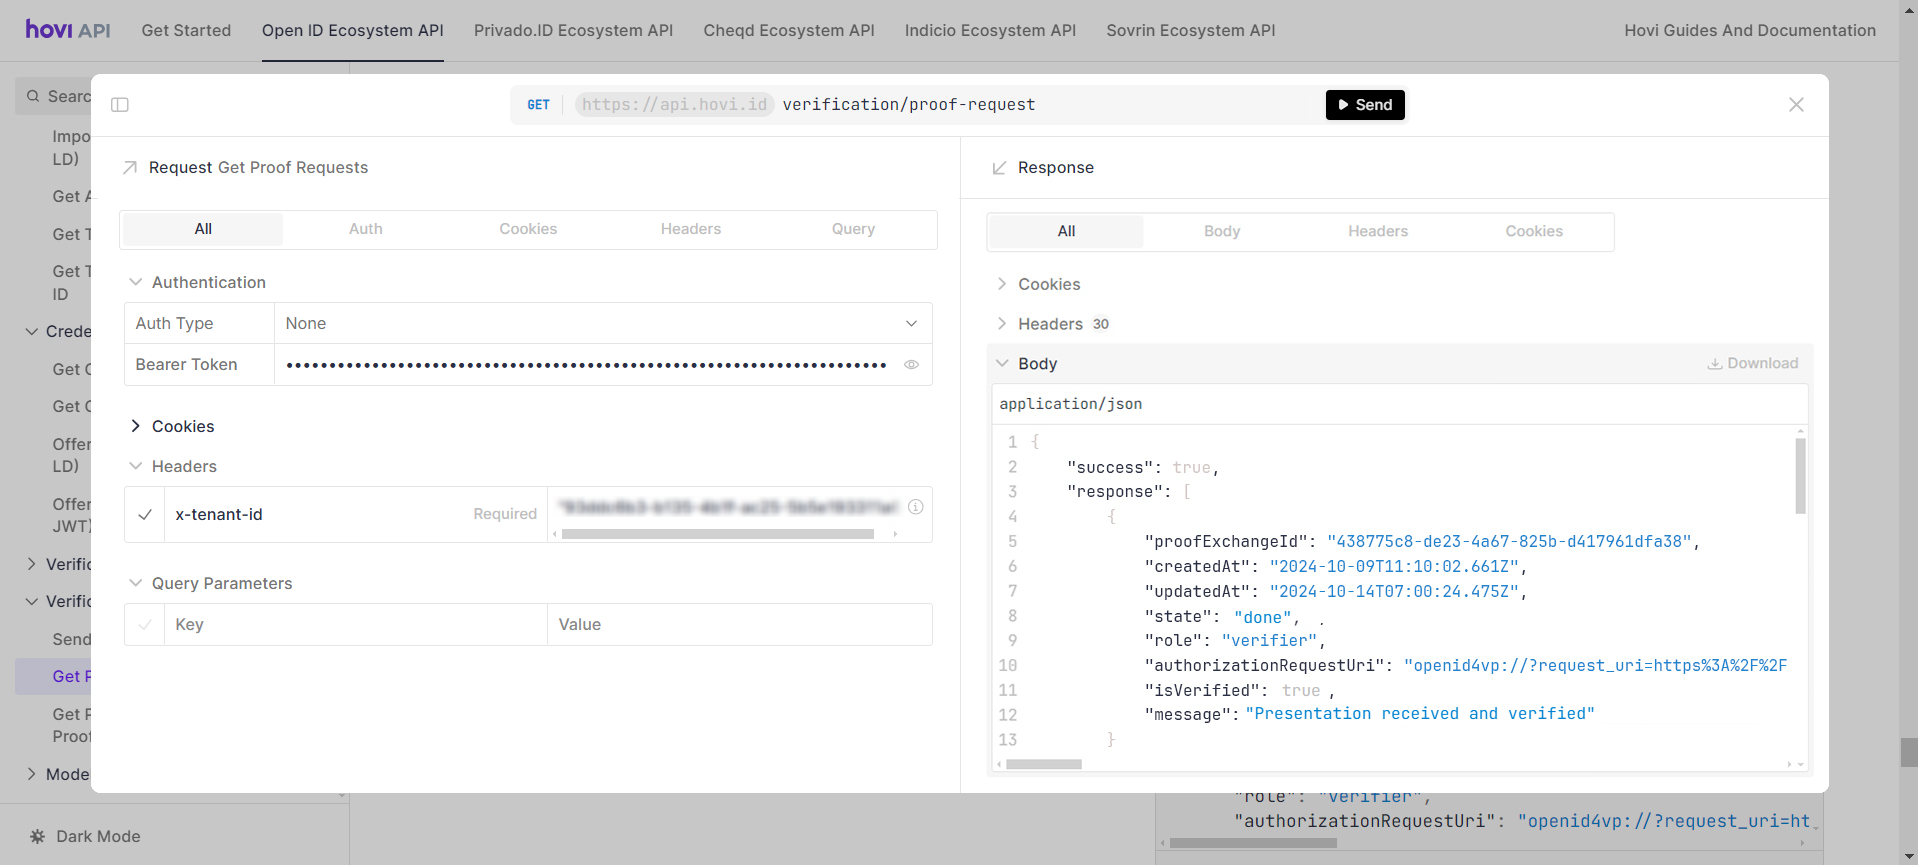
To check the verification status, you can use the GET - Get Proof Requests endpoint to check if the holder has accepted the verification request or not.
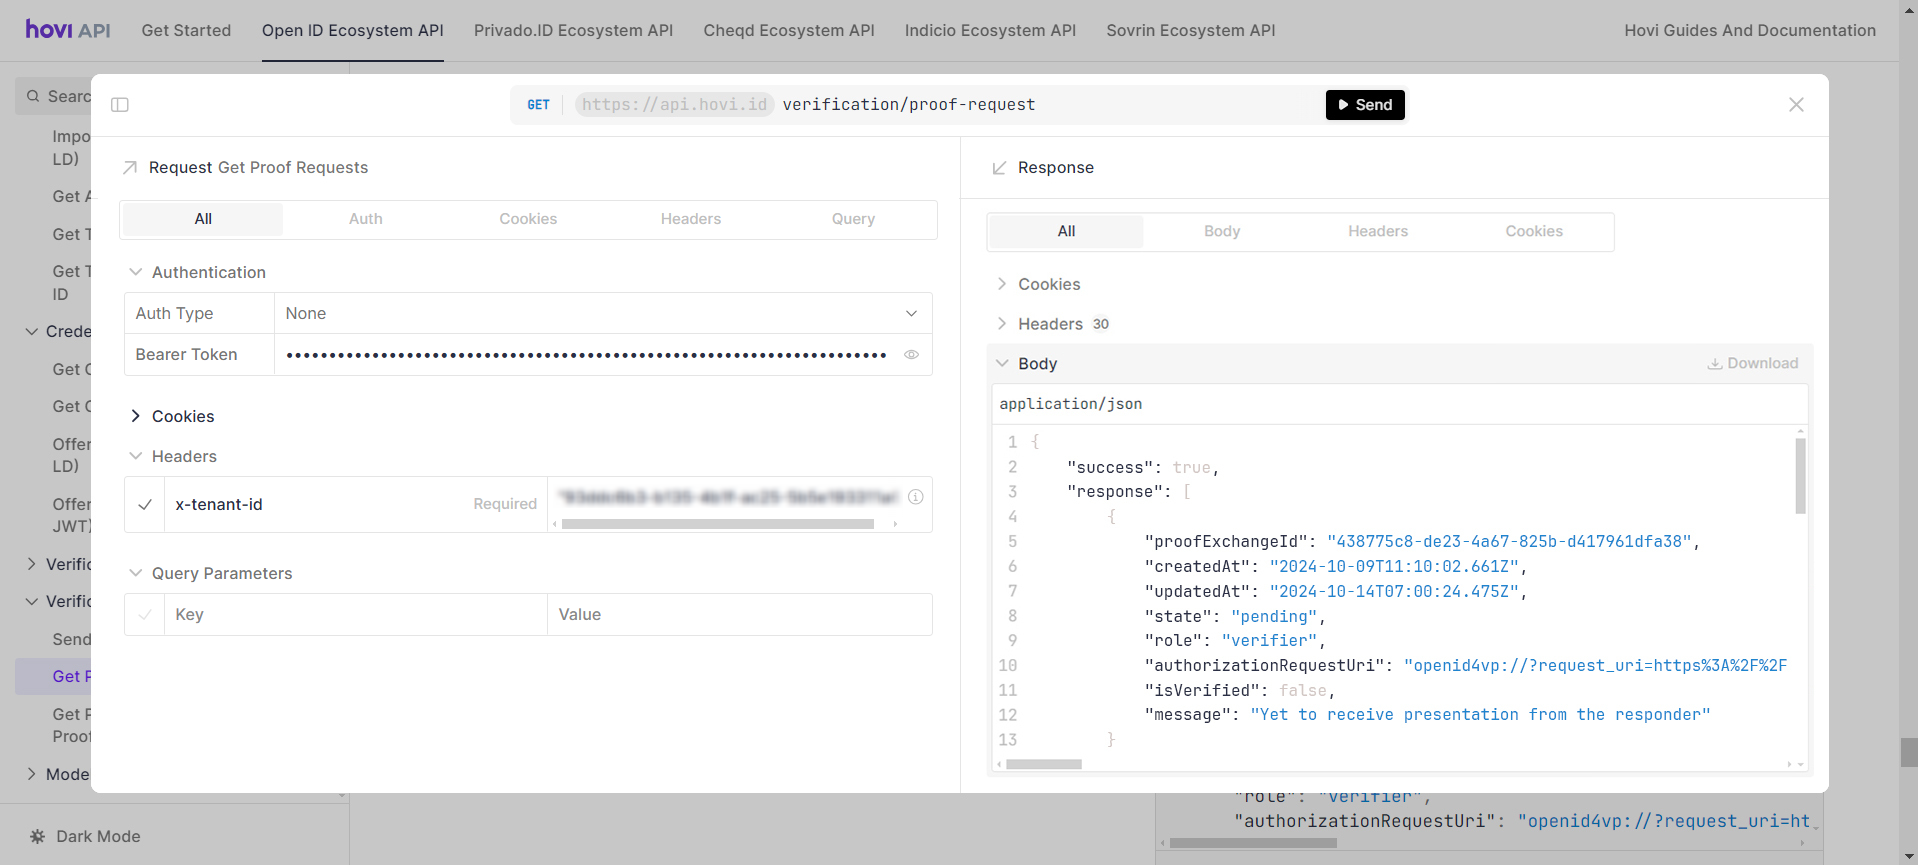
pendingstate indicates that the holder has yet to accept the verification request. -
Once the holder scans the QR code, the credentials will be verified successfully, and the
statewill change todone.